
2. Remove the lower engine cover.
3. Remove the automatic drive belt tensioner.
4. Remove the cylinder head cover.
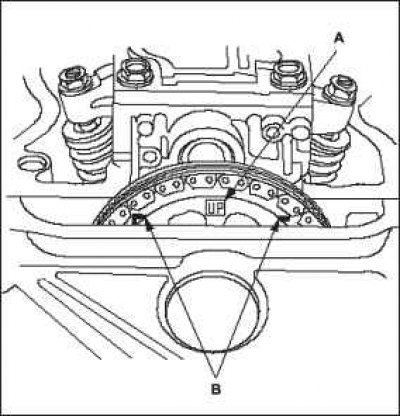
5. Set piston #1 to the top dead center (TDC) position. The "UP" mark A on the camshaft sprocket should be at the top, and the top dead center (TDC) marks B on the sprocket should be aligned with the top edge of the cylinder head.
6. Remove the positive crankcase ventilation (PCV) hose.
7. Remove the crankshaft pulley.
8. Support the engine with a jack and a wooden block placed under the oil pan.
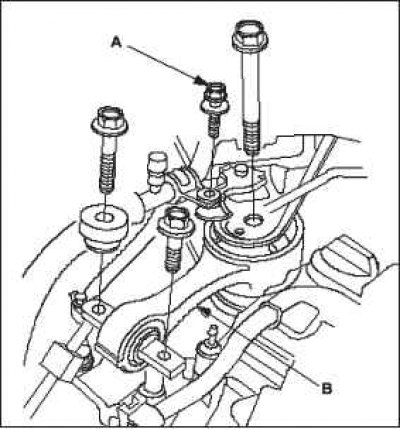
9. Remove bolt A securing the air conditioner pipe, then remove the upper reaction rod B.
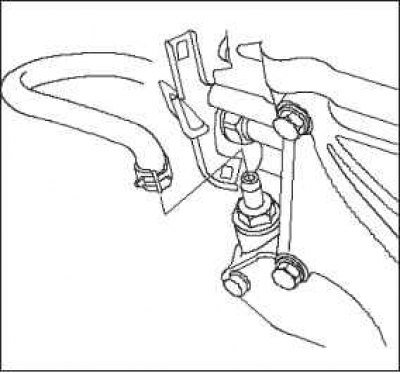
10. Remove ground cable A, then remove engine side mounting bracket B.
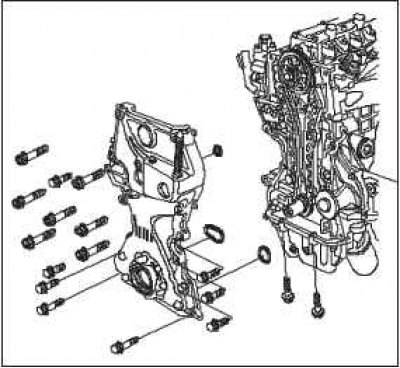
11. Remove the oil pump.
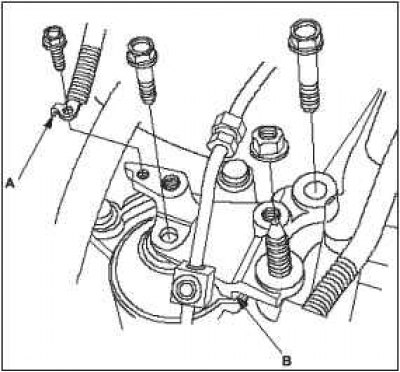
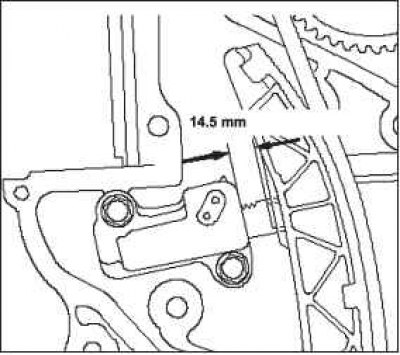
12. Measure the length of the tensioner rod between the tensioner housing and the bottom of the tensioner rod flat surface. If the length is out of the working range, replace the timing chain.
 |
 |
 |
 |
13. Install the crankshaft pulley into place without tightening.
14. Turn the crankshaft counterclockwise to compress the automatic tensioner.
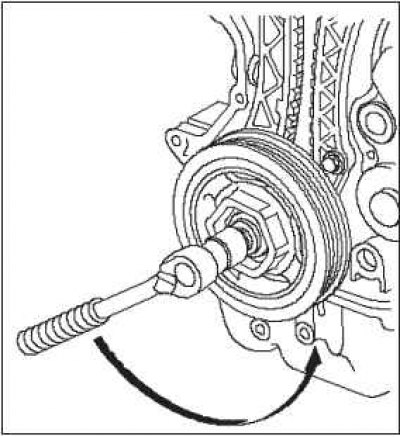
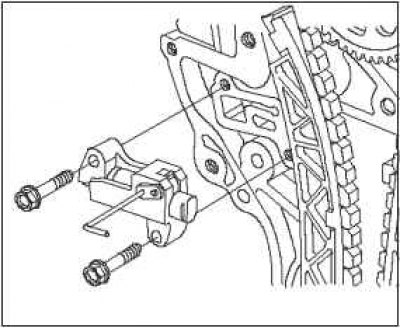
15. Align the holes on the lock A and the automatic tensioner B, then insert the 1.0mm diameter calibration pin C into the holes. Turn the crankshaft clockwise to tighten the calibration pin.
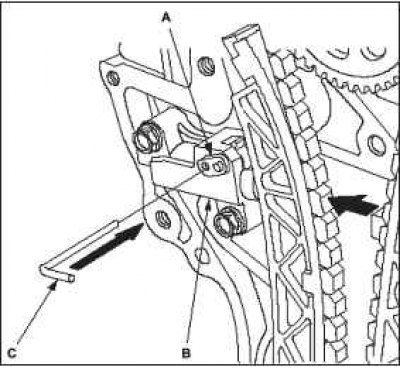
16. Remove the automatic tensioner.
17. Remove the crankshaft pulley.
18. Remove the timing chain guide element A and the timing chain tensioner lever B.
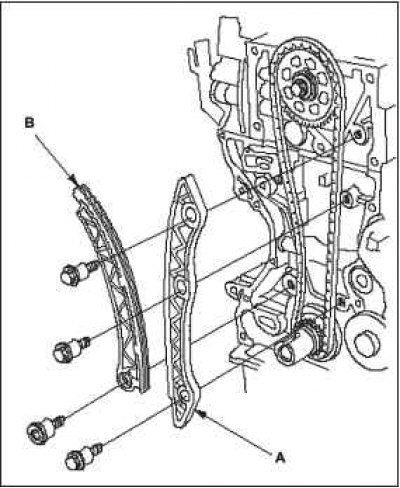
19. Remove the timing chain.
The original is located on the website HONDABOOK.ru