
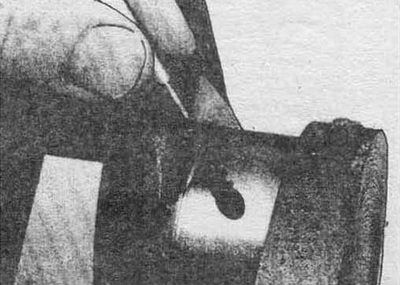
Fig. 18.1 Clean the oil passages with a wire brush and rinse them
2. Check the main and connecting rod journals of the shaft for signs of obvious wear, cracks, chips and scuffs.
3. Run the edge of the coin along the surface of the necks several times. If the surface is uneven, you will feel it immediately. In case of an uneven surface, the neck needs to be re-grinded.
4. Remove burrs from the crankshaft oil holes using a file.
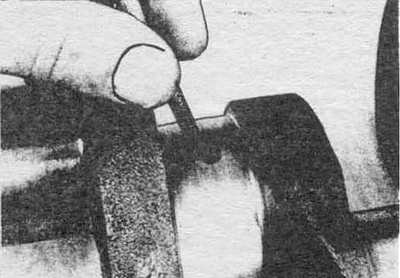
Fig. 18.4 Chamfer the oil holes: burrs will damage the bearing
5. Inspect the remaining parts of the crankshaft for cracks.
6. Using a micrometer, measure the diameters of the main and connecting rod journals and compare the results with the data in the specification. Take measurements at several points around the journal circumference. Measure the journal diameter near the shaft cheeks to determine the taper.
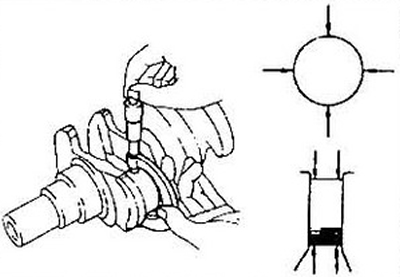
Fig. 18.6 Measure the neck diameter at several points to determine taper and out-of-roundness
7. If the shaft journals are damaged, taper or worn beyond the permissible limits, they are subject to regrinding to a repair size. Do not forget to purchase the appropriate repair liners.
8. Inspect both ends of the shaft journal for wear and damage. If the seal has cut a groove in the journal, if there is a scratch or dent, a new seal may not prevent oil leakage. Repair of journals under the seal consists of pressing on a repair sleeve.
If you are not satisfied with the shaft repair, replace the old shaft with a new one.