
Except Accord 90-91
1. Remove the engine from the vehicle and place it on a work stand.
2. Remove the crankshaft pulley mounting bolts and washers.
3. Remove the front cover and air conditioning guide pulley assembly if the vehicle is equipped with air conditioning. Remove cover assembly.
4. Check the deflection of the camshaft drive belt. Remove belt and sprockets.
5. Turn the engine over on the work stand. Remove the flywheel and rear oil seal cover. Remove the oil pan and gasket. Remove the oil pump receiver and oil pump assembly.
6. Make sure all bearing shells are (main and connecting rod) marked so that they can be set to their original positions. Turn the crankshaft until the connecting rod from which the cap is to be removed is at the top. Remove the cover. Push the connecting rod and piston assembly up the cylinder. Repeat the procedure for the remaining connecting rods and pistons.
7. Remove the main bearing caps.
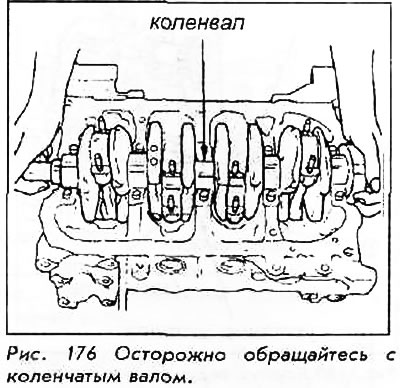
8. Carefully remove the crankshaft from the block so as not to damage the upper surface of the thrust bearing.
For installation:
If the bearings are to be used again, they must be marked so that they can be installed in their original positions.
9. Remove the main bearing shells from the block and bearing caps.
10. Remove the connecting rod bearing shells from the connecting rod and caps.
11. Install a new rear oil seal into the rear oil seal cover.
12. Lubricate the rear surfaces of the crankshaft with a thin layer of grease. Do not apply sealant to the area ahead of the gland groove. Inspect all running surfaces on the crankshaft for dents, scratches, or nicks that could cause premature bearing wear.
13. If the necks of the main bearings of the crankshaft were processed to some smaller size, install bearings of a suitable size. Clean the earbuds. Foreign material under the bushings will warp the bearing and cause failure.
14. Place the upper main bearing shells in place so that the tab on the shell fits into the groove.
15. Install the lower main bearing shells into the bearing caps.
16. Carefully lower the crankshaft into place.
17. Check up a backlash at each radical bearing.
18. Once the bearings are installed, lightly grease them and the journals with grease. Install all bearing caps.
Bearing caps must be installed in their original positions.
19. Align the upper thrust bearing.
20. Check up an axial backlash of a cranked shaft.
21. If the axial clearance exceeds the norm, replace the upper thrust bearing. If axial. clearance is less than specification, inspect the thrust bearing surface for damage, dirt, or misalignment.
22. Install new bearing shells in the connecting rods and caps. Check clearances on each bearing.
23. If the clearances are correct, lightly grease the journals and bearings with grease.
24. Rotate the crankshaft to bottom dead center. Push the piston all the way down until the connecting rod bearing sits on the crankshaft journal.
25. Install the connecting rod cap and tighten to specification.
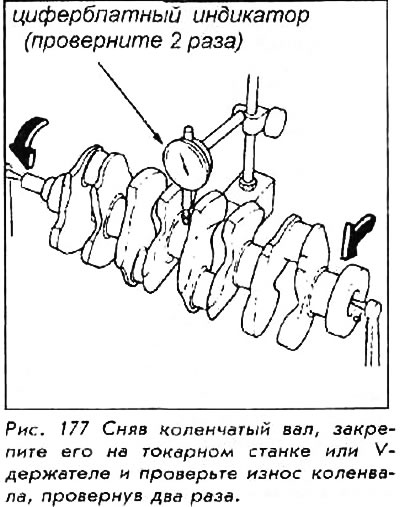
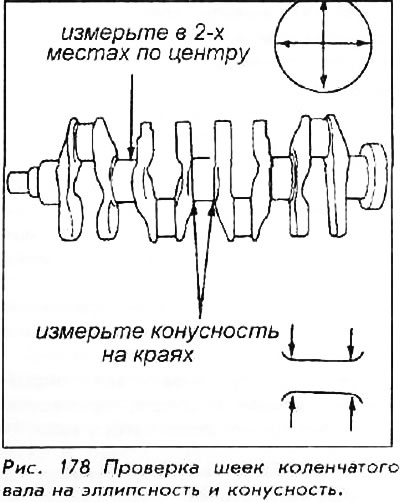
26. After installing all pistons and connecting rod assemblies, check the crankshaft crankpins.