
Warning: The clutch disc contains asbestos, which may be hazardous to your health. Do not use compressed air to remove disc wear products, do not use gasoline to remove wear products.
Removal
1. Remove the gearbox from the vehicle (see Chapter 7A) and wash the clutch basket.
2. Loosen the clutch release fork mounting bolt and slide the shaft out of the gearbox housing, remove the release bearing.
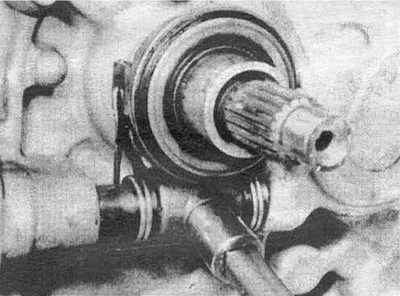
Fig. 4.2a Removing the clutch release fork shaft
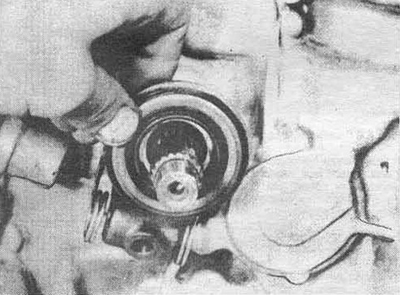
Fig. 4.2b Removing the release bearing
Inspection
3. Inspect the clutch release fork, shaft and lever. If the parts are significantly worn, replace them.
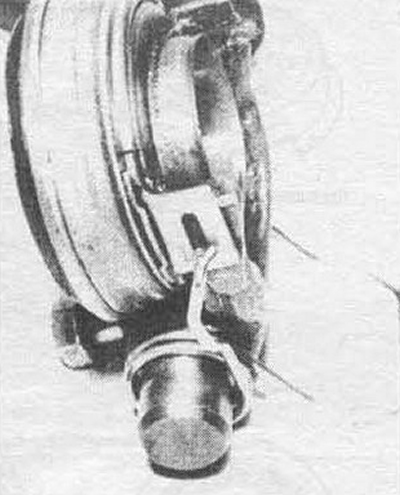
Fig. 4.3 Fastening the release bearing to the fork
4. Inspect the bearing. Damage and wear are not acceptable: hold the bearing by the inner ring and rotate it. If the bearing makes noise when rotating or rotates unevenly, replace the bearing. However, we recommend replacing the bearing every time the clutch is dismantled.
5. Remove the bearing from the fork. To do this, press the spring tabs and remove them from their slots on the bearing housing. To remove and install the flywheel, see Chapter 2.
Installation
6. Wipe the release bearing. Do not rinse it: the solvent can wash the grease out of the bearing. Fill the inner diameter groove with high-temperature grease.
7. Place the bearing on the fork. Make sure that the spring tabs are in place.
8. Lubricate the shaft with grease, insert the fork with the bearing into the box housing and push the shaft. Align the holes on the shaft and fork, install the washer and bolt. Tighten the bolt to the torque specified in the specification.
9. Check the smoothness of the bearing sliding when turning the clutch release lever by hand. Further assembly is carried out in the reverse order of disassembly. Do not forget to adjust the clutch cable (see Section 3).