
Contents: Control ⇊ Replacement ⇊
Control
Models before 1988
1. The oxygen sensor is installed in the exhaust manifold. Disconnect the sensor connector.
2. Start the engine and set the speed to 3000 rpm. Wait for 2 minutes.
3. Increase the revs to 4000 and quickly close the throttle four to five times.
4. Increase the revs to 5000, drop to 2000 and turn off the ignition. Quickly measure the voltage between the sensor connector and the "ground": it should be below 0.4 volts
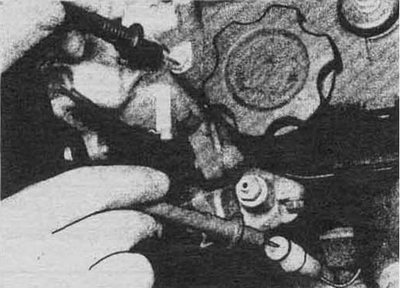
Fig. 3.4 Use a digital voltmeter to check the oxygen sensor
5. Disconnect the MAP sensor vacuum hose from the throttle body and connect a vacuum pump. Apply vacuum and measure the voltage again. It should be greater than 0.6 volts.
6. If the requirements for steps 4 and 5 are not met, replace the sensor.
Models since 1988
7. Turn off the ignition.
8. Remove the "HAZARD" fuse in the fuse panel (see Chapter 12) for 10 seconds to reset the EMU memory.
9. Check the fuel pressure in the system (see Chapter 4).
10. With normal fuel pressure, start and warm up the engine.
11. Block the rear wheels and set the parking brake. Raise the front of the car and place it on stands.
12. Engage second gear and let the engine run for 15 minutes at 2000 rpm. Do not close the throttle while running!
13. If the indicator lights up "CHECK ENGINE" or the ECU displays code 1, check the reliability of the connection of the "ground" wire on the thermostat housing and the contact in the oxygen sensor connector.
14. Disconnect the oxygen sensor connector and measure the voltage between the sensor terminal and "ground" (see fig. 3.4).
15. Warm up the engine to operating temperature, then run the engine at 4000 rpm for 10 seconds and return to idle. The voltage at the sensor at 4000 rpm should be 0.6 volts and drop to 0.4 volts as it slows to idle.
16. If the voltage is too high or too low, replace the sensor.
17. If the sensor test is positive but the error code is still on, contact a service station.
Replacement
Caution: Even with the ignition off, the cooling fan may turn on at any time - disconnect the negative cable from the battery.
18. Disconnect the sensor electrical connector.
19. Unscrew the sensor.
20. Apply a small amount of anti-seize paste to the threads of the new sensor and install it into the exhaust manifold.
21. Connect the electrical connector.