
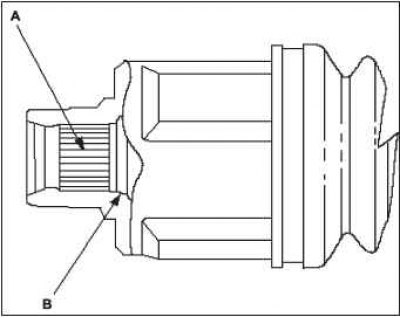
2. Apply 0.5-1.0 g of grease to the entire splined surface A of the right half shaft. After applying the lubricant, remove it from the 2-3 spline grooves and from the circlip groove B so that air can freely escape from the inner cavity of the hinge.
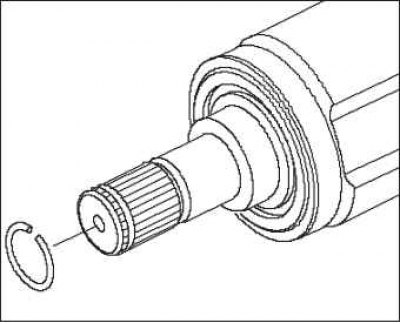 |  |
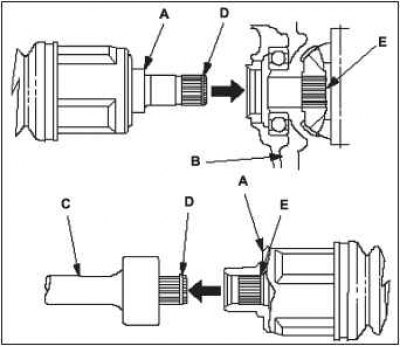
3. Clean the surfaces where the axle shaft contacts the differential and blow with compressed air. Insert the drive end A of the axle shaft into the differential B or intermediate shaft C until the set ring D is seated in the appropriate groove.
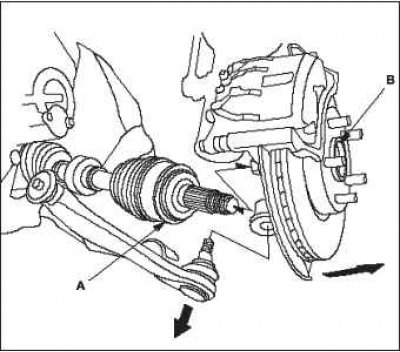
4. Install the driven shaft of the axle shaft A into the front wheel hub B.
Install the ball joint axle A in the hole of the lower suspension arm B. Before tightening the ball joint nut, remove the grease from the threads of the axle. Tighten the new castle nut C to the recommended torque, then tighten it until the slot in the crown of the nut aligns with the hole in the ball joint shaft. Do not align the holes by loosening the nut.
 | 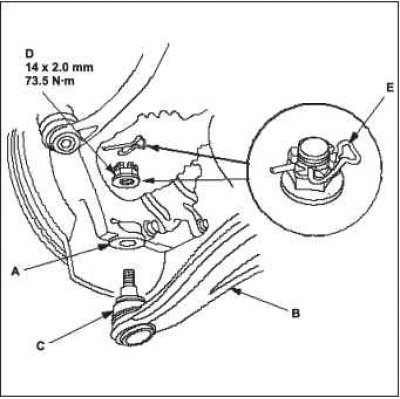 |
6. Install a new cotter pin D in the hole of the ball joint shaft and straighten it as shown in the figure.
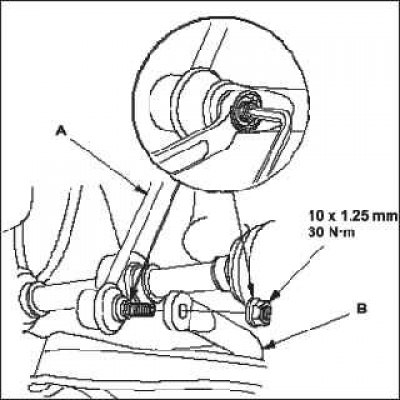
7. Attach stabilizer link A to stabilizer B.
8. Install a new central nut A and tighten it. After tightening, secure the nut against unintentional turning on the shaft by deforming its shoulder B with a punch opposite the shaft groove.
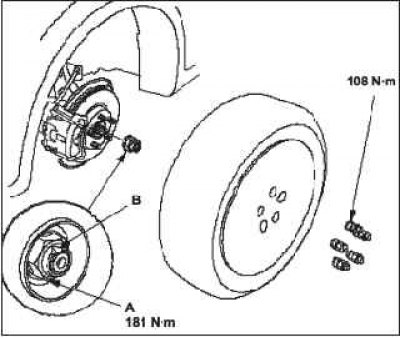
9. Clean the working surfaces of the brake disc and the front wheel. Fasten the wheel and tighten the wheel nuts.
10. Turn the front wheel by hand and make sure there is a gap between the axle shaft and the parts surrounding it.
11. Tighten the shoulder bolt and self-locking nut with the shock absorber compressed under the vehicle's own weight.
12. Refill the transmission fluid in the transmission.
13. Check the front wheel alignment and adjust if necessary.