
Removal
1. Remove the oil pan assembly.
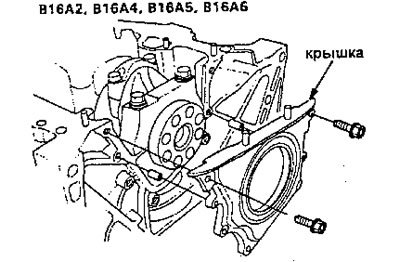
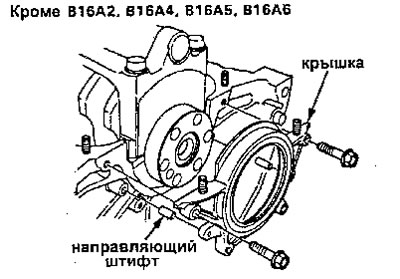
2. Remove the cover.
 |  |
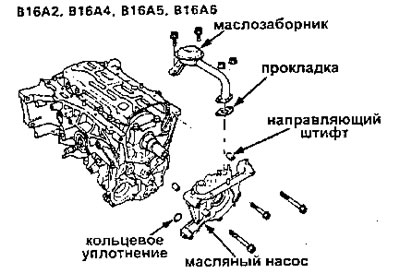
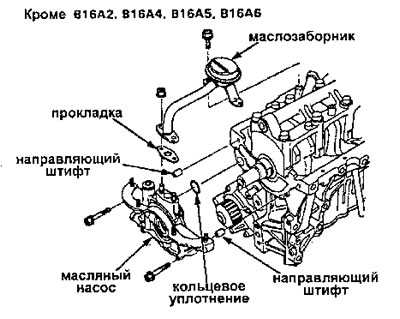
3. Remove the oil pick-up.
4. Remove the oil pump.
 |  |
5. Remove the oil damper plate (engines B16A2, V16A4, V16A5, V16A6).
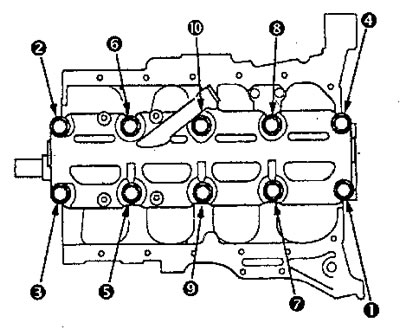
6. Unscrew the bolts and remove the bearing cover.
Warning. To prevent deformation, unscrew the bolts one turn at a time in the sequence shown in the figure until all bolts are loosened.
Sequence of loosening the main bearing cap bolts
7. Remove the connecting rod bearing caps.
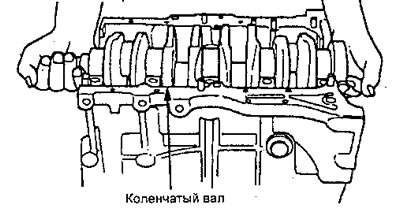
8. Carefully remove the crankshaft from the engine so as not to damage the nuts.
9. Remove the upper bearing halves from the connecting rods, and set them aside with their caps.
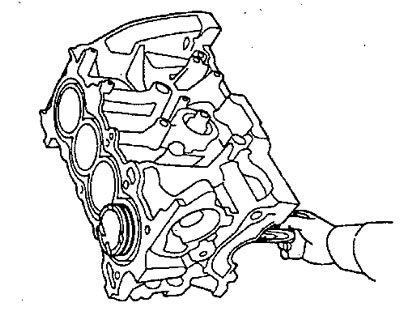
10. Reinstall the main covers and bearings on the engine in the correct order.
11. If you feel a ridge of metal or hard carbon around the top of each cylinder, remove it.
Warning. If the comb is not removed, you may damage the pistons when removing them.
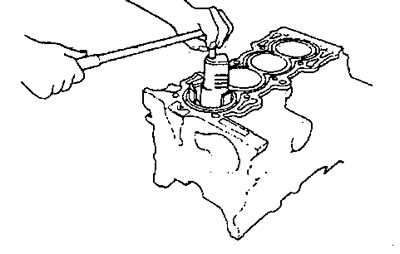
12. Remove the pistons using a wooden hammer handle.
13. Reinstall the connecting rod bearings and caps after removing the piston and connecting rod assembly.
14. Mark the number of each piston and connecting rod assembly (number of the cylinder from which they are extracted), to avoid confusion during subsequent assembly.
Please note: the number on the connecting rod does not indicate its position in the engine, but rather the size of the connecting rod (for earbuds of a certain size group).