
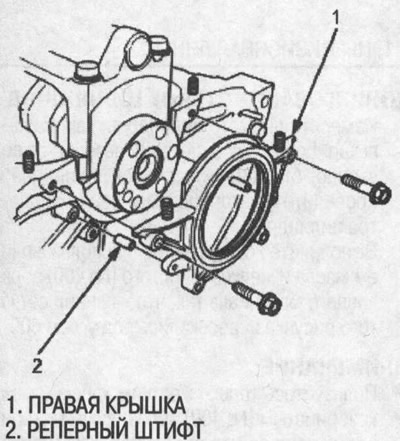
2. Remove the right cover.
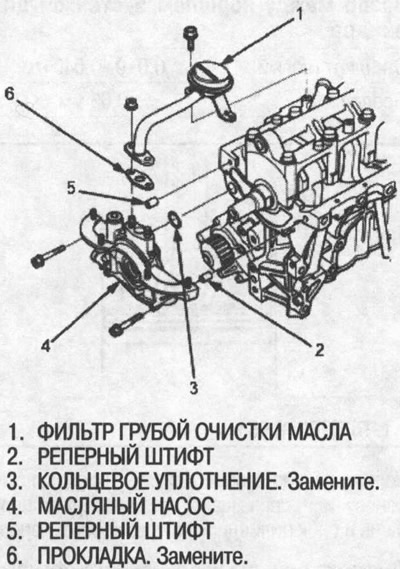
3. Remove the coarse oil filter.
4. Remove the oil pump.
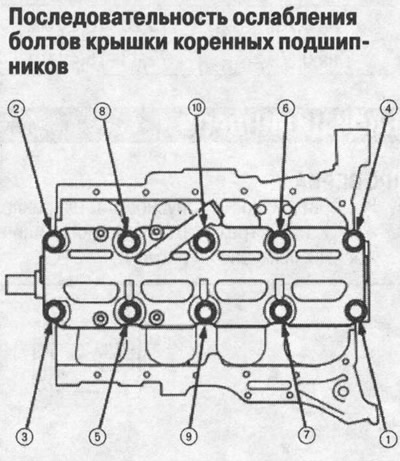
5. Turn off bolts. To avoid warping, loosen the bolts sequentially 1/3 turn at a time; repeat the operation until all bolts are loosened, then remove the bearing cover.
6. Remove the connecting rod bearings and their caps and the main bearings and their caps. Install all covers/bearings in order.
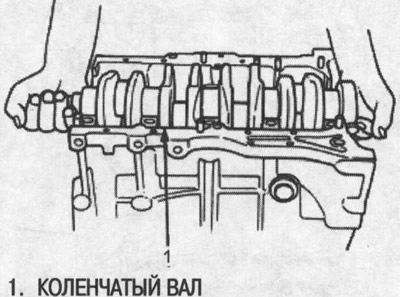
7. Remove the crankshaft from the engine, being careful not to damage the bearings.
8. Remove the upper bearing shells from the connecting rods and set aside along with the caps.
9. Reinstall the covers and main bearings in the engine in the correct order.
10. If you feel an annular protrusion of metal or hard deposits in the upper part of the cylinders, remove it with a reamer. Follow the reamer manufacturer's instructions. If the collar is not removed, it can damage the pistons when they are pushed out.

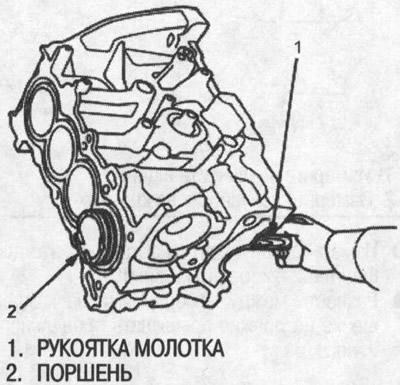
11.Push out the pistons with a wooden hammer handle.
12. After removing the connecting rod and piston groups, reinstall the connecting rod bearings and their covers.
13. To avoid confusion during reassembly, mark each connecting rod and piston group according to its cylinder number.
Note: The number on the connecting rod does not indicate its location in the engine, but the diameter of the big end of the connecting rod.