
Note: Read "Precautions for Fuel System Fuel Line Quick Connectors" before working on fuel lines and connections.
1. Check the connection area A of pipe B to ensure there is no dirt or damage, and clean it if necessary.
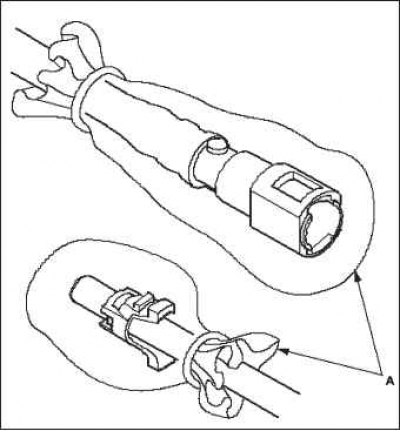
2. Insert a new retaining clip A into slot B if the retaining clip has been damaged, or after:
- fuel rail replacement;
- fuel line replacement;
- fuel pump replacement;
- fuel filter replacement;
- replacing the fuel level meter transmitting unit;
- removing the clamp from the tube;
- when replacing valve heads, use parts of the same manufacturer and size.
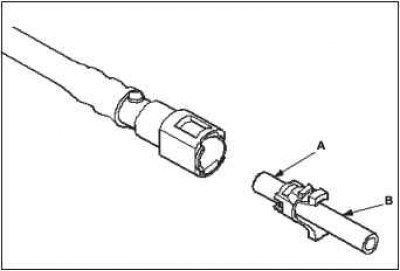
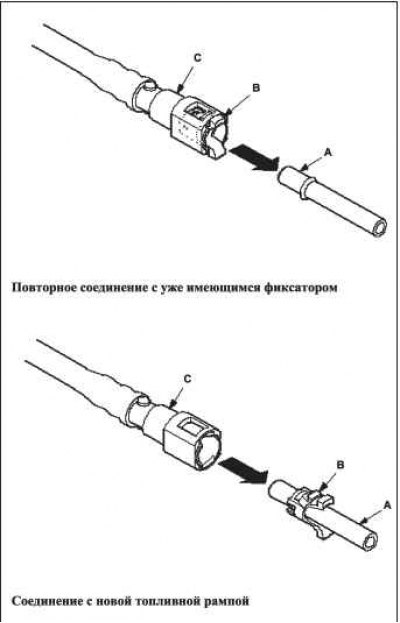
3. Before connecting the new fuel pipe assembly and quick release connector A, remove the old retaining clip from the pipe being connected.
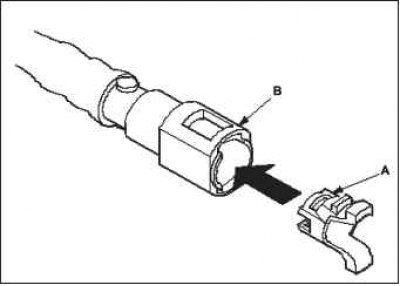
4. Align the quick-disconnect fittings with line A, and the locking tabs of the retaining clip B with the grooves in connector C. Then push the quick-disconnect fitting onto the tube until both tabs of the retaining clip click into place.
Note: If the connector is difficult to fit, apply a small amount of clean engine oil to the end of the tube.
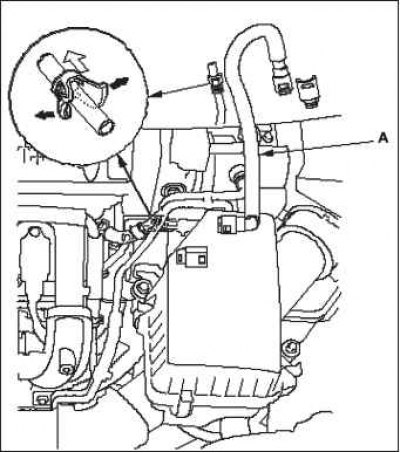
5. When connecting the connectors to the old valve head, make sure that the connection
securely, and the clamp tabs snap firmly into their locks; check visually and by pulling the connector. When replacing the fuel rail, make sure you remove the tension ring by pulling it up after checking the reliability of the connection.
Note: Before removing the tension ring, make sure the fuel rail connection is secure. If the connection is not secure, the ring may break when you try to remove it.
6. Connect the negative battery cable and turn the ignition "ON" (II) (do not turn on the starter). The fuel pump will turn on for about 2 seconds and the pressure in the fuel line will increase. Repeat this operation two or three times and check for leaks in the fuel system.
(Refer to the original source on the website «HondaBook.ru»)