
Examination
1. Remove the air filter housing (see chapter "Maintenance and general check and adjustment procedures").
2. Disconnect the selector position sensor connector.
3. Make sure there is continuity between the terminals of the selector position sensor at the corresponding selector positions.
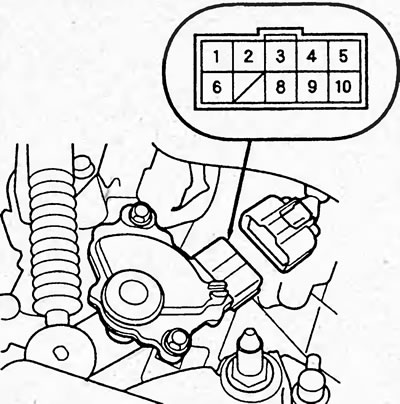
| Selector position | Conclusions |
| R | 2←→10 1←→ |
| R | 2←→5 |
| N | 2←→9 1←→2 |
| D | 2←→4 |
| S (sedan) | 2←→8 |
| L | 2←→3 (sedan) 2←→8 (hatchback) |
Replace the selector position sensor if necessary.
Removal
1. Remove the air filter housing (see chapter "Maintenance and general check and adjustment procedures").
2. Set the selector to the "N" position.
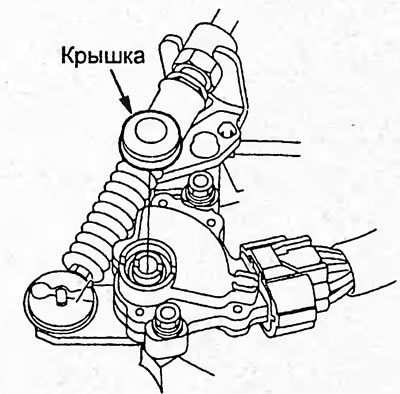
3. Remove the cover.
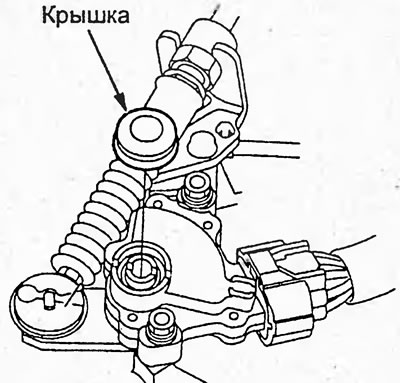
4. Loosen the bolts and remove the selector position sensor.
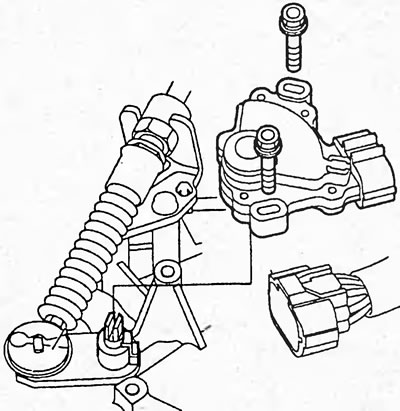
Installation
1. Turn the lever to set the Sensor shaft to the "N" position as shown in the figure.
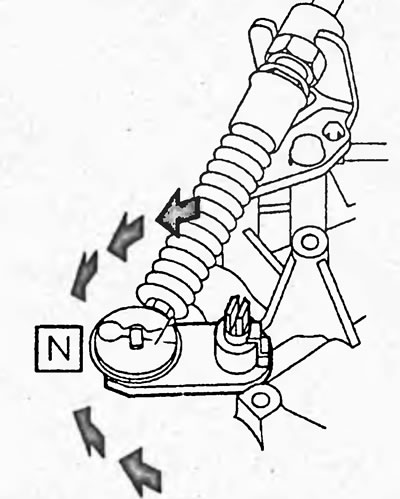
2. Rotate the start inhibit switch housing and insert a 2 mm thick feeler gauge into the slots of the selector position sensor as shown in the figure.
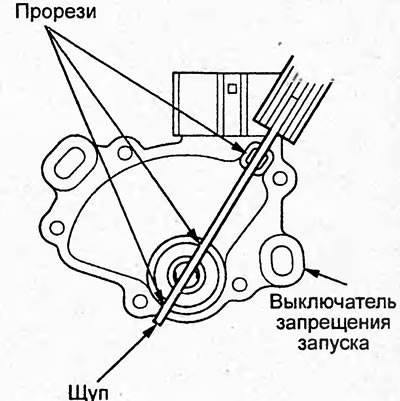
3. Without removing the feeler gauge, install the selector position sensor onto the shaft.
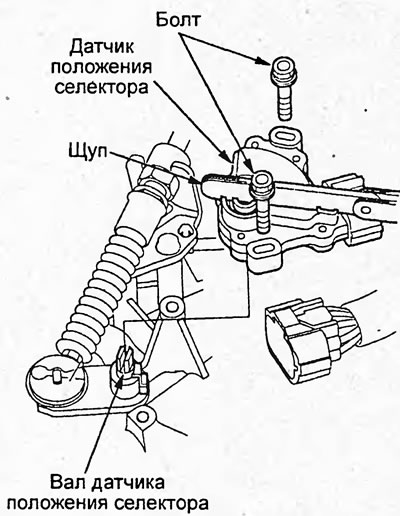
4. Tighten the selector position sensor mounting bolts and remove the dipstick.
Tightening torque - 12 Nm
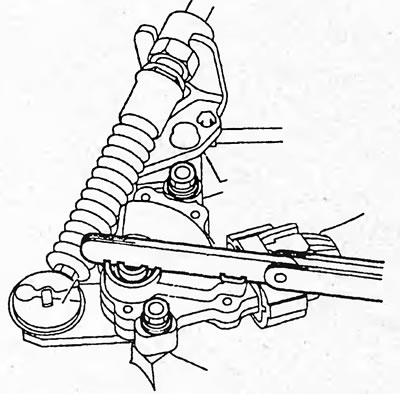
5. Install the lid.
6. Turn on the ignition and make sure that the "N" position indicator of the selector is lit.
7. Make sure that the engine can only be started in the "P" and "N" positions of the selector.
8. Make sure that the reversing lights only come on when the selector is in the "R" position.
9. If at least one of points 6-8 is not normal, remove and reinstall the selector position sensor.
[The original is located on the website «www.hondabook.ru»]