
Contents: Removal ⇊ Installation ⇊
Removal
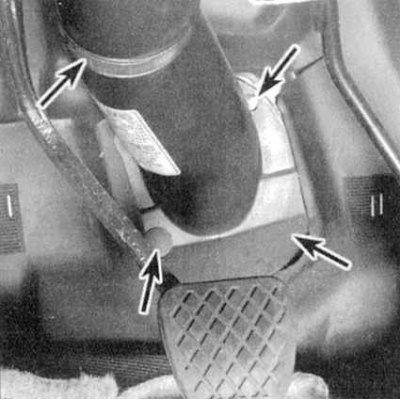
1. Park the car with the front wheels turned straight ahead. Remove the steering column joint cover under the instrument panel (see accompanying illustration).
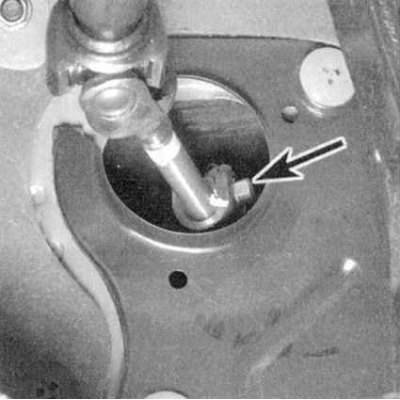
2. Mark the position of the steering column intermediate shaft in relation to the steering gear input shaft, then loosen the clamping screw (see accompanying illustration).
3. Jack up the front of the car and place it on supports. Set the parking brake. Remove the ignition key from the lock and lock the steering column.
Caution! Turning the steering wheel with the rack and pinion removed may cause the SRS cable drum to fail.
4. Remove the shift drive rod and the gear shift lever reaction rod from the transmission (models with manual transmission), or gear shift cable (models with AT) (See Chapter Gearshift box).
5. Remove the catalytic converter (see Chapter Power and exhaust systems).
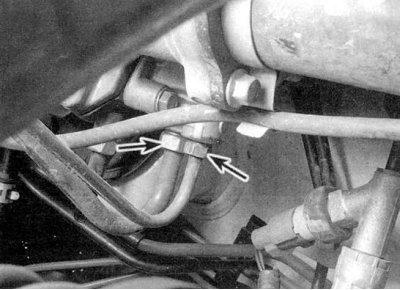
6a. Place a drain pan under the steering gear housing. Disconnect the PAS hydraulic lines from the steering gear housing (cap open ends of lines immediately to minimize fluid loss and prevent dirt from entering the system) (see accompanying illustration).
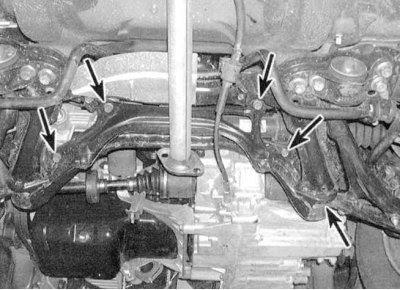
6b. If equipped, remove the chassis stiffener (see accompanying illustration).
7. Release the steering rod ends from the steering knuckle arms (see Removal and installation tie rod ends). Remove the left tie rod end.
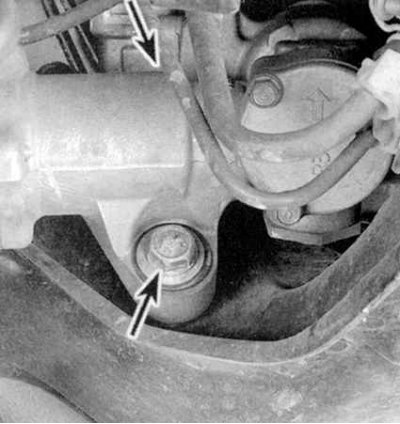
8a. Support the steering gear from below and loosen its mounting bolts (see accompanying illustrations).
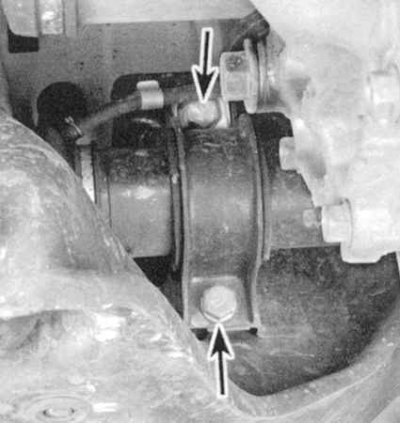
8b. Lower the rack and pinion assembly by carefully disengaging the steering column intermediate shaft from the gear input shaft. Slide the steering gear assembly as far to the right as possible and turn it so that the input shaft is facing forward. Lower the left end of the assembly under the frame and gradually slide the rack and pinion out from under the vehicle to the left.
Installation
1. Place the steering gear assembly in its proper place and engage its input shaft with the intermediate shaft of the steering column (make sure that the landing marks applied during dismantling are correctly aligned).
2. Screw in the rack and pinion assembly mounting bolts (don't forget to put washers under the bolt heads) and tighten them to the required torque.
3. Screw the end onto the left tie rod, then tuck both ends into the steering knuckle arms (see Removal and installation tie rod ends).
4. Connect the PAS hydraulic lines to the steering gear housing.
5. Restore the original connection of the transmission drive rods (see Chapter Gearshift box) and a catalytic converter (see Chapter Power and exhaust systems).
6. Lower the vehicle to the ground, screw in the intermediate shaft clamping bolt and tighten it to the required torque. Replace the steering column joint cover and secure it with clamps. Make sure that the cover flange is correctly positioned with its mounting holes on the guide pins on the engine compartment bulkhead (see illustration for paragraph 1, Removal).
7. Fill the power steering system reservoir with the required amount of fluid of the required grade (see Chapter Routine maintenance). Remove air from the steering system (see Bleeding air from the hydraulic circuit of the power steering system).
(Article source on the website: HONDABOOK.ru)