
Contents: Replacement ⇊ Adjustment ⇊
Replacement
Warning! The vehicles covered in this Manual are equipped with airbags (SRS). When performing any work near the impact sensors, steering column or instrument panel, turn off the SRS (see the electrical connection diagrams at the end of Chapter On-board electrical equipment).
1. Remove the center console (see Chapter Body).
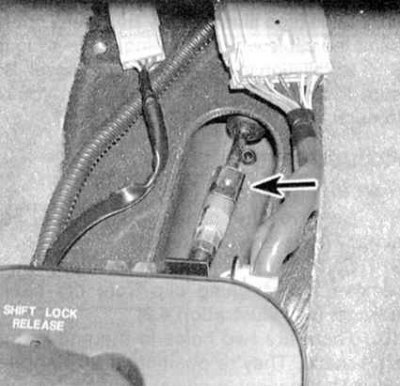
2. Move the selector lever to the "N" position and remove the retaining clip from the drive cable adjuster (see accompanying illustration).
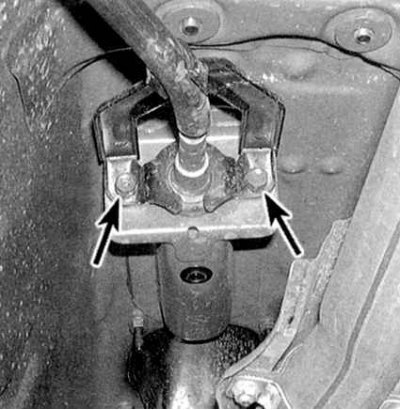
3. Jack up the car and place it on stands. Unbolt the gear shift cable bracket (see accompanying illustration).
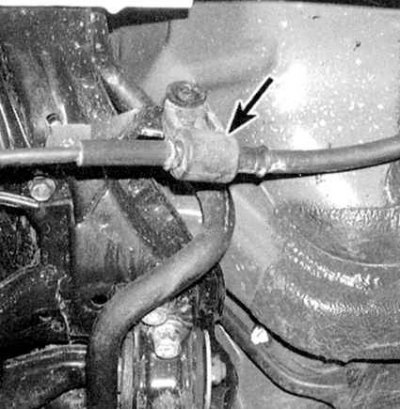
4. Disconnect the cable holder from the floor panel, then release the cable from the mounting bracket (see accompanying illustration).
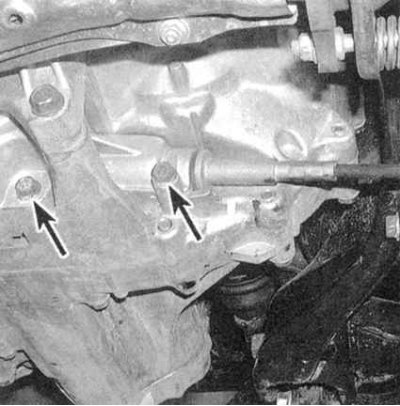
5. Remove the cable cover (see accompanying illustration).
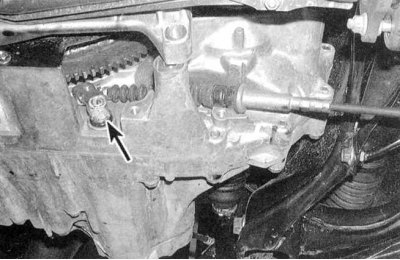
6. Loosen the mounting nut and remove the lever from the control rod. Try not to bend the cable excessively during removal and installation.
7. Installation is carried out in the reverse order. Do not forget to adjust the cable (see below).
Adjustment
1. Remove the center console (see Chapter Body).
2. Move the selector lever to the "N" position, then release the retaining clip on the cable adjuster assembly (see illustration first illustration).
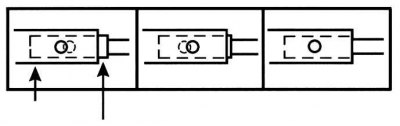
3. There are two holes in the end of the cable. The holes are located at an angle of 90°, which allows you to adjust the cable in 1/4 turn increments. Make sure that the hole in the adjuster is precisely aligned with the corresponding hole in the end (see accompanying illustration).
4. If the holes cannot be aligned as desired, loosen the cable lock nut and make the necessary adjustments. Tighten the lock nut again securely.
5. Install the fastening clamp on the regulator. If the clamp jams when installing it, make sure that the cable is adjusted correctly.
6. Loosen the mounting screws and adjust the position of the indicator panel of the switch assembly until its marks are aligned.
7. Insert the mounting screws and tighten them securely.
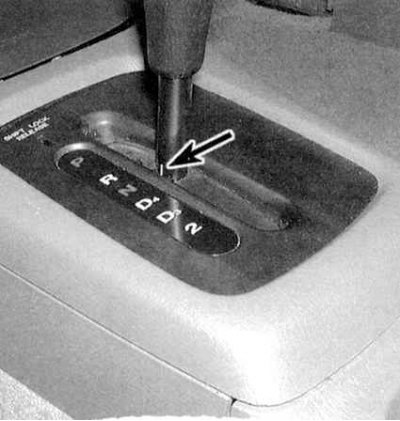
8. Make sure that the white mark at the base of the selector lever is aligned with the "N" mark on the indicator panel (see accompanying illustration). If the marks are not aligned clearly, adjust the position of the panel.
9. Start the engine and check the correct operation of the selector lever in all possible positions. If you cannot select any of the driving modes, refer to the materials in Section 2.
(Original article on the website «hondabook.ru»)