
a) Install the piston and connecting rod so that the "IN" mark (B) on the piston is on the same side as the oil passage (A) on the connecting rod.
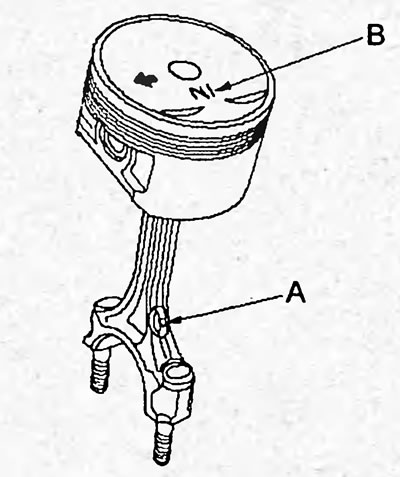
b) Apply a small amount of engine oil to the piston pin and into the piston boss holes.
c) Press in the piston pin.
Note: If the piston pin fits into the piston with too much interference, heat the piston.
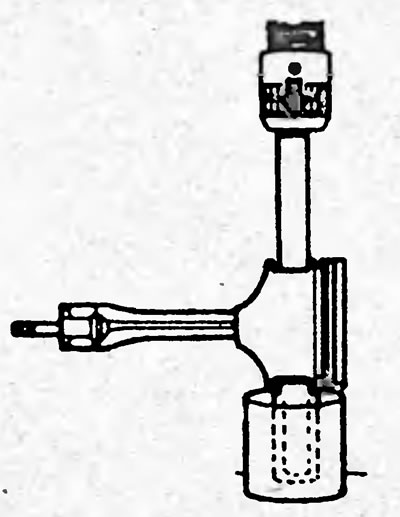
2. Check the fit of the piston-piston pin joint. If the connecting rod does not drop under its own weight, replace the piston, connecting rod and/or piston pin.
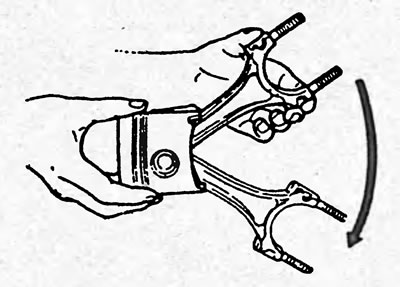
Replace the entire assembly if necessary.
3. Install the piston rings.
a) Install the expander and two oil scraper ring scrapers.
b) Install compression ring No.1 (A) and compression ring No.2 (B) with marks (C) facing up.
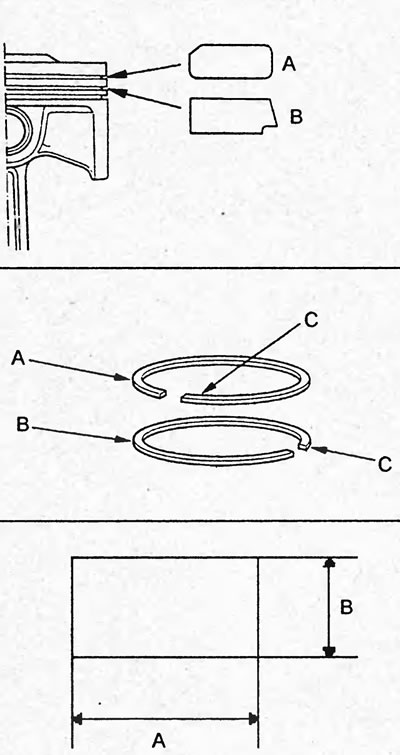
Dimensions:
compression ring #1:
- A - 2.6 mm
- B -1.0 mm
compression ring #2:
- A - 3.0 mm
- B - 1.2 mm
c) Install the piston rings in the grooves so that their locks are located as shown in the figure.
Note: Do not place the ring locks opposite the "A" locations indicated in the figure (along the axis of the piston pin and perpendicular to the axis of the piston pin).
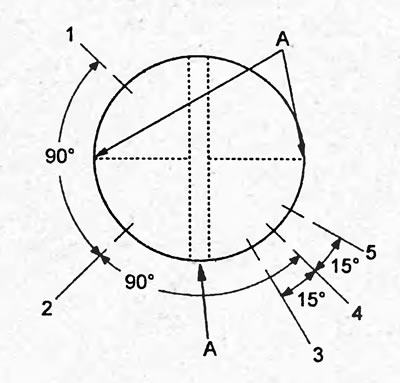
1 - compression ring No.2, 2 - compression ring No.1, 3 - lower scraper of the oil scraper ring, 4 - expander of the oil scraper ring, 5 - upper scraper of the oil scraper ring.
d) Install the connecting rod and piston group so that the marks on the pistons are directed forward.
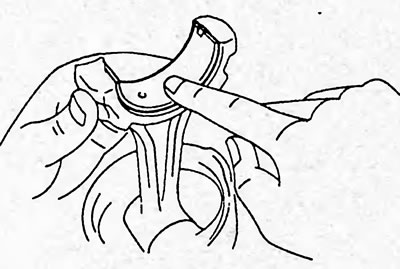
4. Install the connecting rod bearing shells as shown in the figure.
(The original is located on the website: HONDABOOK)