
Contents: Removal ⇊ Installation ⇊
Removal
1. Disconnect the negative cable from the battery.
2. Disconnect the regulator vacuum hose.
3. Disconnect the low voltage wires from the coil.
4. Determine the position of the mark "1" on the cover, corresponding to the terminal of the spark plug wire of the first cylinder. If there is no mark, apply it yourself.
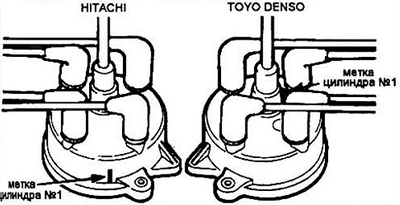
Fig. 10.4 Markings on distributor caps
5. Remove the distributor cap and turn the engine shaft until the TDC mark between the rotor and the distributor housing coincides (see Chapter 2).
6. Mark the position of the distributor base relative to the housing (fig. 10.6a) and the distributor housing relative to the cylinder head (see fig. 10.6b).
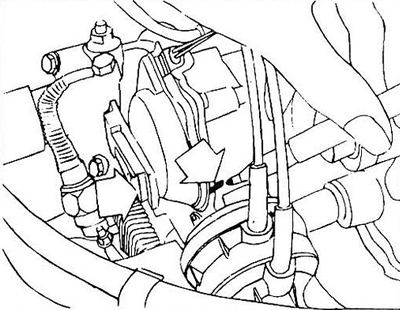
Fig. 10.6a Applying a base mark relative to the distributor housing
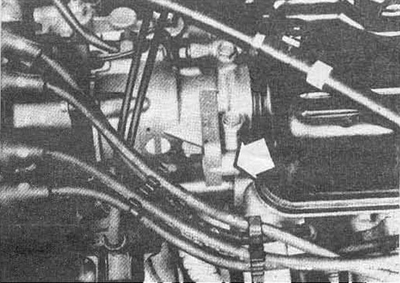
Fig. 10.6b... and marks of the housing position relative to the cylinder head
7. Disconnect the breaker wires (see Section 8).
8. Loosen the mounting bolts and remove the distributor.
Caution: Do not rotate the engine crankshaft with the distributor removed, otherwise the marks made will be useless.
Installation
Note: If the crankshaft was rotated with the distributor removed, first find the TDC position of the compression of the first cylinder.
9. Install a new rubber ring onto the distributor housing.
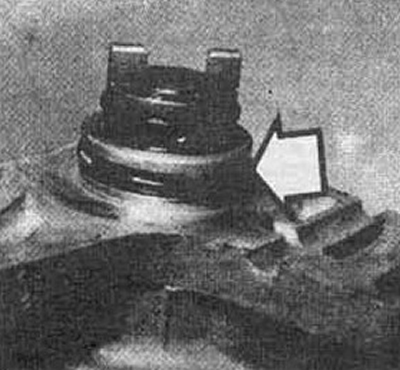
Fig. 10.9 Replacing the distributor housing seal (arrow)
10. Install the distributor in its place exactly according to the marks made earlier.
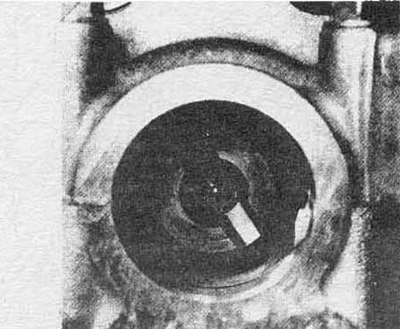
Note: The distributor-head connection does not allow the distributor to be set to 180° position (see fig. 10.10).
11. Make sure that the marks you made when removing the distributor match.
12. Tighten the distributor mounting bolts (leave a little leeway for adjusting the ignition timing).
13. Connect the breaker wires.
14. Install the cover and high-voltage wires.
15. Check the correct ignition timing and tighten the distributor mounting bolts completely.
The article was taken from the website: Hondabook.ru