
Note. To carry out the replacement procedure, you will need a special tool: a device to reduce the tension of the drive belt (Snap-on YA9317 or other similar commercially available parts).
1. Turn the ignition switch to the «ON» (II) and make sure the A/C switch is in the «OFF». Turn the ignition key to position «OFF».
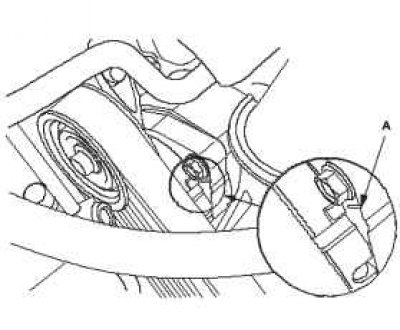
2. Check the position of the auto-tensioner indicator arrow A Start the engine, then check the position of the auto-tensioner again with the engine idling. If the indicator moves or fluctuates a lot, replace the auto-tensioner.
3. Make sure that there is no increased noise level in the area of the tensioner pulley. If unusual noises are present, replace the tensioner pulley.
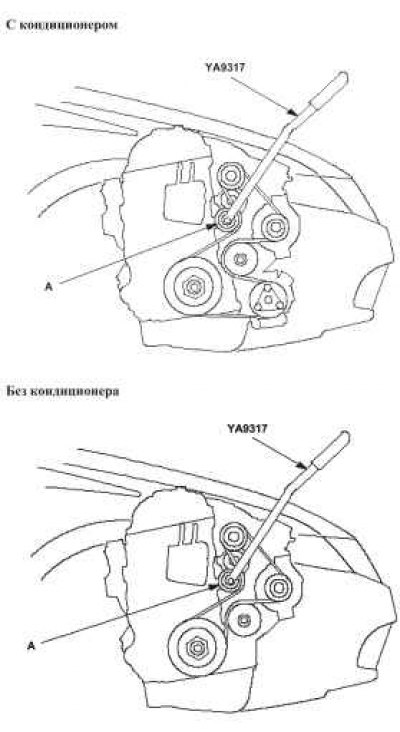
4. Remove the drive belt.
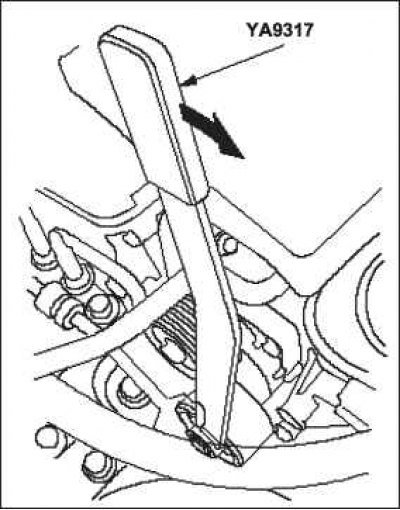
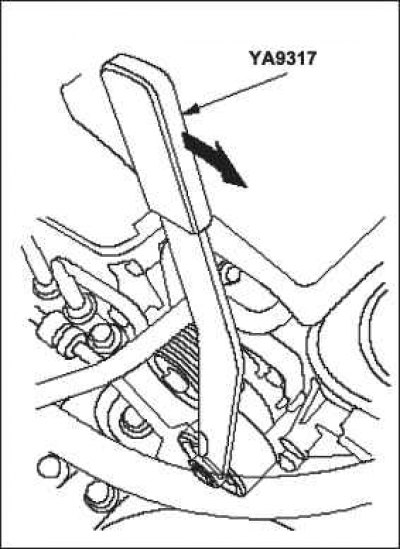
5. Move the auto tensioner within its travel range using the drive belt tensioner in the direction shown. Make sure the tensioner moves smoothly without excessive noise. If the tensioner does not move smoothly or an unusual noise is heard, replace the auto tensioner.
6. Remove the auto tensioner.
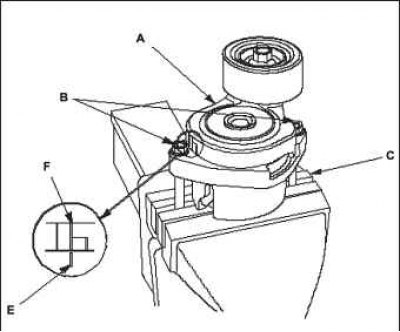
7. Clamp auto tensioner A using two 8mm bolts B in vise C as shown. Do not pinch the auto tensioner housing itself.
8. Fit the torque wrench D onto the pulley mounting bolt in the direction shown.
9. Align the indicator E on the base of the tensioner with the central mark F on the tensioner arm using a torque wrench, while determining the torque. If the torque is outside the range specified in the specification, replace the auto tensioner.
Note. If the indicator goes beyond the center mark, check the torque again.
 |  |
Auto tensioner spring torque: 47.6-58.7 Nm.