
Warning! If the car stereo system is equipped with a security code, make sure you have the correct combination to activate the audio system before disconnecting the battery!
2. After marking, disconnect the electrical wiring from the generator.
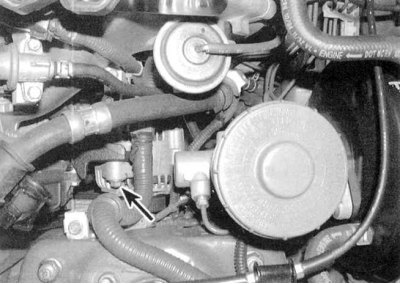
3a. Loosen the generator axle bolt.
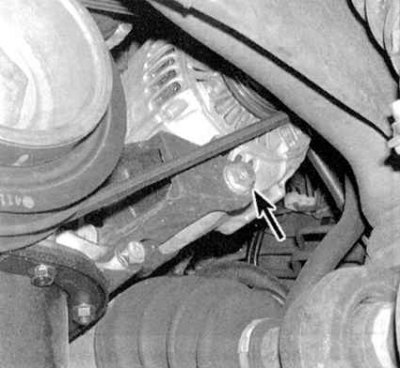
3b. Loosen the generator adjusting bolt (see accompanying illustrations) and remove the drive belt.
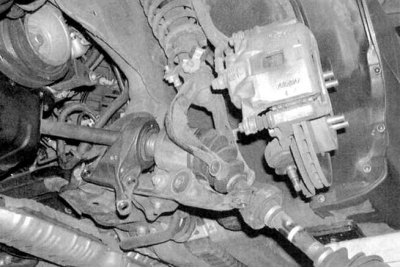
4. To remove the generator from the engine compartment, it is necessary to partially dismantle the drive shaft located underneath it. Disconnect the lower end of the control arm from the suspension strut (see Chapter Suspension and steering) and release the outer end of the left drive shaft from the wheel hub. On Integra models, you will also need to unbolt the intermediate shaft support bearing from the engine block. (see accompanying illustration) - for more details see Chapter Clutch and drive shafts.
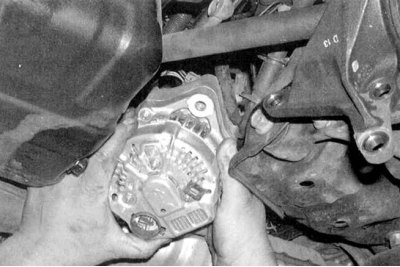
5. Remove the adjusting and axial bolts and remove the generator from the engine (see accompanying illustration).
6. If you need to replace the generator, take the unit removed from the car with you to the store as a sample - the new generator must match the technical characteristics of the failed one. Compare the terminals - they must have the same numbering, size and location. Finally, compare the identification marking, usually stamped on the housing of the unit, or printed on a label tied to it - the identification numbers of the old and replacement generators must match.
7. Replacement generators are usually not supplied complete with a drive pulley, which in this case must be moved from the old unit.
8. Installation is carried out in reverse order.
9. Finally, adjust the drive belt tension (see Routine maintenance).
10. To check the proper functioning of the generator, measure the charging voltage it produces (see Charging system - general information and precautions).