
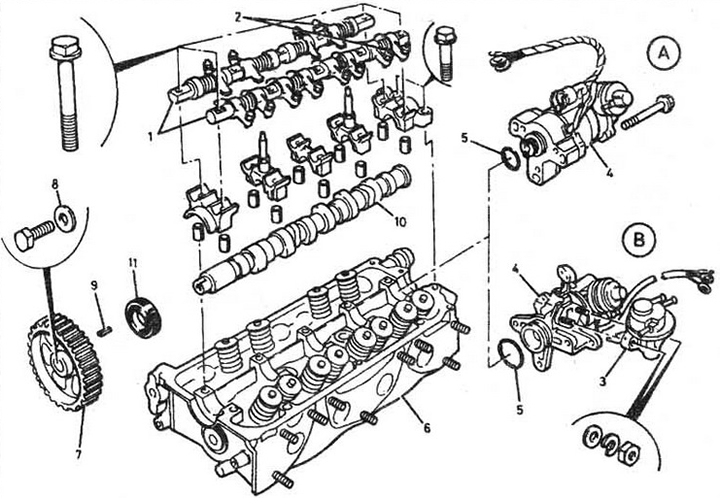
Fig. 8.1 Cylinder head - assembly: 1 - rocker arm assembly; 2 - adjusting screws; 3 - fuel pump; 4 - distributor; 5 - rubber ring; 6 - cylinder head; 7 - camshaft gear; 8 - special washer; 9 - key; 10 - camshaft; 11 - oil seal; A - engine with shower; B - engine with carburetor.
2. Before you begin dismantling the valves, prepare a storage area for the relevant parts.
3. Using a puller, remove the valve spring and remove the crackers. Carefully release the spring, remove the plate, spring and spring seat (if installed).
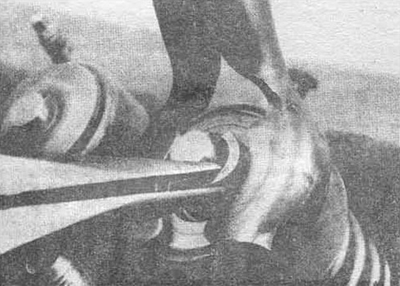
Fig. 8.3 Compress the spring with a puller and remove the crackers from the plate
4. Remove the valve and the seal from the guide. If the valve does not come out of the guide, push it back and clamp the end of the valve with emery or a thin file.
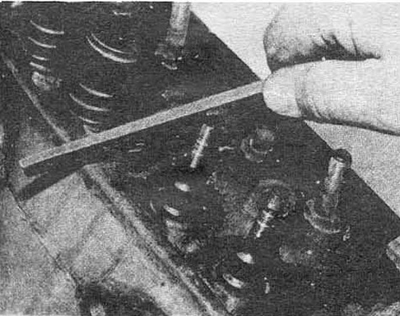
Fig. 8.4 If the valve does not come out of the guide, file the end of the stem with a file
5. Repeat steps 3 and 4 for all valves. Remember that all parts of a given valve should be kept in one place for subsequent installation.
6. After removing the valves and marking them, the head should be thoroughly washed and inspected.