
Attention: read the warnings Section 1.
Withdrawal
1. Loosen the wheel nuts, raise the vehicle, put it on stands and remove the wheel.
2. If you want to remove the rear brake caliper, remove the cotter pin from the pin connecting the cable and the parking brake lever. Pull out your finger and remove the cable.
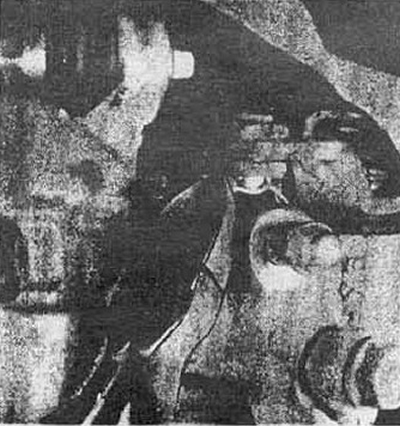
3. Disconnect the brake hose (see fig. 3.3a) and plug it to prevent loss of brake fluid and dirt (see fig. 3.36).
 |  |
4. Turn away bolts and remove a support (see section 2) or, on some models, turn the caliper up and remove it.
Repair
Front caliper
Note: We recommend that you familiarize yourself with the contents of Section 2, especially with assembly drawings.
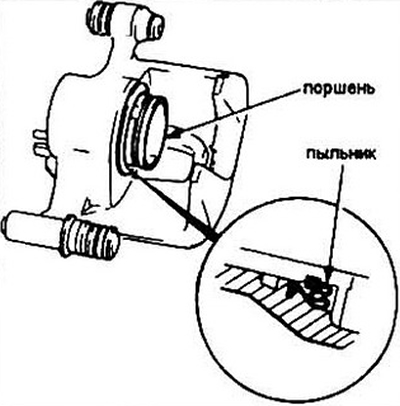
5. Clean up your desktop. Remove the brake pads. If the boot is held by the ring, remove it with a screwdriver. Pull up the duster.
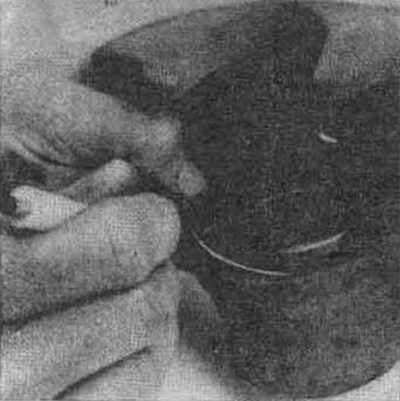
Pic. 3.5 Removing the boot (the ring is not installed on all models!)
6. Place a piece of wood between the piston and caliper to prevent damage to the piston during removal. Connect compressed air to the brake fluid inlet, press out the piston.
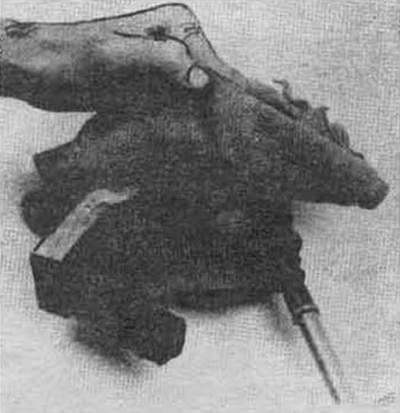
Pic. 3.6 Pressing out the piston with compressed air. Be careful not to hurt your hands!
7. Inspect the piston and caliper mounting surfaces. If they are torn or dirty, then replace the kit with a new one.
8. If the piston and caliper are in satisfactory condition, remove the piston seal with a wooden or plastic stick, a pencil will do.
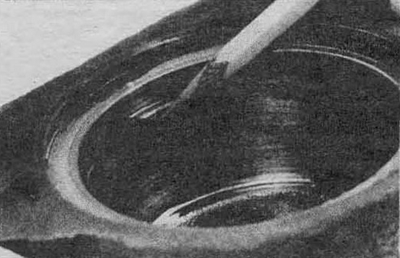
Pic. 3.8 Removing the piston seal
9. Pull out the bushings of the mounting bolts from the caliper and remove both anthers (not installed on some models).
Pic. 3.9 Removing the bushings and anthers of the caliper mounting bolts
10. Wash parts with alcohol or brake fluid.
11. Get new parts to replace the bad ones.
12. Dip the piston seal in brake fluid and install it in the bottom groove of the caliper.
13. If the piston boot retaining ring is not provided in the caliper design, install the boot into the upper groove of the caliper bore.
14. Lubricate the piston with brake fluid, carefully insert it through the boot and, without applying significant force, install it in the caliper hole.
Pic. 3.14 Install the dust boot, pull it over the piston and push the piston into the caliper bore. The end of the boot must not be tucked
15. When using the boot retaining ring, install a new boot and snap the ring into the groove.
16. Lubricate the bushings with silicone grease (usually sold with a repair kit) and push them into the lugs of the caliper. Install the duster. Lubricate the guides.
Rear brake caliper (since 1990, CRX models only)
17. Disassembly of this unit is carried out in special devices at the service station.
Installation
18. Installation is carried out in the reverse order of removal. Don't forget to replace the brake hose seals (usually included with the repair kit).
19. Bleed the brake system (see Section 10).
20. Install the wheels and lower the car. Tighten the wheel mounts, test the brakes in a closed area.