
Contents: Examination ⇊ Removal and installation ⇊
Examination
1. Perform general checks.
a) Shift into neutral.
b) Jack up the car;
c) By rocking the propeller shaft (B), check that there is no excessive play in the intermediate support bearing (A).
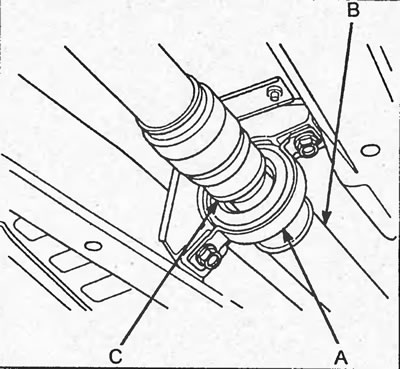
d) Make sure that the anthers (C) are not damaged.
d) By rocking the propeller shaft, make sure that there is no excessive play in the joint.
Replace the faulty element if necessary.
2. Check the cardan shaft runout.
a) Install the pointer indicator.
b) Rotate the cardan shafts and measure the radial runout of the cardan shafts.
Maximum runout - 1.5 mm
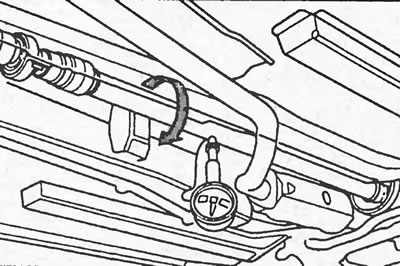
Cardan shaft No.1
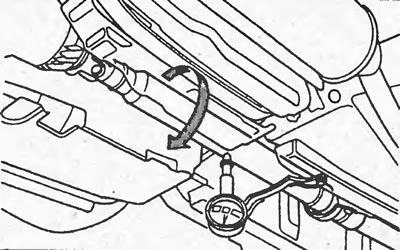
Cardan shaft No.2
If the radial runout exceeds the maximum allowable value, replace the driveshaft.
Removal and installation
Note: Installation is carried out in the reverse order of removal.
1. Jack up the car.
2. Loosen the bolts and remove the protective bracket of the propeller shaft No.1.
3. Apply marks (C) to the flanges of the propeller shaft No.1 (A) and the transfer case (B).
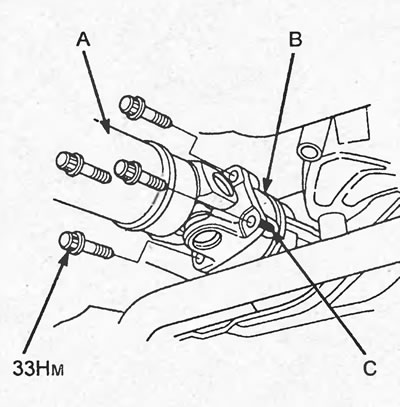
4. Loosen the bolts and disconnect the propeller shaft from the transfer case.
Tightening torque - 32 Nm
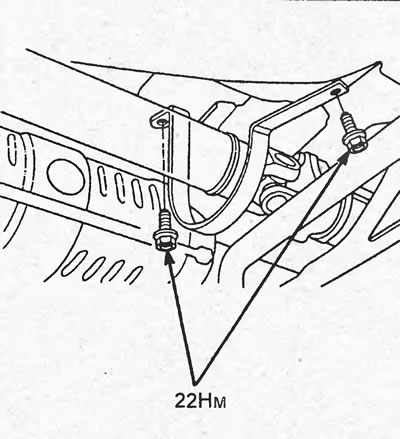
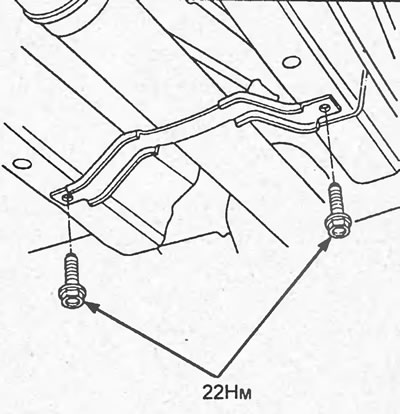
5. Loosen the bolts and remove the protective bracket of the propeller shaft No.2.
Tightening torque: 22 Nm
6. Apply marks (C) to the flanges of the propeller shaft No.2 (A) and the rear gearbox (B).
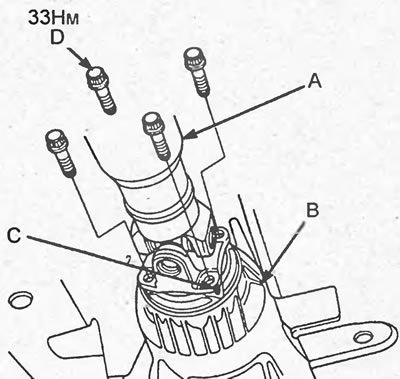
7. Loosen the bolts (D) and disconnect the propeller shaft from the rear axle.
Tightening torque - 32 Nm
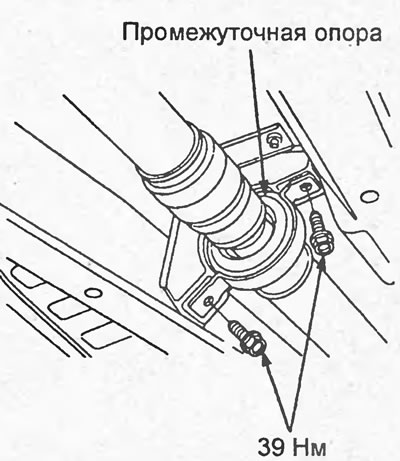
8. Loosen the bolts and remove the cardan shafts with the intermediate support.
Tightening torque - 39 Nm
Full text available on the portal hondabook