
Contents: Checking the ignition switch ⇊ Replacing the ignition switch ⇊ Checking and replacing the engine…⇊
Checking the ignition switch
1. Turn the ignition key to the "OFF" position.
2. Disconnect the negative battery cable.
3. Remove the steering column covers.
4. Disconnect the 7P connector from the fuse/relay box under the instrument panel and remove it.
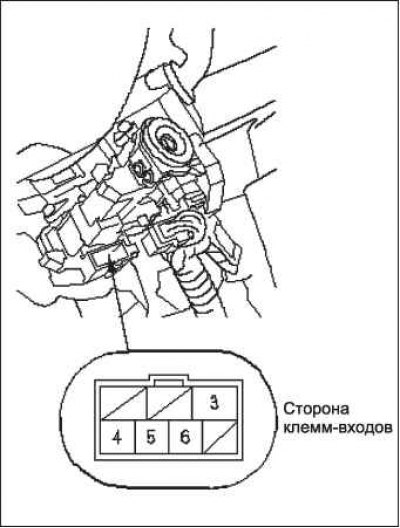
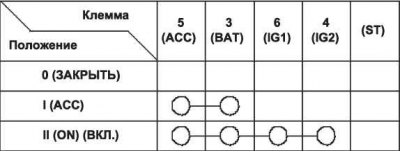
5. Check the continuity of the connection between the terminals in each switch position according to the table.
6. If the connection check results do not match those shown in the table, replace the steering lock.
7. Enter the client's audio system settings and reset the clock.
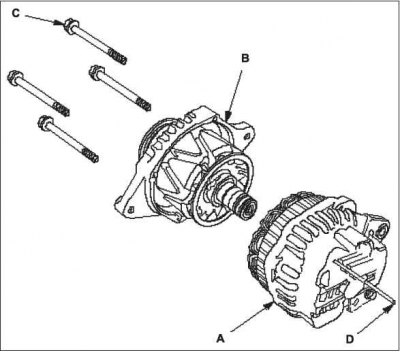
Replacing the ignition switch
1. Remove the steering column covers.
2. Disconnect 7P connector A from ignition switch B.
3. Remove the two mounting screws and remove the ignition switch
4. Install the lock in the reverse order of removal.
Checking and replacing the engine start button (L13A)
1. Remove the lower part of the control panel.
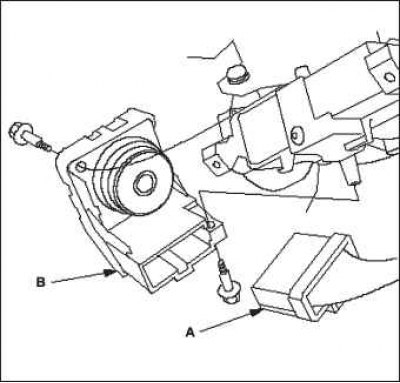
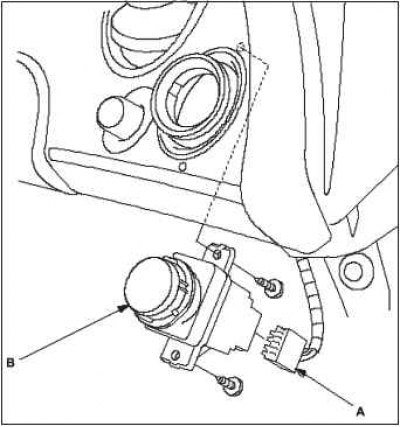
2. Disconnect the 5P connector A, then remove the engine start button B.
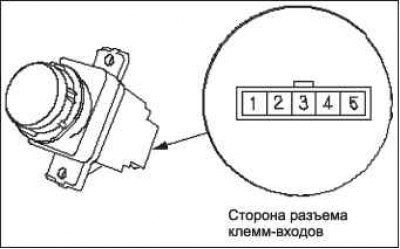
3. Check if there is a connection between terminals #1 and #2 of the engine start button. The connection should be when the button is released.
If there is a connection, proceed to step 4.
If there is a break, replace the engine start button.
4. Check if there is a connection between terminals #4 and #5 of the engine start button. The connection should be present in one direction only.
If the chain is broken in only one direction, go to step 5.
If the circuit is continuous in both directions or there is an open in both directions, replace the engine start switch.
 |
 |
5. Install the engine start button by performing the operations in the reverse order of removal.
[The text of the article is available on the website «Hondabook.ru»]