
General information
Some models are equipped with an IAB system, which allows air drawn into the engine to be bypassed into the combustion chamber. The intake manifold on these models is equipped with two air channels, which allows you to optimize the air supply to the engine, depending on the specific conditions of its operation. Maximum recoil efficiency is achieved by actuating the switching valves depending on the current engine speed. The closed position of the valves allows you to achieve maximum torque at low engine speeds, the open position is used to obtain maximum power at high speeds.
Examination
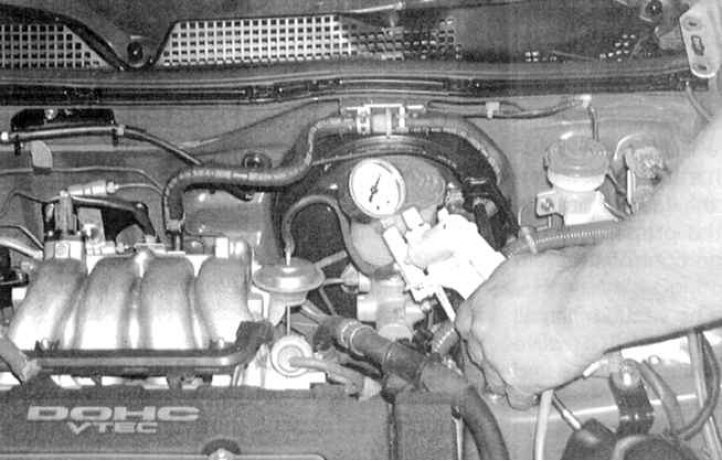
1. With the engine off, disconnect the vacuum hose from the IAB diaphragm and connect a hand vacuum pump to the latter (see accompanying illustration). If the diaphragm rod remains stationary, replace the assembly.
2. With the engine running at idle, check for vacuum at the open end of the disconnected vacuum hose. The vacuum should take place at idle, disappearing when the engine speed is increased to 6000 rpm.
3. If there is no vacuum at idle, run the vacuum hose from the diaphragm to the control valve located under the intake manifold and then to the vacuum reservoir. Disconnect the hose from the reservoir to the intake manifold and check for vacuum. If there is no vacuum, check the hose for cracks and signs of blockage.
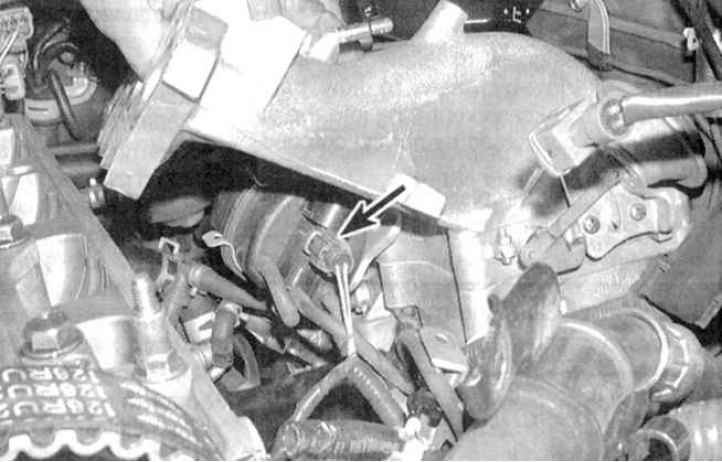
4. Disconnect the IAB solenoid connector (see accompanying illustration). Connect the positive voltmeter lead to the red/blue wire terminal on the harness side connector, and the negative lead to the black wire terminal. With the ignition on, battery voltage should be present. If there is no voltage, check the condition of the wiring and the quality of its contact connections.
5. If voltage is present and the vacuum lines are OK, replace the solenoid valve.
Replacement
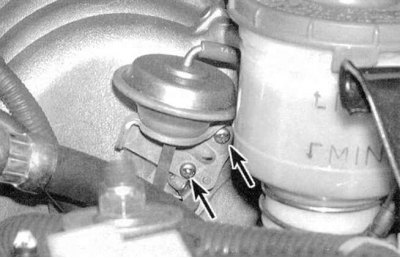
1. To replace the diaphragm, unscrew the screws securing it (see accompanying illustration).
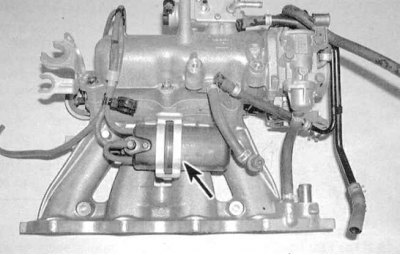
2. To replace the vacuum reservoir solenoid valve assembly, loosen the mounting clamp (see accompanying illustration).
3. Installation is carried out in the reverse order.