
1. The PCV system allows crankcase gases to be vented through a special valve through a hose back to the intake manifold, from where they enter the combustion chambers and are burned out during the normal operation of the engine. The system consists of a hose running from the cylinder head cover to the intake manifold and a fresh air supply hose routed between the air cleaner and the timing cover.
2. The PCV valve with a hose connected to it is seated in the cylinder head cover.
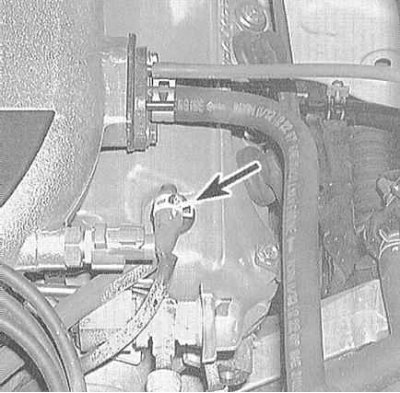 | 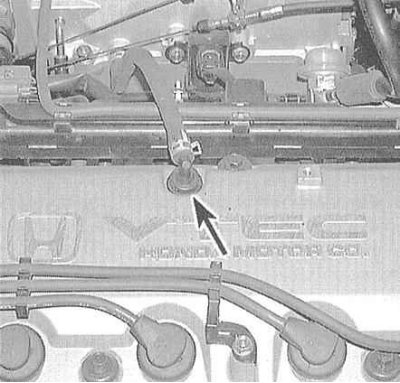 |
3. With the engine running at idle, warmed up to normal operating temperature, pull the valve and remove it together with the cylinder head cover hose connected.
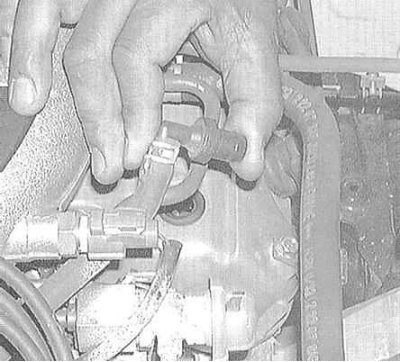
4. Press your finger against the hole in the PCV valve or hose - a vacuum should be felt, otherwise make sure that the hose, the fitting on the inlet pipeline and the valve itself are passable. Replace defective components.
5. Stop the engine and shake the PCV valve - it should rattle slightly, otherwise replace it.
6. To replace the PCV valve, disconnect it from the vacuum hose, remembering the direction of fit.
7. When buying a new valve, make sure that it matches the size of your car engine. It would be best to directly compare the new valve with the one removed from the engine.
8. Connect the replacement PCV valve to the vacuum hose, making sure the connection is secure.
9. Check the condition of the hoses and rubber bushings. Replace defective components.
10. Fit the valve firmly into place. For more information on the operation of the PCV system, see Chapter Engine management this guide.