
Warning! See warnings at the beginning Relieving pressure in the fuel system.
1. Disconnect the negative cable from the battery.
Warning! If the car stereo system is equipped with a security code, make sure you have the correct combination to activate the audio system before disconnecting the battery!
2. Relieve the pressure in the fuel system (see Relieving pressure in the fuel system).
3. On all models except the 1998 Integra Hatchback, remove the rear seat (see Chapter Body). On 1998 Integra Hatchback models, remove the spare tire and cover.
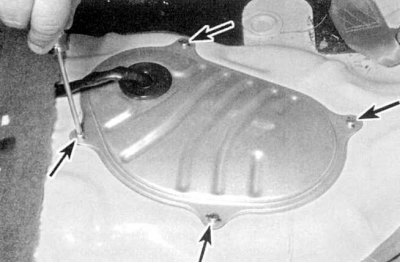
4a. Remove the bolts securing the fuel tank access cover to the fuel pump assembly (see ill.: Civic models).
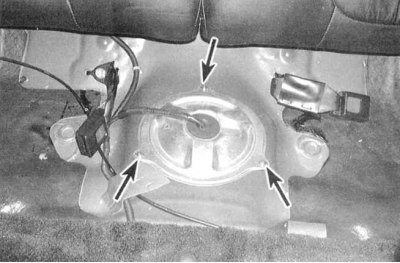
4b. Mounting bolts – Integra models.
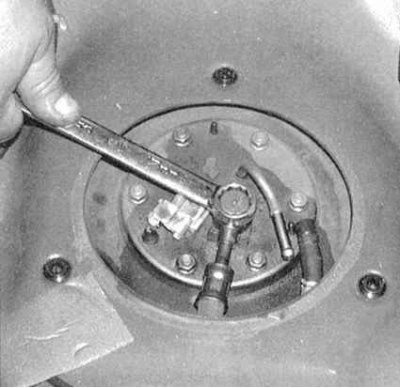
5. Disconnect the electrical wiring from the assembly. Using two wrenches, disconnect the fuel lines (see accompanying illustration).
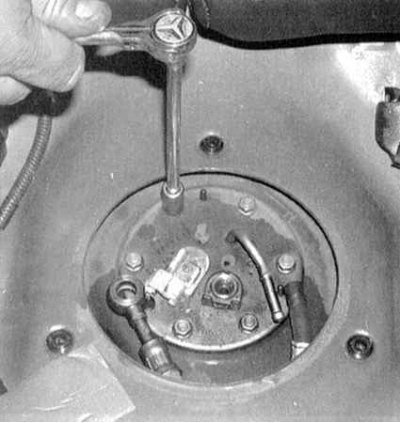
6. Remove the pump mounting nuts (see accompanying illustration).
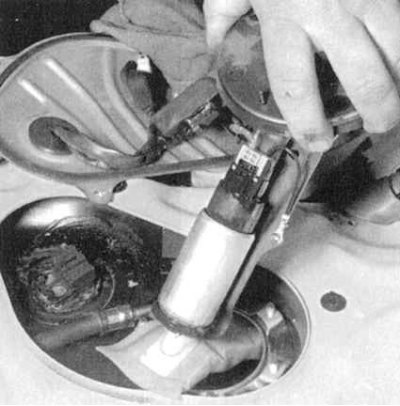
7. Carefully remove the assembly from the fuel tank (see accompanying illustration).
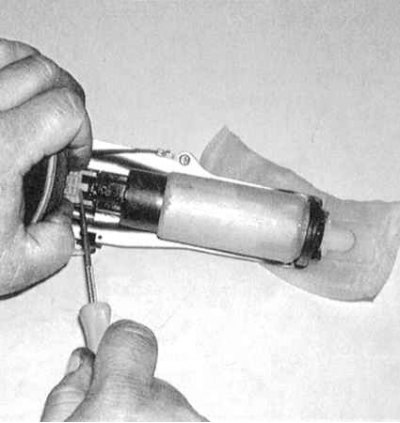
8. Remove the protective cover of the main electrical connector (see accompanying illustration).
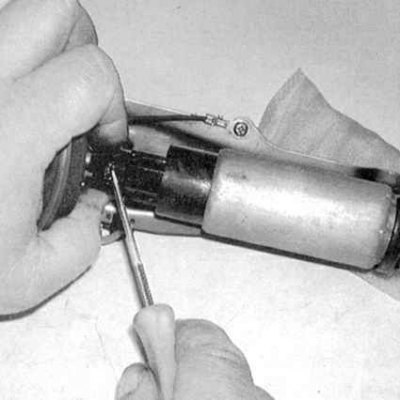
9. Disconnect the main electrical connector of the fuel pump assembly (see accompanying illustration).
10. Use pliers to squeeze the fuel hose clamps - remove the top clamp, move the bottom clamp to the middle of the hose, completely releasing the pump nipple.
11. Disconnect the pump from the support bracket.
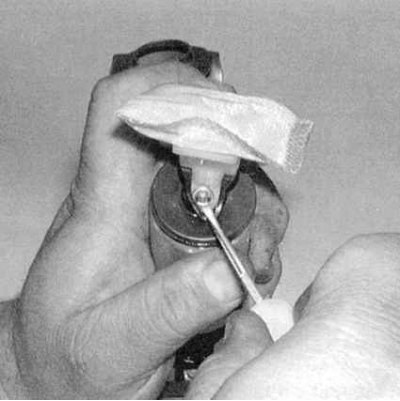
12. Remove the filter element from the lower end of the assembly (see accompanying illustration).
13. Installation is carried out in the reverse order. Do not forget to replace the sealing gasket of the fuel tank access cover mounting flange.
The article was copied from the website: www.hondabook.ru