
Upper arm
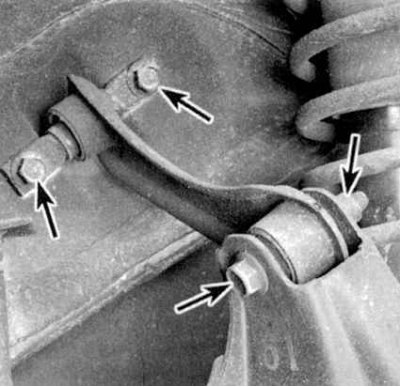
1. Loosen the nut of the through bolt securing the upper suspension arm to the trailing arm (see accompanying illustration), remove the bolt.
2. Unscrew the bolts of the clamp securing the support sleeve of the inner end of the lever to the bottom of the car (see illustration above). Remove the upper control arm.
3. Check the support bushing for cracks, signs of hardening or aging of the rubber. A defective bushing must be pressed out and replaced - the work should be carried out in a car service workshop.
4. Installation is carried out in the reverse order. Make sure that the required tightening forces are observed.
Lower arm
1. Unscrew the bolt securing the lower arm to the longitudinal arm, as well as the bolt securing the shock absorber assembly to the lower arm (see Removal and installation the rear shock absorber assembly with a coil spring).
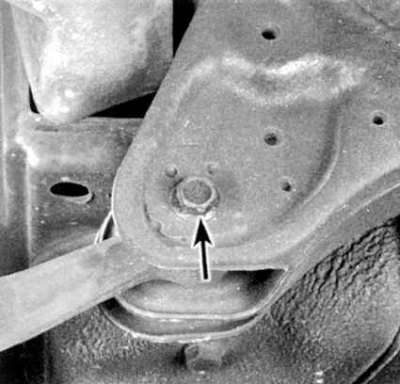
2. Loosen the nut and remove the axle bolt securing the inner end of the lower arm to the vehicle chassis (see accompanying illustration). Remove the lower arm.
3. Check the condition of the support bushings, if necessary, replace them in a car service workshop (you will need a press).
4. Installation is carried out in the reverse order. Make sure that the required tightening forces are observed.
Compensating lever
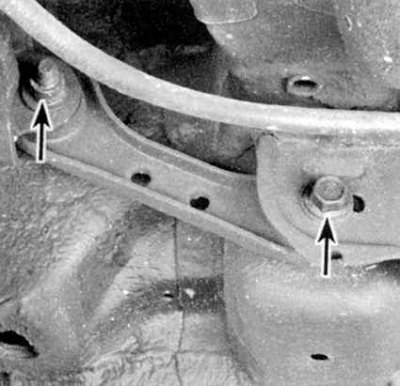
1. Unscrew the bolt securing the compensating lever to the longitudinal (see accompanying illustration).
2. Loosen the nut of the through bolt securing the compensating lever to the bottom of the car (see illustration above). Remove the bolt and remove the compensation lever.
3. Check the condition of the support bushings, if necessary, replace them in a car service workshop (you will need a press).
4. Installation is carried out in the reverse order. Make sure that the required tightening forces are observed.
Trailing arm
1. Disconnect the hydraulic hose from the wheel cylinder/rear caliper. Immediately plug the open ends of the hose and fitting to prevent dirt from entering the system. Remove the brake drum and shoe assembly. On models with rear disc brakes, remove the caliper and brake disc. Disconnect the parking brake cable from the actuator lever (see Chapter Brake system).
2. Remove the brake shield.
3. Disconnect the upper, lower and compensating arm assemblies from the longitudinal arm (see above).
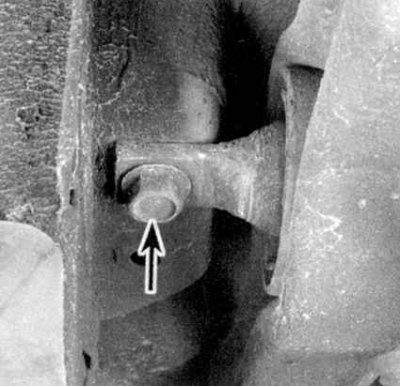
4a. Release the parking brake cable from the bracket on the trailing arm assembly. Remove the bolts securing the trailing arm support bushing axle to the vehicle underbody and remove the arm (see accompanying illustrations): left mounting bolt.
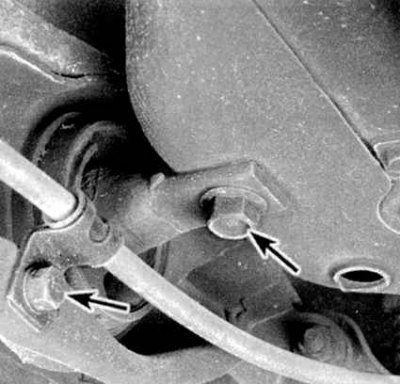
4b. Right mounting bolt.
5. Check the condition of the support bushings, if necessary, replace them in a car service workshop (you will need a press).
6. Installation is carried out in the reverse order. Make sure that the required tightening forces are observed.
[Original published on this resource: hondabook.ru]