
2. Disconnect the anti-roll bar from the lower suspension arm (see Removal and installation the front anti-roll bar with support bushings).
3. Disconnect the damper fork from the lever (see Removal and installation the front shock absorber assembly with a coil spring).
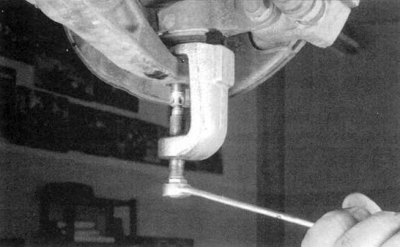
4. Remove the cotter pin and loosen the lower control arm ball joint castle nut. Do not remove the nut completely yet. Use a puller to free the ball joint from the steering knuckle (see accompanying illustration). Now finally loosen the castle nut.
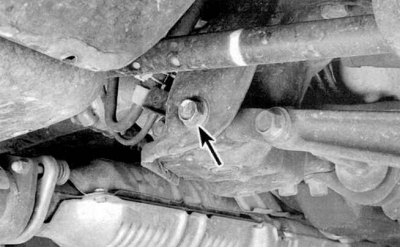
5. Remove the pivot bolt from the inside of the lower control arm (see accompanying illustration). Separate the arm from the vehicle chassis.
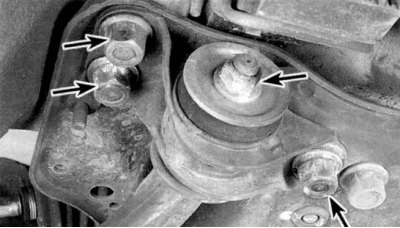
6. Loosen the nut of the rear axle stud of the lower arm (see accompanying illustration). Remove the pin from the bushing and remove the lever.
Note: It is only necessary to remove the three bolts of the bushing mounting bracket if the latter is being replaced.
7. Installation is carried out in reverse order.
[Article source on the website www.hondabook.ru]