
Warning! The vehicles covered in this Manual are equipped with airbags (SRS). When performing any work near the impact sensors, steering column or instrument panel, turn off the SRS (see the electrical connection diagrams at the end of Chapter On-board electrical equipment).
Warning! If the car stereo system is equipped with a security code, make sure you have the correct combination to activate the audio system before disconnecting the battery!
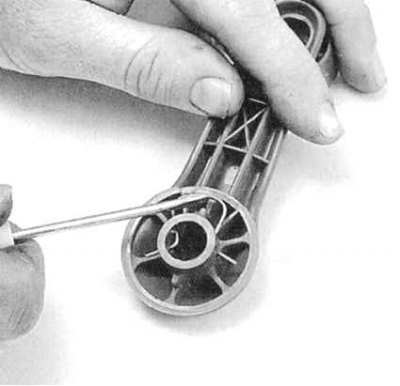
1. On models with manual window lifts, remove the window lift/lower handle (see accompanying illustration).
2. Remove the inner door handle (see Removal and installation of latches and lock cylinders and external and internal door handles).
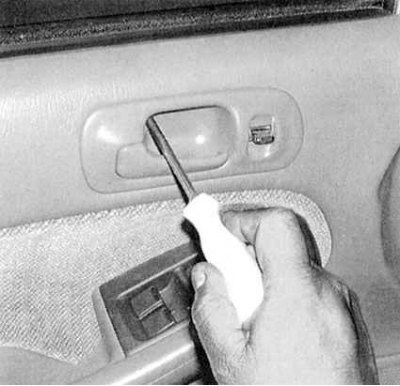
3a. Remove the screws securing the interior trim panel (see accompanying illustrations).
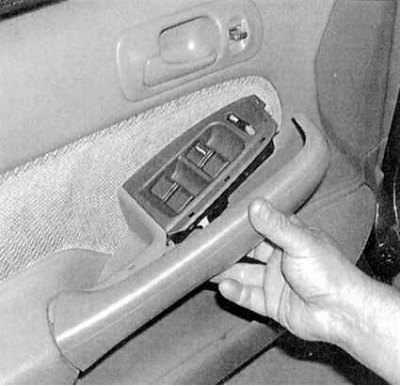
3b. Removing the door armrest handle cover.
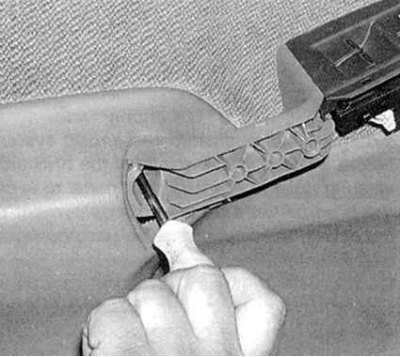
3c. Unscrewing the rear screw securing the armrest handle.
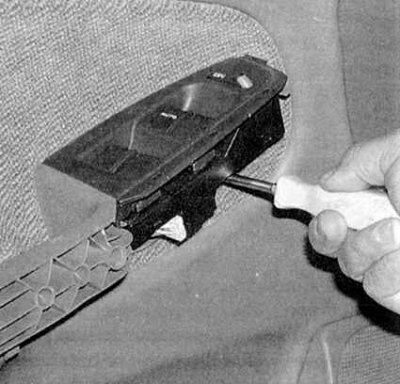
3d. Unscrewing the front screw securing the armrest handle.
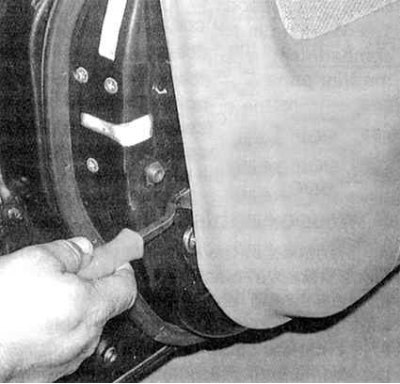
3e. Then, carefully prying the clips located around the perimeter, separate the panel from the door frame (see accompanying illustration).
4. Lift the panel slightly and disconnect the electrical wiring connectors.
5. To gain access to the door frame, carefully pry up the clips and remove the plastic insulation screen.
6. Replace the plastic insulation screen. Before installing the interior trim panel, be sure to check that all the provided fasteners are in place (some of them may have fallen out during the process of dismantling the panel).
7. If equipped, reconnect the original single lock/window motor wiring. Press the panel against the door and carefully snap the side clips into place. Install the mounting screws. If equipped, reinstall the door lock switch assembly. Install the manual window handle.
(Original article on the website: HondaBook.ru)