
2. Remove the radiator cap.
3. Remove the lower engine cover.
4. Loosen drain plug A and drain the coolant.
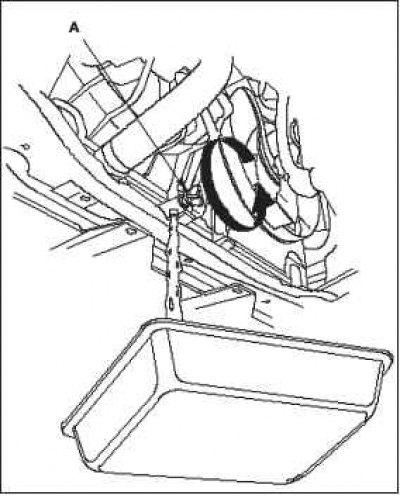
5. Remove drain plug A located at the front of the cylinder block.
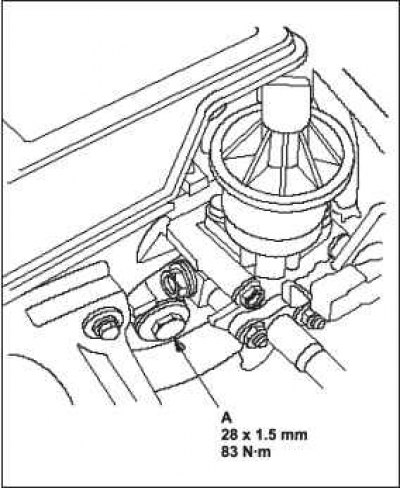
6. After the coolant has been completely drained, apply liquid gasket to the drain plug threads, then install the bolt with a new washer and tighten it securely.
7. Tighten the radiator drain plug securely.
8. Install the lower engine cover.
9. Drain the coolant from the expansion tank.
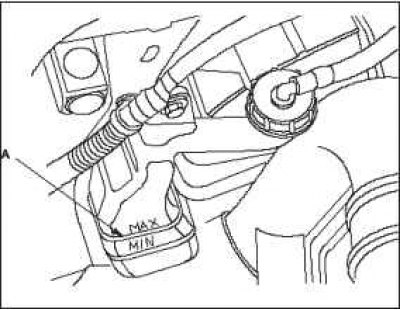
10. Fill the expansion tank to the "MAX" mark A with genuine Honda Long-Term Coolant/Antifreeze Type 2 (P/N OL999-9001).
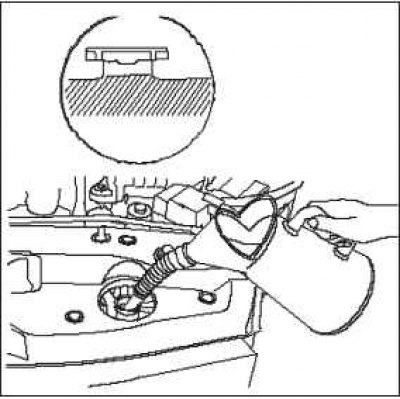
11. Fill the radiator with genuine Honda Long Life Coolant/Antifreeze Type 2 to the base of the filler neck.
Note. Always use original Honda Type 2 long-term coolant / antifreeze (P / N OL999-9001). Using a different brand of coolant than Honda can cause corrosion, which can lead to deterioration of the cooling system parameters or its failure.
Honda Long Life Coolant Type 2 is a mixture of 50% antifreeze and 50% water. Do not add water.
Engine coolant capacity (including expansion tank with a capacity of 0.5 l).
After replacing the coolant: 5.3 l.
After engine overhaul: 6.8 l.
12. Install the radiator cap without securing it.
13. Start the engine and wait until it warms up (the electric cooling fan should turn on at least twice).
14. Start the engine. Check the coolant level in the radiator and add genuine Honda Long Life Coolant/Antifreeze Type 2 if necessary.
15. Close the radiator cap tightly, then start the engine again and check for leaks.
16. Wipe up any spilled coolant
The article is based on information from the website Hondabook.ru