
Contents: Removal ⇊ Installation ⇊
Removal
1. Disconnect the negative cable from the battery.
2. Remove the radio (see Chapter 12).
3. Pull out the buttons from the control panel and use a small screwdriver to pry up the panel.
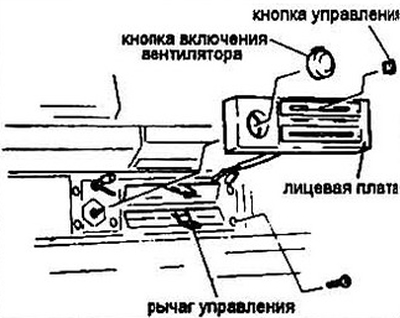
Fig. 12.3 Pull out the buttons and use a small screwdriver to pry up the front board
4. Remove the mounting screws.
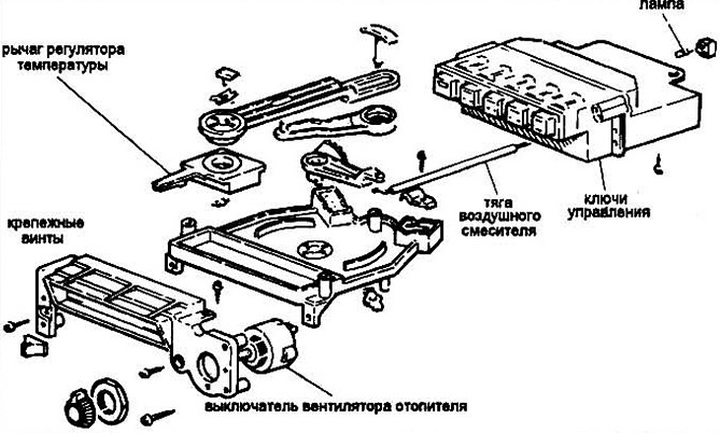
Fig. 12.4 Assembly of the heater control unit. The push-button version is shown. The lever control version is similar
5. Carefully pull out the control unit. Some models require disconnecting the rods. Before disconnecting them, mark the rods where they were connected, which will allow you to install them in their original position.
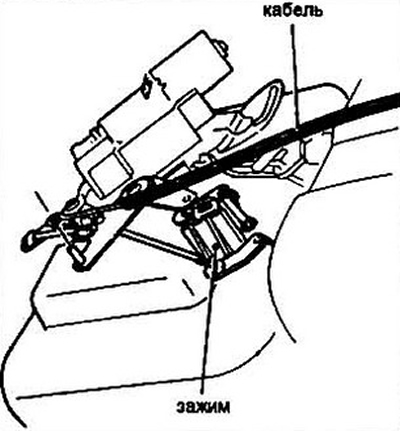
Fig. 12.5a The air mixer draft is usually located on the left side of the heater housing
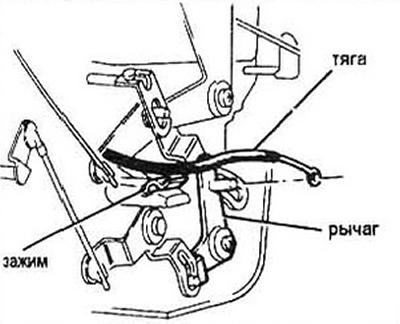
Fig. 12.5b The control rod for the heating/cooling state is usually located on the right side of the heater housing
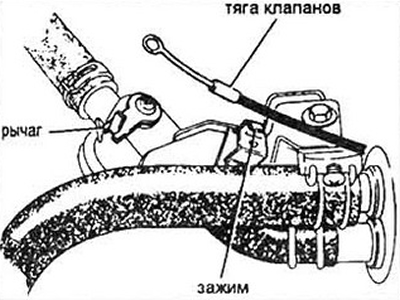
Fig. 12.5c The heater tap control rod is located near the hose clamps
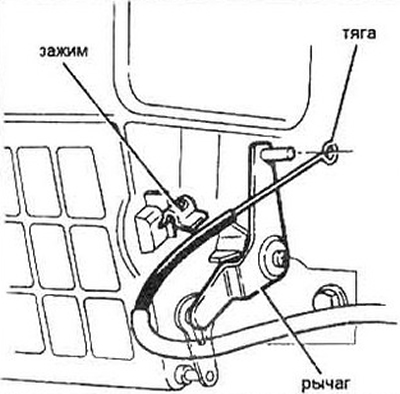
Fig. 12.5g The recirculation draft is located in the lower part of the heater
6. Disconnect the rods and wires from the control unit and remove it from the dashboard.
Installation
7. Assemble in the reverse order of removal.
8. The rods are adjusted according to the previously set marks. Install the clamps and check the operation of the unit in the full range.
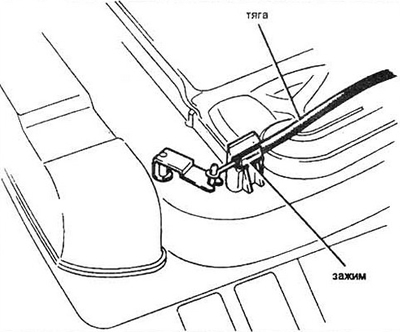
Fig. 12.8 Location of the heater valve control rod
9. Start the engine and check the operation of the heater and air conditioner (if it is installed).