
Front Direction/Parking Lights and Clearance Lights
Civic Models
1. To replace the left lamp (from the driver's side) with the engine running, turn the wheels all the way to the right, then turn off the ignition. The right lamp changes with the wheels turned to the left.
2. Release a clamp and remove a locker of a corresponding wheel arch.
3. Turn the bulb holder 1/4 turn counterclockwise and remove it from the lamp assembly housing. Press the bulb into the socket, turn it 1/8 turn counterclockwise, then pull it out and release it from the socket assembly. Installation is in the reverse order.
Integra
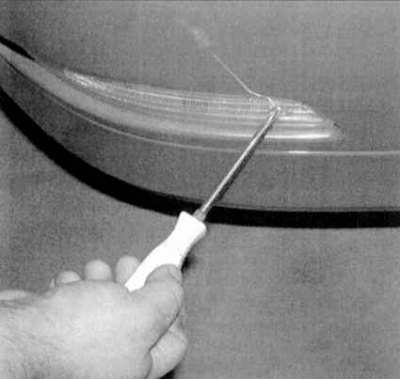
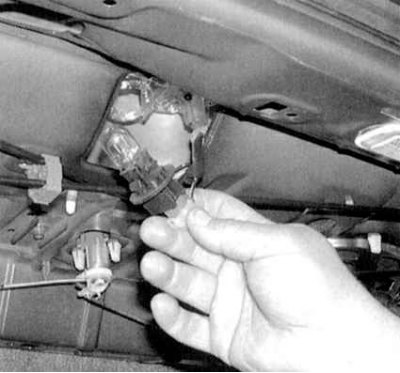
1a. Loosen the fixing screws and remove the lamp assembly from the fender panel of the car (see accompanying illustrations).
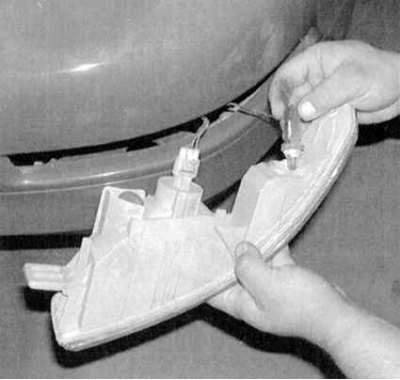
1b. Turn the cartridge 1/8 turn counterclockwise and remove it from the lamp assembly housing.
2. Remove the bulb from the socket.
3. Installation is carried out in the reverse order.
Tail lights and brake lights
1. Open the boot lid/tailgate and remove the trim cover for the respective rear light.
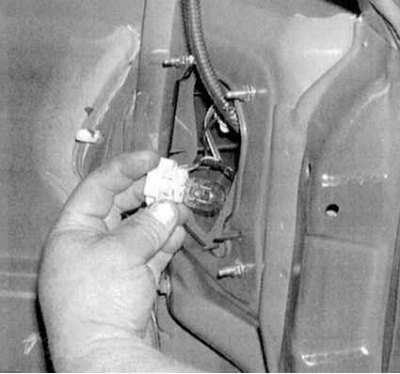
2a. Turn the lamp socket counterclockwise and remove it from the lamp housing (see accompanying illustrations).
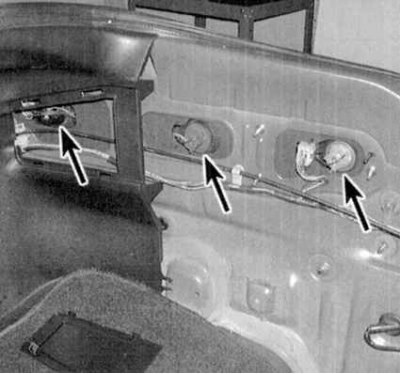
2b. Location of rear combination lamp bulbs on Integra models (decorative cover removed).
3. Press the bulb into the socket, turn it counterclockwise and pull it out.
4. Installation is carried out in the reverse order.
Upper level stop lights
Civic
1. Remove decorative covers (if provided) two fixing screws, give the latter and remove the top-level brake light assembly from the body panel.
2. Turn the cartridge counterclockwise and remove it from the lamp assembly housing. Pull to remove the lamp.
3. Installation is carried out in the reverse order.
Integra
1. Open the trunk, thus providing access to the upper level brake light (see accompanying illustration).
2. Turn the lamp socket counterclockwise and release it from the lamp assembly.
3. Pull outward to remove the bulb from the socket.
4. Installation is carried out in the reverse order.
Instrument lighting
1. Remove the instrument cluster (see Removal and installation of a combination of devices).
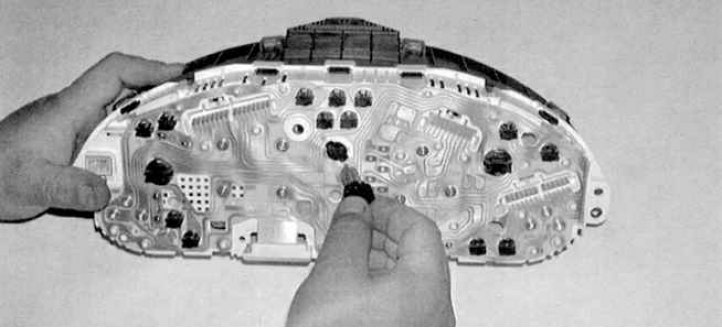
2. Turn the bulb holder counterclockwise from the instrument cluster assembly (see accompanying illustration).
3. Pull outward to remove the bulb from the socket.
4. Installation is carried out in the reverse order.
License plate light
1. Turn out two fixing screws and remove a lens of a lantern of illumination of license plate.
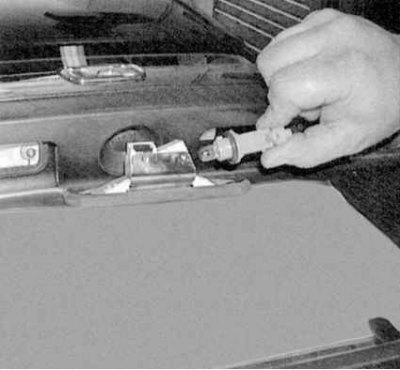
2. Turn the foot chuck counterclockwise and remove it from the lantern assembly (see accompanying illustration).
3. Pull outward to release the bulb from the socket.
4. Installation is carried out in the reverse order.
Indoor lights (saloon, luggage compartment)
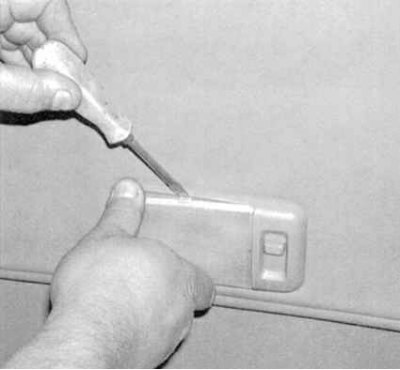
1. Gently pry with a screwdriver to remove the lens from the appropriate fixture.
2. Release the lamp from the spring terminals. If it becomes necessary to pry off the lamp, move the lever only under the edges of the lamp bases to avoid damage to the bulb.
3. Installation is carried out in the reverse order.