
Civic Models
1. Disconnect the antenna cable from the radio (see Removal and installation of the radio receiver and loudspeakers).
2. Tie a piece of string to the end of the antenna cable.
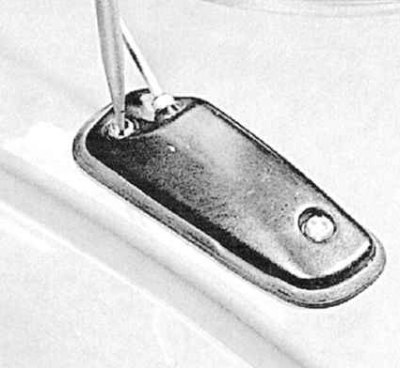
3. Turn out fixing screws and remove the antenna from a body rack (see accompanying illustration).
4. Tie the string by attaching it to the cable of the new antenna. Lower the antenna assembly to its proper place, while pulling the cable by the string inside the rack.
5. Untie the string and connect the antenna cable to the radio assembly. Screw in the fixing screws of the antenna assembly and tighten them firmly.
Integra Models
Motorized Antenna Mast
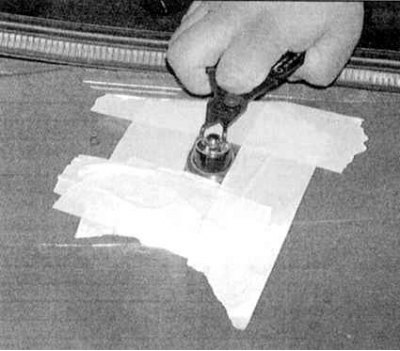
1. Tape the car fender surrounding the antenna mast to protect the paintwork. Give a fixing nut and remove a remote washer (see accompanying illustration).
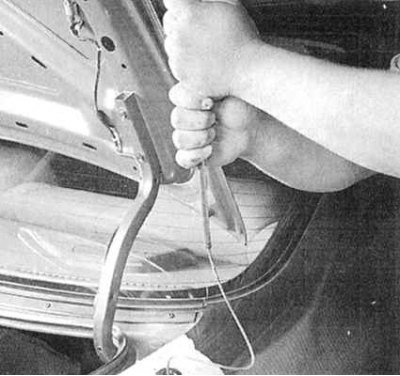
2. Have an assistant turn on the radio and raise the antenna to the highest position. While guiding the antenna mast as it extends, remove it from the vehicle (see accompanying illustration).
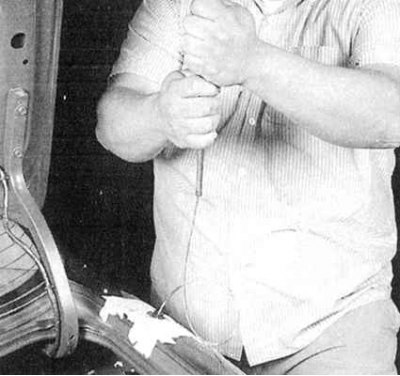
3. When installing, turn the antenna teeth back and engage the teeth in the drive cable. Turn on the radio and let the electric motor retract the antenna mast into the wing (see accompanying illustration).
4. Replace the spacer washer and screw on the retaining nut.
Note. If the spacer washer is equipped with a flat seal, the latter must fit inside the bushing under the washer. The sealing ring is placed over the spacer washer.
Antenna mast drive motor
1. On Sedan models, remove the side trim panel in the luggage compartment. On Hatchback models, remove the Rear Side Interior Upholstery Panel.

2. Loosen the antenna mounting nut, remove the washer (see illustration). Give a nut of fastening of a driving electric motor (see accompanying illustration). Disconnect the electrical connector and antenna cable. Remove the motor assembly.
3. Installation is carried out in the reverse order.