
Replacement
1. Remove the driver's side instrument panel lower cover, glove box and center instrument panel lower cover.
2. Remove the rear window defroster switch, hazard warning switch and receiver/player.
3. Disconnect the connectors from the climate control unit and display panel. Remove the central ventilation handle. Remove the five self-tapping screws, and the central panel together with the climate control unit and display.
Note: The climate control unit and display connector latches are located on the right side.
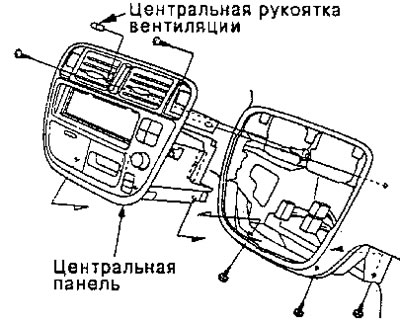
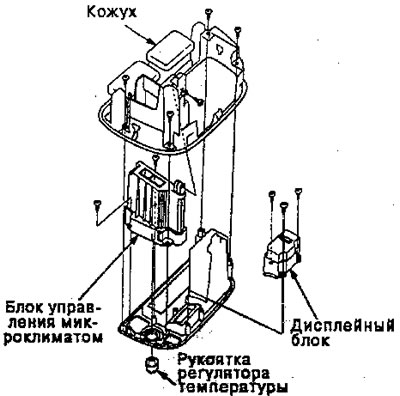
4. Unscrew five self-tapping screws and remove the casing. Remove the temperature control knob, unscrew two self-tapping screws and remove the microclimate control unit. Unscrew three self-tapping screws and remove the display.
5. The installation procedure is the reverse of the removal procedure.
1. Remove the climate control unit.
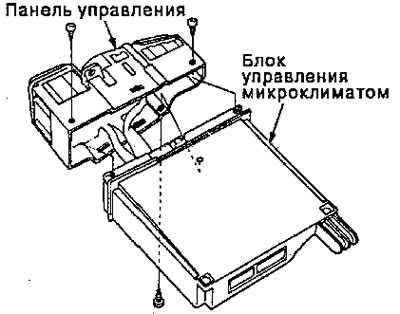
2. Unscrew the three self-tapping screws, then carefully separate the climate control unit and the control panel.
Note: Do not tug or pull the wires connecting the climate control unit and the control panel.
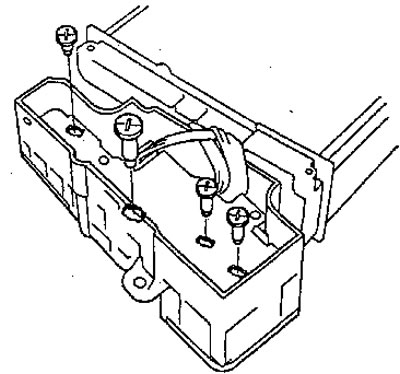
3. Remove the indicator lamp(s) using a flat-head screwdriver.
4. The installation procedure is the reverse of the removal procedure. Please note the following points.
Note:
- After installation, run the climate control unit to check for proper operation.
- Run the self-diagnosis function to ensure that there are no problems with the system.