
Note. Wear protective gloves.
Do not damage the windshield.
Do not use metal tools to remove the roof molding, otherwise you may chip the edges of the windshield and cause cracks.
When removing components, use an upholstery tool kit or similar.
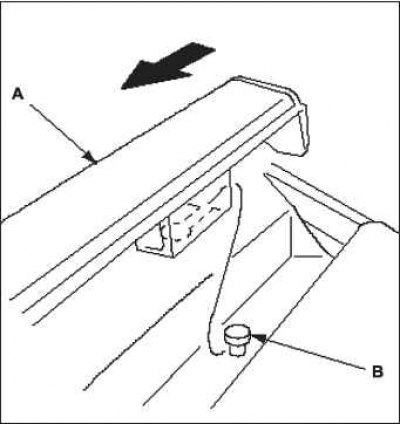
Be careful not to bend the roof molding.
1. Remove the end shield cover.
2. Disconnect the lower fastening And in the bottom corner of a windscreen.
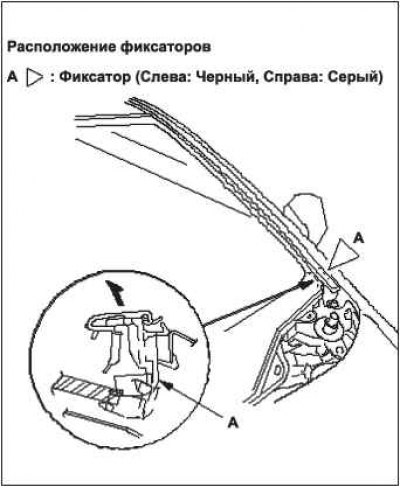
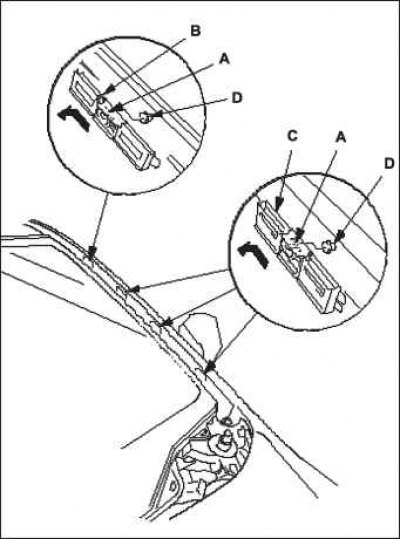
3. Disconnect the section of the windshield from the roof molding A.
Carefully insert the large special tool B and the plastic spatula C under the molding next to the lower clips D.
While lifting part of the molding retainer by hand, press the hooks E to release the retainer from stop F. Do not attempt to detach the retainer if it is difficult to separate it from the stop.
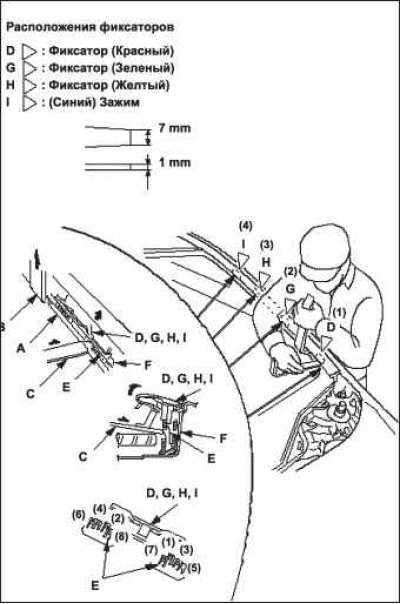
Gradually move up to release all the upper latches (G, H, I).
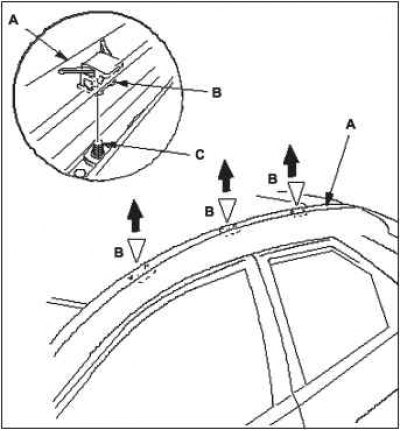
4. Gently lift roof molding A to disengage retaining molding B from fitting bolts C on body.
5. Pull up and release the rear edge of the roof molding A from cotter pin B, then remove the roof molding.
6. Perform the molding installation operations in the reverse order of removal, observing the following:
Make sure the roof molding is securely installed.
Check the clips for damage or stress whitening and replace if necessary.
Replacing the fixing plate
 |  |
1. When using a flat-blade screwdriver to unhook the middle hook A, slide the top latches (B, C) up to separate them from the A-pillar T-Braces. Don't scratch the body.
2. Install the retainers in the reverse order of removal.