
Removal and installation
Caution: Do not allow the working fluid to come into contact with painted surfaces. If the working fluid comes into contact with a painted surface, wash it off immediately.
1. Pump out the brake fluid from the clutch reservoir.
2. Remove the clamp and disconnect the tube.
Note: After disconnecting the tube, install a plug on it.
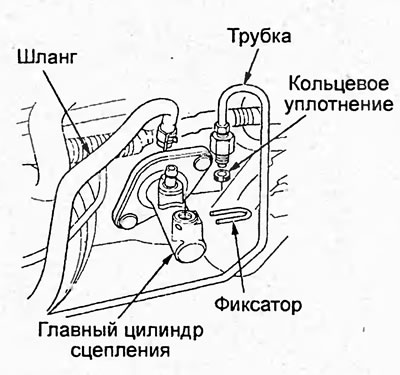
3. Remove the O-ring.
4. Disconnect the hose.
Note: After disconnecting the hose, install the plug on it.
5. Remove the cotter pin and take out the fork axle.
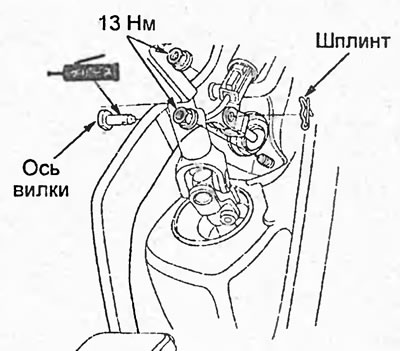
6. Loosen the clutch master cylinder mounting nuts.
7. Remove the clutch master cylinder and gasket.
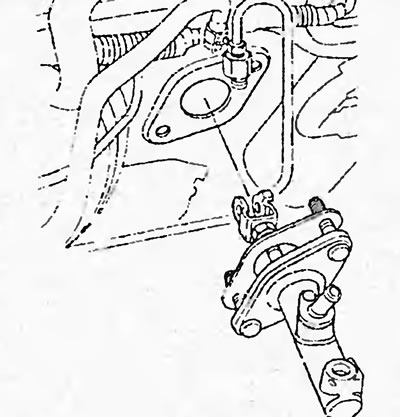
Note:
- Installation is carried out in the reverse order of removal.
- Use only new O-rings when installing.
- After installation, bleed the clutch release hydraulic drive.
Disassembly and assembly
Disassemble and assemble the clutch master cylinder using the "Clutch Master Cylinder" figure as a guide.
The original text of the article is located on the website HondaBook