
Removal and installation
1. Remove the front seats (see section "Seats").
2. Remove the rear seat cushion (see section "Seats").
3. (Sedan) Remove the rear seat back side support (see section "Seats").
4. Remove the front side trim panels (see section "Interior trim").
5. Remove the front door sill trims (see section "Interior trim").
6. Remove the rear side door sill trims (see section "Interior trim").
7. (Sedan) Remove the center console (see section "Instrument panel").
8. Remove the lower panel on the driver's side (see the Instrument Panel section).
9. Remove the lower panel from the front passenger side (see section "Instrument panel").
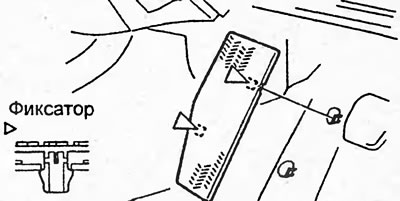
10. Loosen the nut, disconnect the retainer and remove the footrest trim.
11. Using a knife, cut the floor trim where the heater, automatic transmission selector and parking brake lever are located. Disconnect the clamp and bend back the edges of the floor trim.
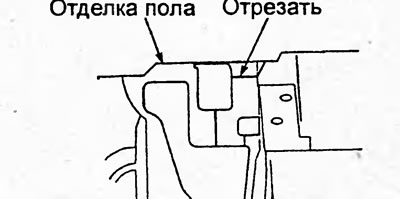
Hatchback.
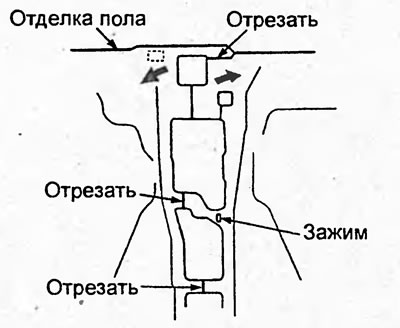
Sedan.
12. Disconnect the retainer and pins, then remove the floor trim.
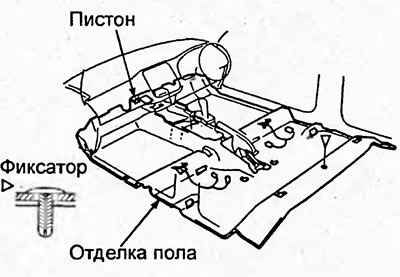
Sedan.
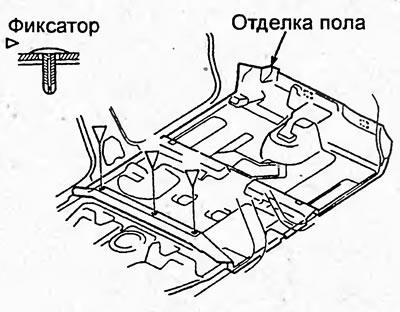
Hatchback.
13. (Hatchback) Fold back the front edge of the luggage compartment carpet and remove the floor trim.
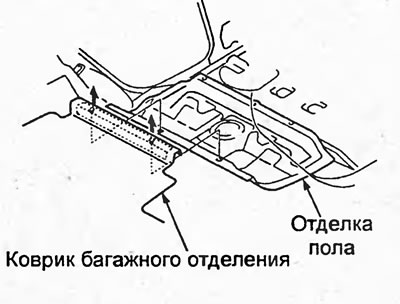
14. Installation is performed in the reverse order of removal. Before installation, cut off the edges of the floor trim in the areas where the heater, automatic transmission selector and parking brake lever are located.
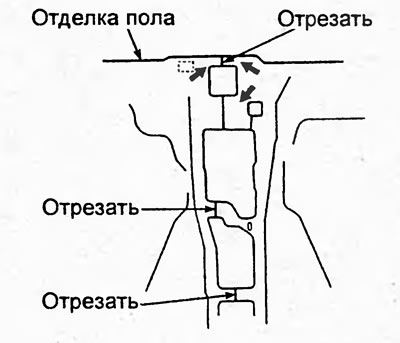
Sedan.
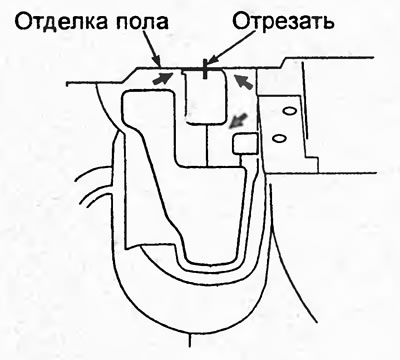
Hatchback.
[Original article on the website: HONDABOOK]