
2. Remove the flywheel/drive plate (see Removal and installation the flywheel/drive disc).
3. Before removing the old oil seal, be sure to measure the gap between its end surface and the outer edge of the holder (use a small ruler or columbus). Record the measurement results – the new seal must be seated exactly to the same depth (see Part General and major engine repairs of this Chapter).
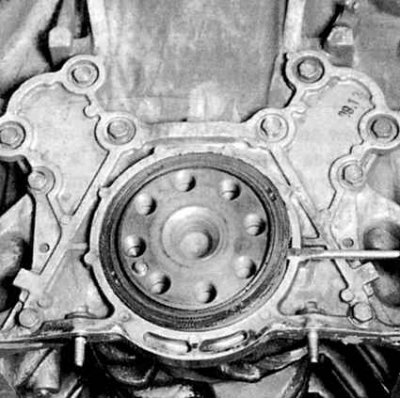
4. The oil seal can be replaced without first dismantling the oil pan and the oil seal holder. Using a screwdriver, carefully pry the old oil seal out of the seat in the holder (see accompanying illustration).
Note: To avoid damaging the shaft journal or the socket walls, wrap the screwdriver tip in a rag.
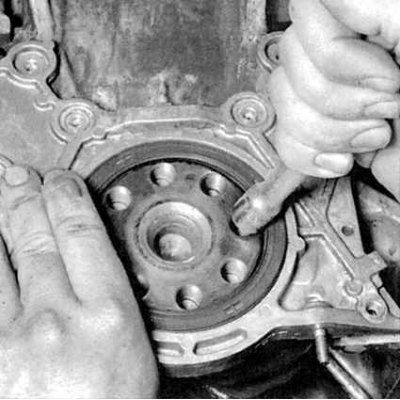
5. Lightly lubricate the edges of the journal and the lips of the new seal with universal grease, then, using a blunt tool, put the seal on the shaft (see accompanying illustration). Using a mandrel and a hammer, seat the seal in the socket (a socket head of the appropriate size or a piece of pipe of a suitable diameter [slightly smaller than the outer diameter of the seal] can be used as a mandrel).
Note: The procedure for replacing the seal with the holder removed is described in Part General and major engine repairs of this Chapter.
5. Further installation is carried out in the reverse order of dismantling.
6. Start the engine and check for oil leaks.
[The article was copied from the website: hondabook]