
Front bumper
1. Apply the parking brake, jack up the vehicle and place it on jack stands.
2. Disconnect the negative cable from the battery.
Attention! If the stereo system installed in the car is equipped with a security code, before disconnecting the battery, make sure that you have the correct combination to activate the audio system!
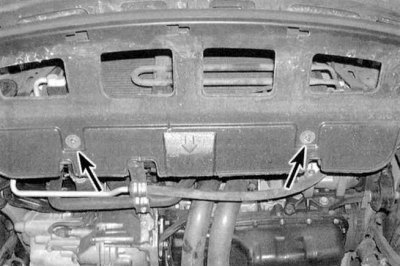
3a. Remove the center screws securing the splash screen.
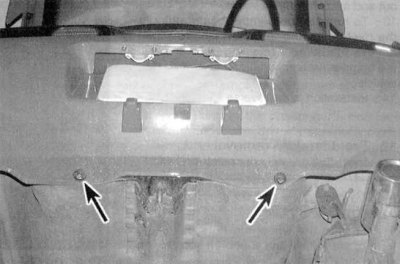
3b. Under the car, unscrew the screws securing the lower edges of the bumper cover (see accompanying illustrations).
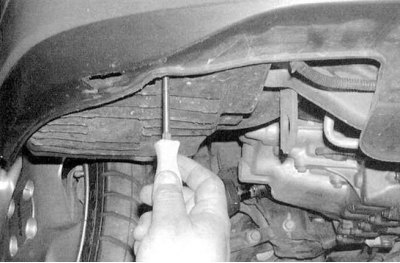
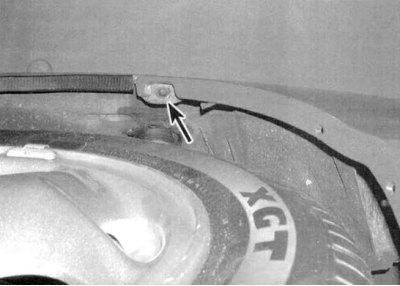
4. Working through the arches of the front wheels, unscrew the screws of the bumper lining to the lockers (see accompanying illustration).

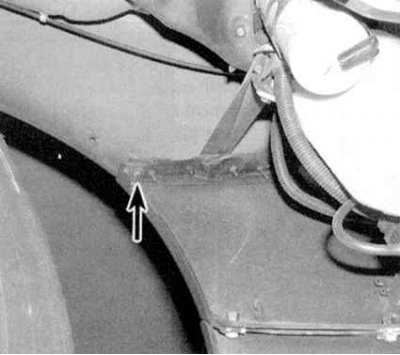
5. Turn out bolts of fastening of an overlay of a bumper to the car chassis (see accompanying illustration).
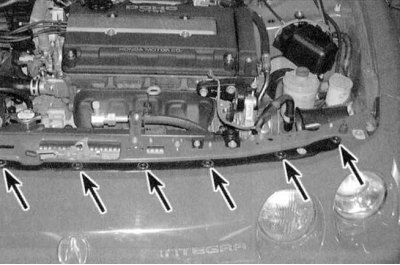
6. Loosen the screws (or, on some models, remove the plastic clips) fixing the top edge of the lining (see accompanying illustration) and remove the latter from the car.
Note. The plastic retainers are removed by prying with a suitable instrument after the central pin has been previously released.
7. Disunite sockets of the electroconducting interfering removal of a bumper. If necessary, remove the brackets installed at both ends of the bumper, then unscrew the four bolts and remove the bumper from the car.
8. Installation is carried out in the reverse order.
Rear bumper
1. Apply the parking brake, jack up the vehicle and place it on jack stands.
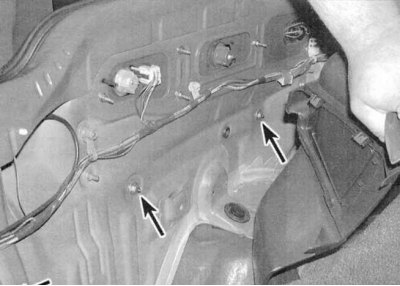
2. Under the car, remove the plastic clips and unscrew the screws securing the lower edge of the rear bumper trim (see accompanying illustration).
3. Turn out screws of fastening of an overlay to arches of back wheels (see accompanying illustration).
4a. Open the trunk lid/tailgate.
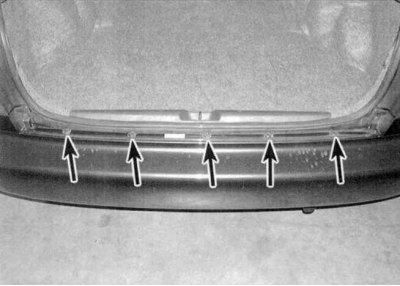
4b. From inside the luggage compartment, give the screws and nuts securing the upper edges of the bumper cover (see accompanying illustrations). Remove the bumper cover from the vehicle.
5. To remove the bearing part of the bumper, drill out the rivets securing the foam insulation, then loosen the bolts and remove the bumper assembly from the vehicle.
6. Installation is carried out in the reverse order.