
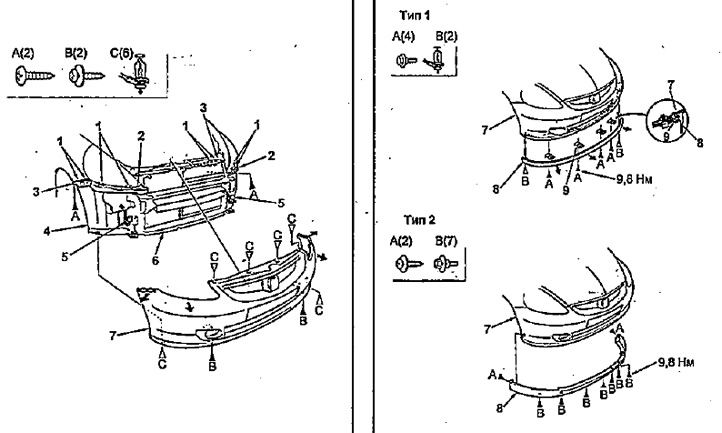
Front bumper.
1 - clamp,
2 - body,
3 - side bushing,
4 - mudguard,
5 - fog light connector (models with fog lights),
6 - mudguard,
7 - front bumper,
8 - lower bumper trim,
9 - limiter.
1. Disconnect the cable from the negative terminal of the battery.
2. When removing the front bumper and the lower bumper trim, refer to the assembly drawing "Front bumper".
Warning: Do not remove the bumper alone, it may fall and injure you.
Note: When removing and installing, be careful not to damage the body or bumper.
3. Remove the bumper in the following sequence:
a) Loosen the screws (A and B) and detach the pins (C) from the bumper (E) (see assembly drawing).
b) Disconnect the clamps (B) of the side bushing (C) from the bumper holes (A).
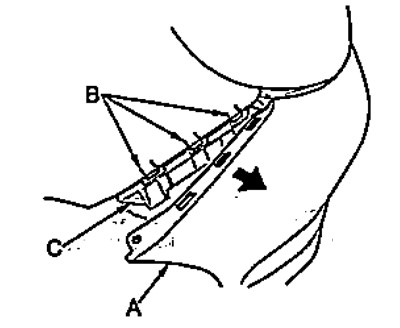
c) Disconnect the body clamps (A) (B) from the bumper openings.
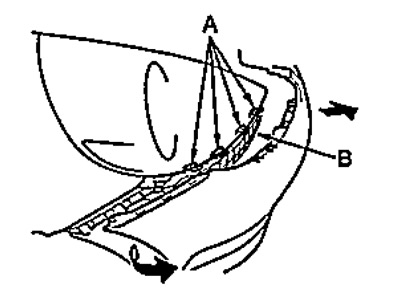
g) (Models with fog lights) Disconnect the front fog lamp connectors (A).
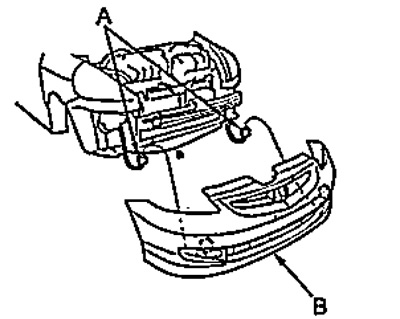
d) Remove the bumper (B).
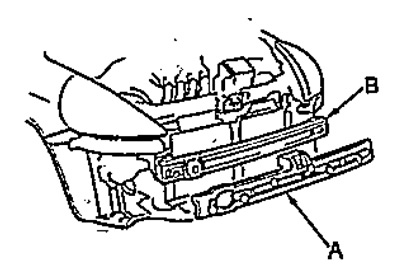
e) Disconnect the bumper reinforcement (A) from the energy absorber (B).
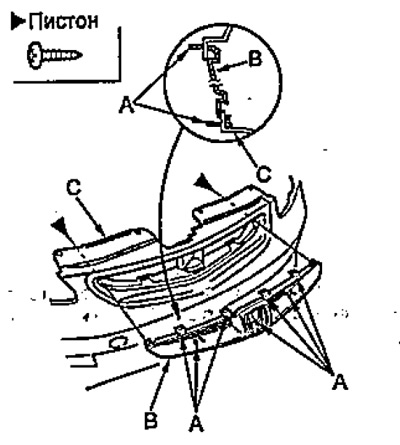
g) Loosen the screws, disconnect the clamps (A) and remove the radiator grille (B) from the bumper (C).
4. Installation is carried out in the reverse order of removal.
5. (Models with fog lights) After installation, adjust the position of the fog lights (see the chapter "Body electrical equipment").
[Refer to the original source on the website «HONDABOOK»]