
Warning! The vehicles covered in this Manual are equipped with airbags (SRS). When performing any work near the impact sensors, steering column or instrument panel, turn off the SRS (see the electrical connection diagrams at the end of Chapter On-board electrical equipment).
1. Disconnect the negative cable from the battery.
Warning! If the car stereo system is equipped with a security code, make sure you have the correct combination to activate the audio system before disconnecting the battery!
2. Remove the steering wheel (see Chapter Suspension and steering).
3. Remove the center console (see Removal and installation the center console.
4. Remove the instrument panel trim (see Removal and installation the instrument panel).
5. Remove the instrument cluster (see Chapter On-board electrical equipment).
6. Remove all sections of the instrument panel (see Removal and installation the instrument panel).
7. Give away the fasteners (nuts and bolts) fuse box and bonnet release handle (see Removal and installation the hood lock latch and its drive cable and the Head On-board electrical equipment).
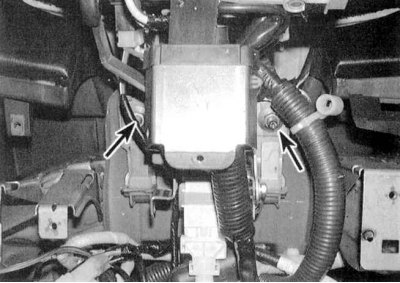
8. Loosen the mounting nuts and lower the steering column (see accompanying illustration).
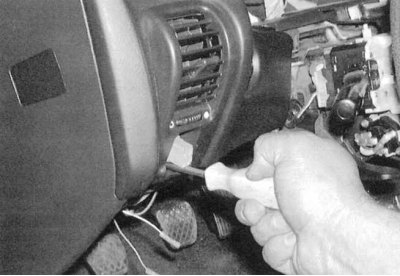
9a. Remove the mounting screws.
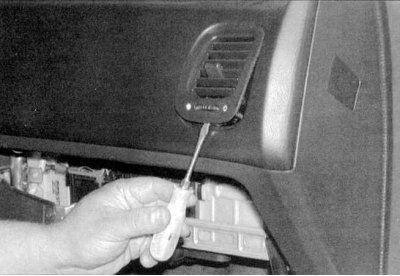
9b. Using a screwdriver, pry the air vents out of the instrument panel (see accompanying illustrations).
10. Using a screwdriver, remove the front door sill trims.
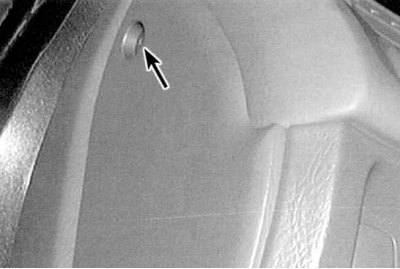
11. Remove the side screws securing the instrument panel assembly (see accompanying illustration).
12. Remove the radio (see Chapter On-board electrical equipment) and the heater control assembly (see Chapter Cooling and heating systems).
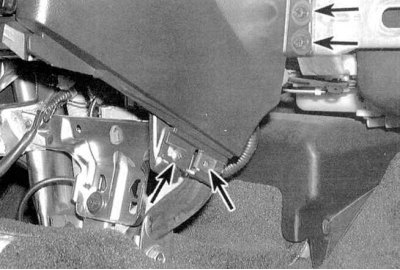
13. Remove the lower screws in the center of the instrument panel (see accompanying illustration).
14. Unscrew the bolts securing the upper edge of the shield to the engine compartment bulkhead.
15. Pull the shield towards you and disconnect all electrical wiring from it.
16. Remove the shield from the vehicle through the steering column.
17. Installation is carried out in reverse order.
[The text of the article is available on the website: hondabook.ru]