
Attention! The vehicles covered in this manual are equipped with airbags (SRS). When performing any work near the shock sensors, steering column or instrument panel, turn off the SRS (see wiring diagrams at the end of the Chapter Onboard electrical equipment).
Attention! If the stereo system installed in the car is equipped with a security code, before disconnecting the battery, make sure that you have the correct combination to activate the audio system!
Instrument panel trim
1. Lower the steering column to its lowest position.

2. Remove the two Phillips mounting screws (see accompanying illustration), then pull the trim towards you and release its clips from the instrument panel assembly.
3. Disconnect interfering removal of facing electric sockets.
4. Installation is carried out in the reverse order.
Lower section of dashboard
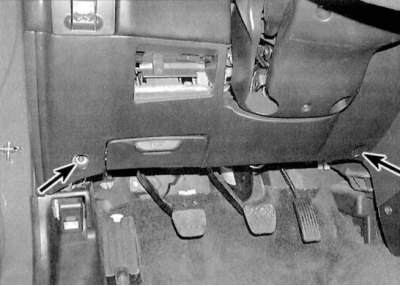
1. Turn out the lower bolts of fastening of the sound-proof panel to the lower casing of a steering column. Give screws of fastening of a cover of a casing of a column (see accompanying illustration).
2. Lift the bottom edge of a cover of a steering column up, then release from clamps the top edge.
3. Disunite electric sockets and lower the lower section of the panel of devices.
4. Installation is carried out in the reverse order.
Knee support
1. Remove the lower steering column cover (see previous subsection).
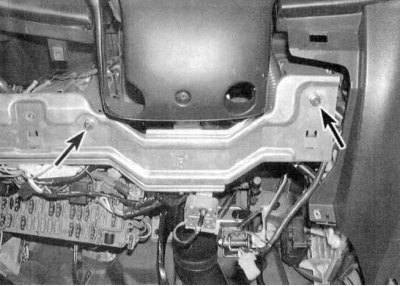
2. Give fixing bolts and remove a knee support from the car (see accompanying illustration).
3. Installation is carried out in the reverse order.
Glove box
1. Remove the two hinge screws (see accompanying illustration), open the lid, squeeze the plastic retaining tabs, lower the glove box assembly down and remove it from the instrument panel.
2. Installation is carried out in the reverse order.
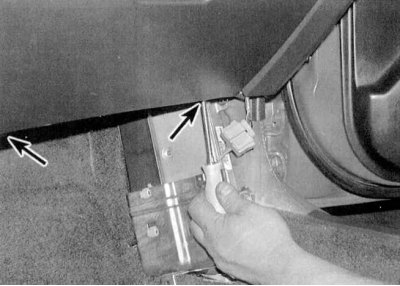
Central section
1. Remove the front section of the center console (see Removal and installation of the center console).
2. Turn out fixing screws and a bolt and remove the central section of the panel of devices.
3. Installation is carried out in the reverse order.