
Removal and installation
Note: Installation is carried out in the reverse order of removal.
1. Disconnect the cable from the negative terminal of the battery.
2. Remove the lower panel from the driver's side.
3. Remove the lower cover from the driver's side.
4. Remove the lower panel on the passenger side.
5. Remove the glove box.
6. (Sedan) Remove the front and center console.
7. (Hatchback) Remove the manual transmission shift lever boot or automatic transmission selector trim.
8. (Hatchback) Remove the center instrument panel trim.
9. Remove the front side trim (see section "Interior trim").
10. Remove the front pillar trim (see section "Interior trim").
11. Remove the steering column.
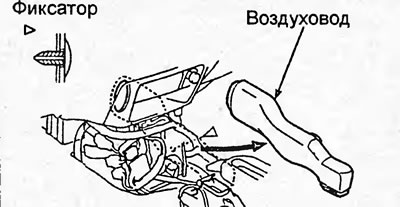
12. (Sedan) Disconnect the clip and remove the rear air duct.
13. Gently pull the side panel, release the clips and remove the side panel.
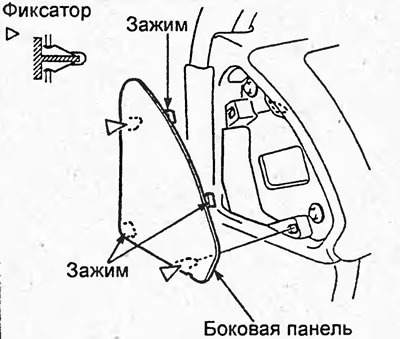
Sedan.
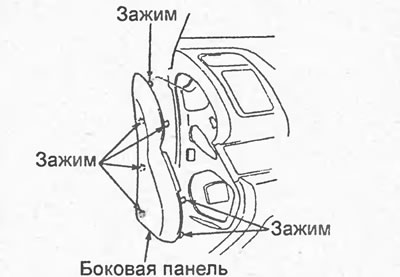
Hatchback.
14. (From the driver's side) Disconnect the connectors whose locations are shown in the figure.
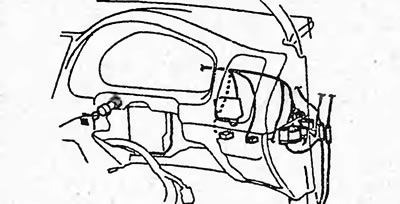
Sedan.
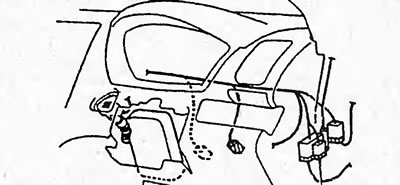
Hatchback.
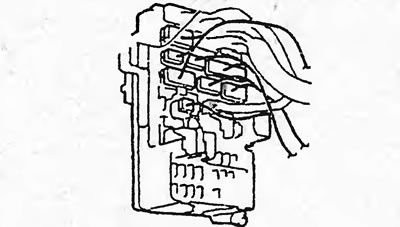
15. (In the central part of the instrument panel) Disconnect the connectors.
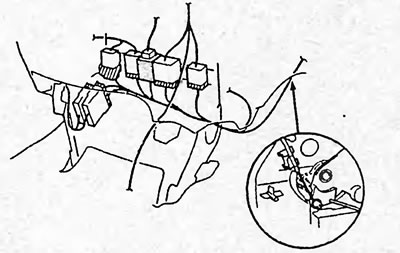
Hatchback (from the driver's side).
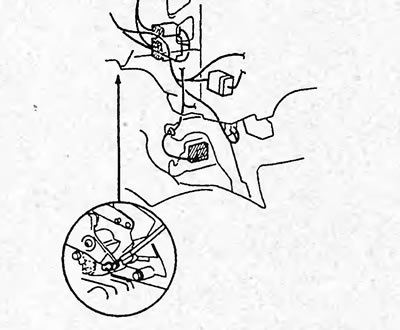
Hatchback (from the passenger side)
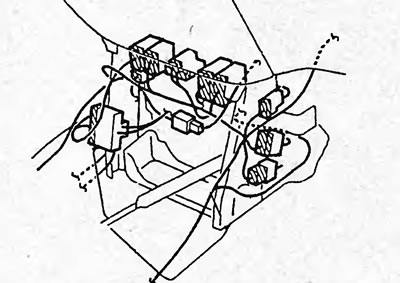
Sedan (from the passenger side).
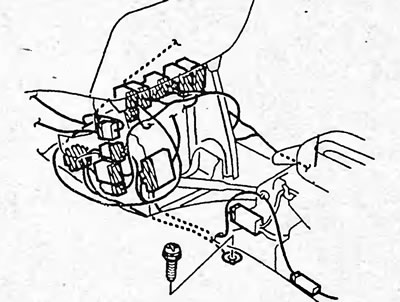
Sedan (from the driver's side).
16. (From the passenger side). Disconnect the connectors whose locations are shown in the figure.
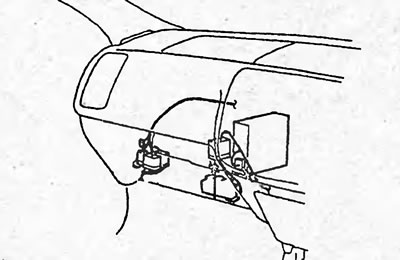
Sedan.
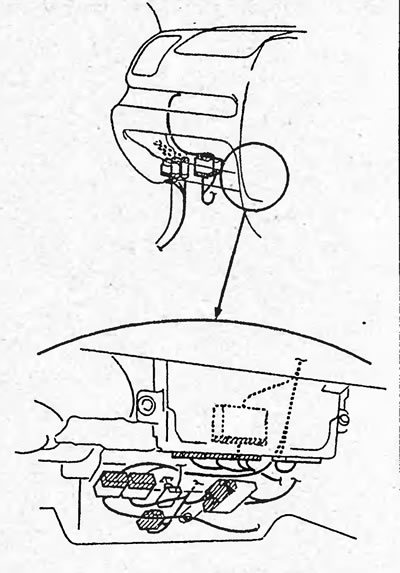
Hatchback.
17. Disconnect all wires and fasteners.
18. Remove the covers, unscrew the bolts, lift the instrument panel up and disconnect it from the guide pins located on the car body.
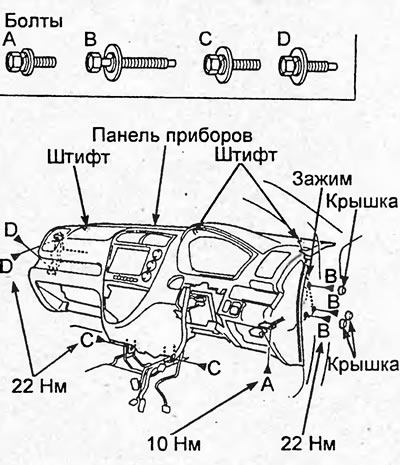
Hatchback.
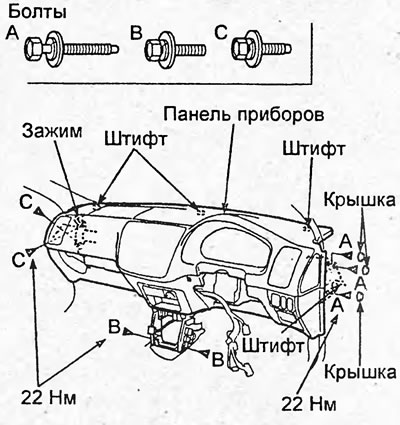
Sedan.
19. Carefully remove the instrument panel through the open front door.
(Original article on the website: «HondaBook.ru»)