
Contents: Removal ⇊ Installation ⇊
If the belt breaks, serious damage may occur due to the valve heads colliding with the piston bottoms. It is recommended to change the belt after 168,000 km or once every 7 years.
Removal
1. Disconnect the battery from ground.
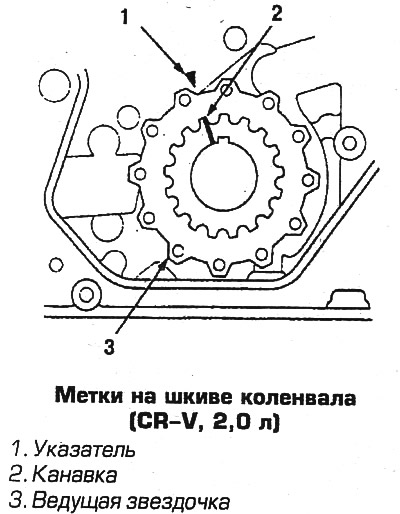
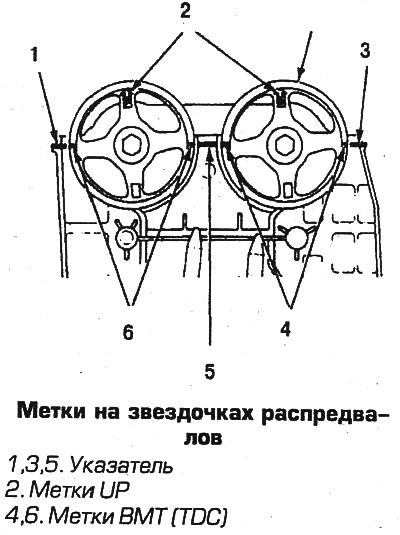
2. Set the piston of the 1st cylinder to TDC of the compression stroke, aligning the marks.
3. Remove the lower engine shield.
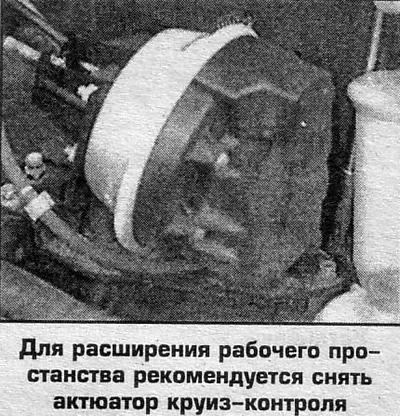
4. On some vehicles, remove the cruise control actuator.
5. Remove the power steering pump drive belt.
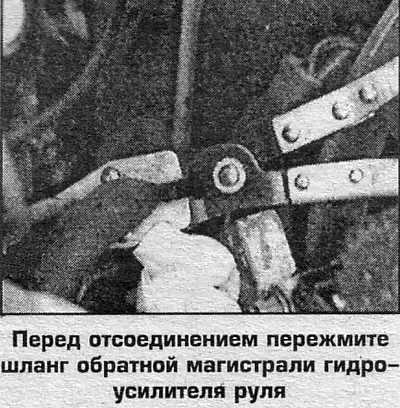
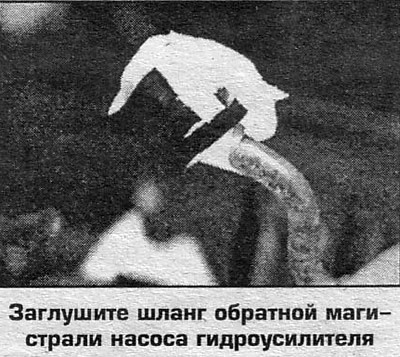
6. Remove the power steering pump together with the reservoir by disconnecting the hoses and unscrewing the bolts. Clamp the hoses.
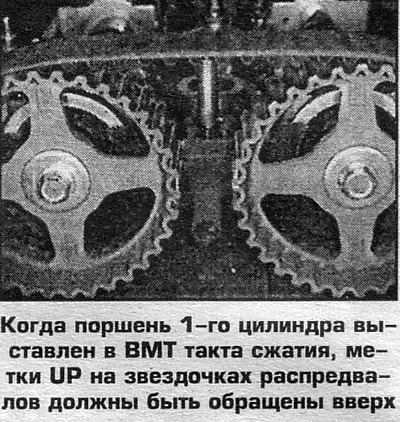
7. Remove the remaining accessory drive belts.
8. Jack up the engine using a board. Remove the upper engine mount bracket and cylinder head cover.
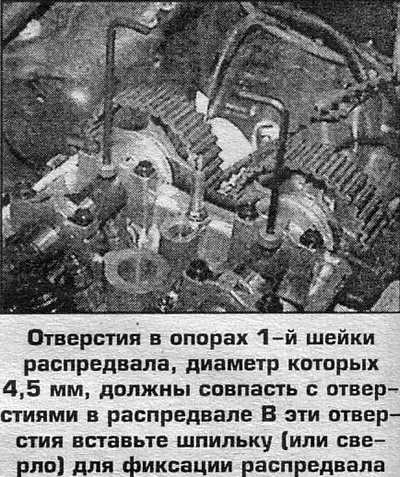
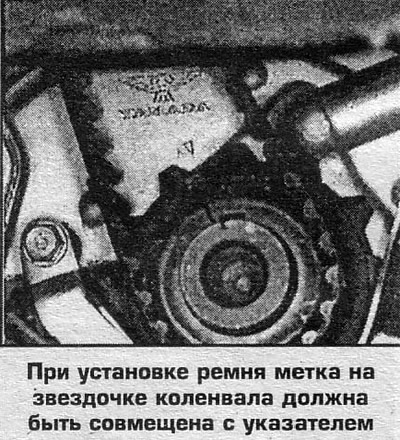
9. Make sure that the piston of the 1st cylinder is set to TDC of the compression stroke. In this position, the white mark on the crankshaft pulley should be aligned with the protrusion on the lower cover of the camshaft timing belt, the UP marks on the camshaft sprockets should be facing upwards, and the holes in the bearings of the 1st camshaft journal, the diameter of which is 4.5 mm, coincide with the holes in the camshaft. Insert a pin into these holes (or a drill) to fix the camshaft.
10. Remove the crankshaft pulley.
11. Remove all camshaft belt covers.
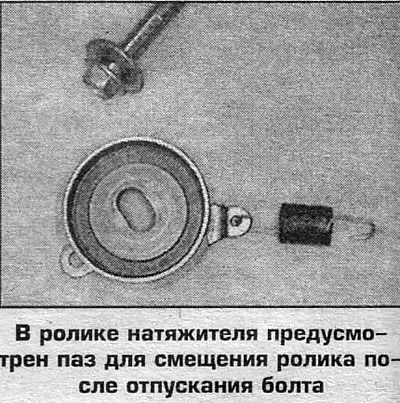
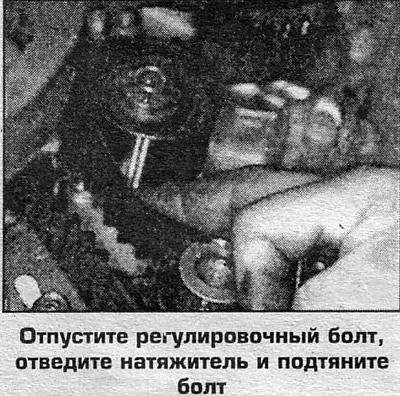
12. Loosen the adjusting bolt by 1/2-1 turn, move the tensioner away and tighten the bolt. 13. Remove the belt.
Installation
14. Check the alignment of the marks.
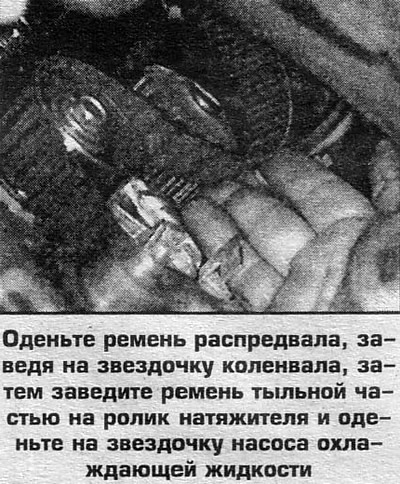
15. Put on the camshaft belt, placing it on the crankshaft sprocket and secure it by stuffing rags between the belt and the sensor shield.
16. Place the back of the belt on the tensioner roller and place it on the coolant pump sprocket.
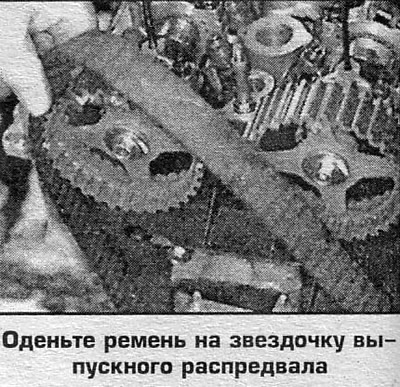
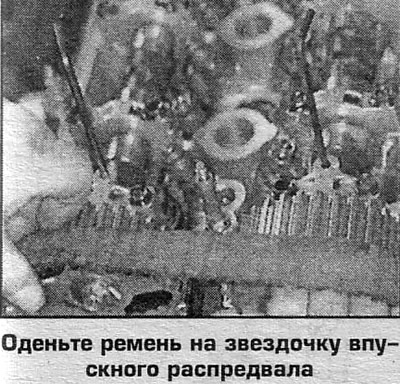
17. Carefully, without allowing the crankshaft to turn, feed the belt upward and place it on the exhaust camshaft sprocket approximately 1/3 of the belt engagement length.
18. Tighten and begin to put the belt on the intake camshaft sprocket, - as soon as the belt teeth engage with the intake camshaft sprocket, put the belt on both sprockets.
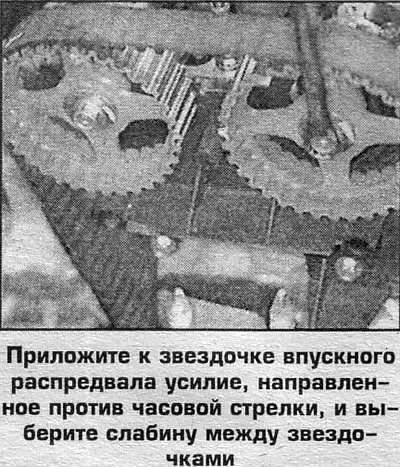
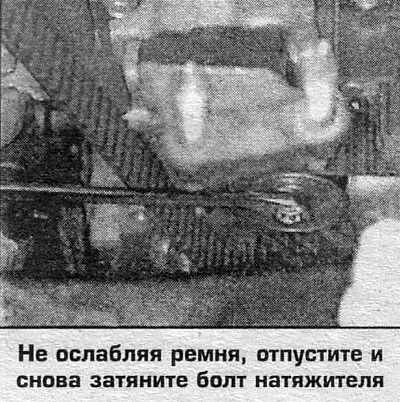
19. Loosen and immediately tighten the tensioner bolt. Remove the rag and tool used to secure the belt to the sprockets. Apply counterclockwise force to the intake camshaft sprocket and take up the slack between the camshaft and crankshaft sprockets. Loosen and retighten the tensioner bolt.
20. Install the sprocket flange onto the crankshaft.
21. Install both belt covers.
22. Install the crankshaft pulley.
23. Turn the crankshaft 5-6 revolutions in the direction of normal rotation.
24. Set the piston of the 1st cylinder to TDC of the compression stroke, aligning the marks.
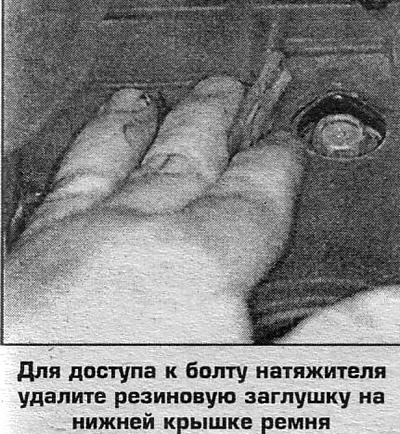
25. Remove the rubber plug on the lower belt cover and loosen the tensioner bolt 1/2 turn.
26. Turn the crankshaft so that the belt on the camshaft sprocket moves 3 teeth.
27. Tighten the tensioner bolt to 54 Nm.
28. Check the crankshaft pulley bolt tightness (the moment should be 177 Nm).
29. Install the cylinder head cover.
30. Install the upper engine mount bracket, remove the jack.
31. Install the remaining removed parts.
 |
 |
 |
 |
 |
 |
 |
 |
 |
 |
 |
 |
 |
 |
(Material obtained from the website www.HondaBook.ru)