
Contents: Thermal mode of operation of the…⇊ CR-V and 4-cylinder Odyssey models ⇊ 6-cylinder Odyssey (released since…⇊ Checking and adjusting the gap ⇊
The operating voltage of spark plugs is 20-50 kV, depending on the engine type. It is recommended to change spark plugs:
- every 2 years or 30,000 miles on 1997-00 CR-V and 4-cyl Odyssey
- every 7 years or 168,000 km on 6-cylinder Odyssey.
It should be borne in mind that the gap between the spark plug electrodes increases by approximately 0.025 mm every 4000 km, as a result of which the efficiency and power of the engine decrease. When selecting a spark plug by heat rating, use the most common driving conditions (photo). However, it is recommended to use spark plugs installed by the manufacturer.
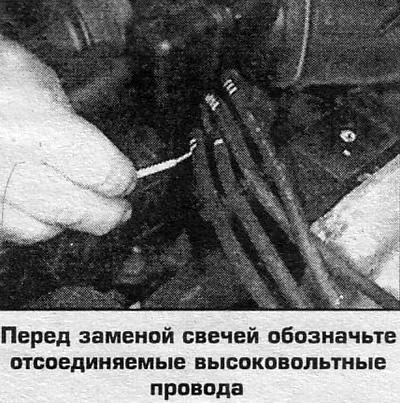
The spark plugs are replaced individually. Before replacing, mark the high-voltage wires to be disconnected. On engines with a distributor, mark the spark plug wire from cylinder 1.
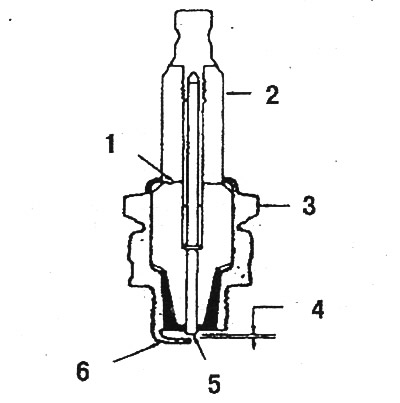
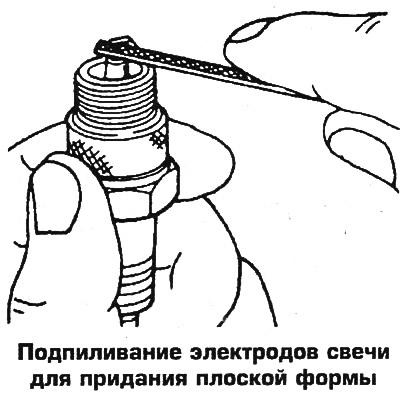
Candle: 1. The place where cracks are most likely to appear; 2. Porcelain insulator; 3. Clip; 4. Adjustable gap between electrodes; 5. Central electrode. When adjusting the gap, file it to a flat shape; bending is prohibited; 6. Side electrode. The gap is set by bending this electrode
Thermal mode of operation of the candle
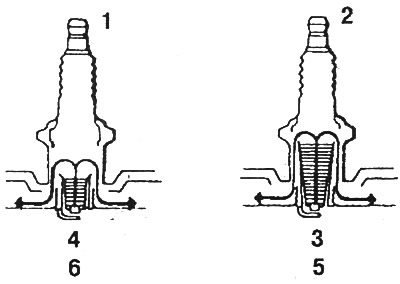
1. The closer the central electrode is to the cylinder block, the "colder" the spark plug is (heat is dissipated faster, small thermal cone).
2. The further the central electrode is from the heat sinks of the cylinder block, the "hotter" the spark plug is (heat is dissipated more slowly, large thermal cone).
3. These spark plugs are recommended for short trips with frequent stops.
4. Heavy loads, high speeds.
5. A long insulator slows down heat dissipation and extends the thermal range of the spark plug. The candle is hot.
6. A short insulator accelerates heat dissipation and reduces the thermal range of the spark plug. The candle is cold.
 |
 |
CR-V and 4-cylinder Odyssey models
1. Disconnect the battery from ground.
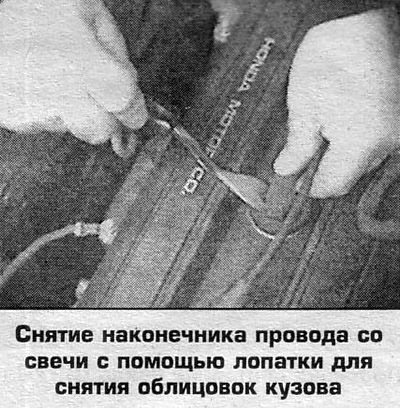
2. When the engine has cooled down, disconnect the wires from the spark plugs by grabbing the cover, turning it and pulling it up. If the cover is stuck, turn it in both directions by 1/4 turn.
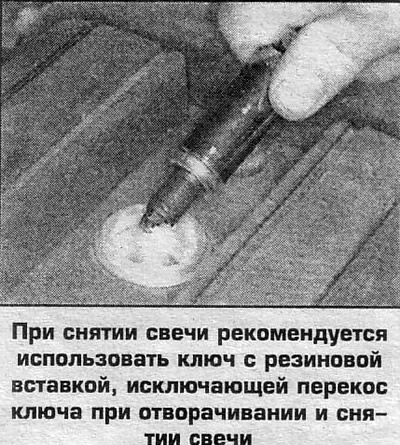
3. Without removing the wires from the mounting blocks, move them to the side (remove the pads from the brackets).
4. Unscrew the spark plug using a special key.
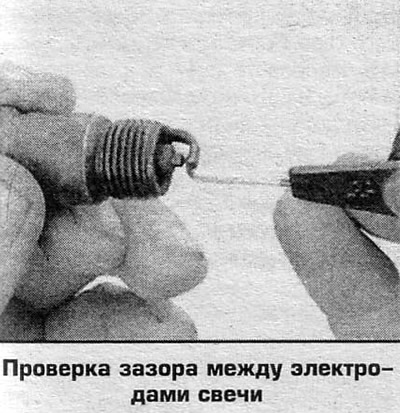
5. Check the condition of the cover (wire tip), check the gap between the electrodes, which should be 1.0-1.1 mm. If the cover is damaged, replace the wire together with the tip.
6. Screw the candle in by hand until it stops. If necessary, use an extension to screw in the spark plug (a piece of rubber hose).
7. Tighten the spark plug to a torque of 18 Nm.
8. Lubricate the spark plug insulator with silicone compound and put the cover on until it clicks.
6-cylinder Odyssey (released since 1999.)
The engines of these cars (3.5 l) are equipped with an ignition system without a distributor. Each spark plug has an ignition coil installed. The spark plugs of these engines are equipped with platinized electrodes, the gap in which cannot be adjusted. If the gap is larger than normal, the spark plug is changed.
1. Disconnect the battery from ground.
2. Remove the linings from the cylinder head cover.
 |
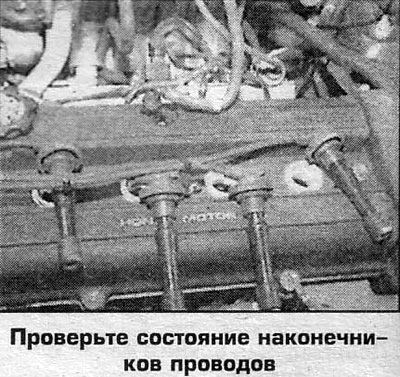 |
3. Mark and disconnect the connectors from the coils.
4. Loosen the screws and remove the coils.
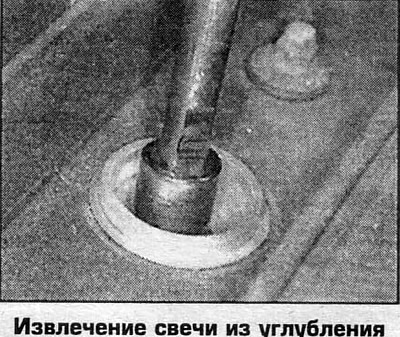
5. Unscrew the spark plug using a special key.
6. Check the gap between the electrodes, which should be 1.0-1.1 mm. If the gap is more than 1.3 mm, replace the spark plug.
7. Screw the candle in by hand until it stops. If necessary, use an extension to screw in the spark plug (a piece of rubber hose), so as not to strip the threads.
8. Tighten the spark plug to 18 Nm and install all removed parts.
Checking and adjusting the gap
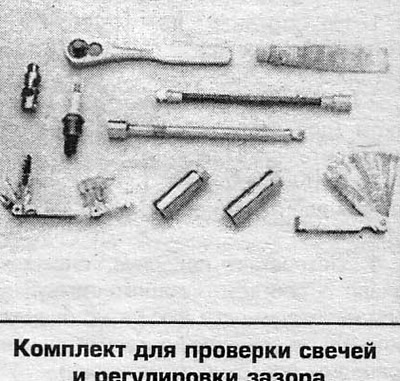
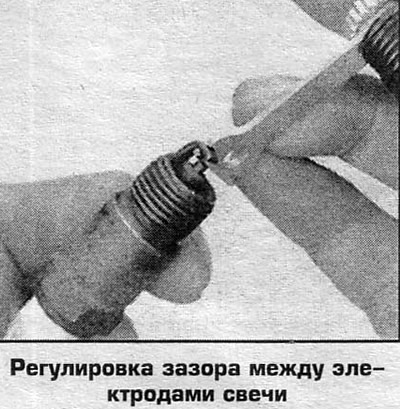
Check the condition of the spark plugs (photo). The normal working condition of the spark plug is indicated by a sandy or grayish color of the insulator head. Before adjusting the gap, file the surfaces of the electrodes to give them a flat shape. Sharp edges and unevenness reduce the breakdown voltage by up to 50%. The gap is checked with a round cross-section feeler gauge. At a given gap, the feeler gauge should pass through the gap with a slight force. If necessary, bend the side electrode without applying excessive force.
Attention! Gap in spark plugs with platinized electrodes (on Odyssey V6) not regulated.
 |
 |
 |
 |
(Original article on the website: «www.HondaBook.ru»)