HondaBook.ru
Auto companies Volkswagen Auto companies Ford Auto companies Lada Auto companies Skoda Auto companies BMW Auto companies Mazda Auto companies Peugeot
English Русский
Български
Беларускі
Український
Српски
Hrvatski
Română
Polski
Slovenský
Magyar
Bookmark Contacts Sitemap   


Accord Civic Fit / Jazz CR-V HR-V Others Articles
CR-V 1 (1995-2001, petrol) CR-V 2 (2002-2006, petrol)

Distributor Cap and Rotor — Removal and Installation, Checking (Honda CR-V 1)

  • Main
  • Honda CR-V
  • 1 (1995-2001, petrol)
  • General information
  • Maintenance
  • Distributor Cap and Rotor — Removal and Installation, Checking
0
Contents: CR-V and 4-cylinder Odyssey models ⇊ Examination ⇊

CR-V and 4-cylinder Odyssey models


1. Disconnect the battery from ground.

2. Mark and disconnect the high-voltage wires from the ignition distributor (sometimes it makes sense to leave the wires in place and remove the distributor cap).

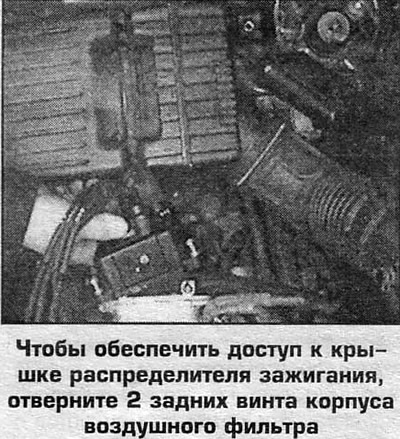
3. Remove the 2 rear air filter housing mounting screws and move the housing to provide access to the distributor cap.

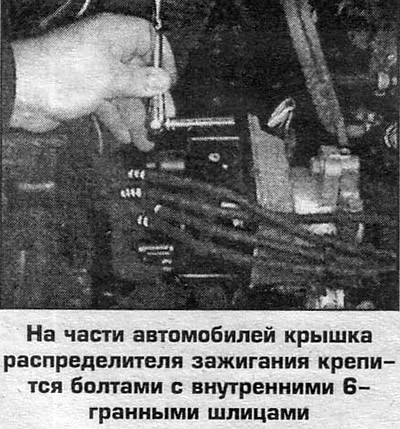
4. Loosen the bolts (screws) and remove the cover.

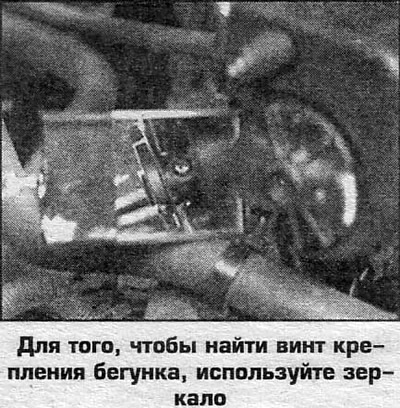
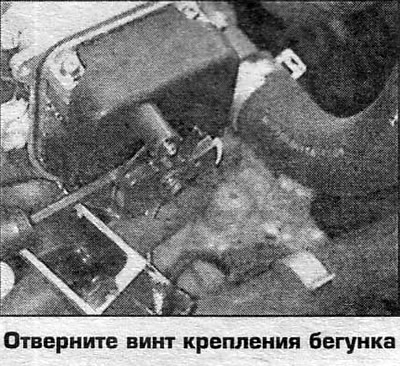
5. Loosen the locking screw and remove the runner.

5. Installation is carried out in reverse order.

Examination


Check the lid for cracks, corrosion and signs of breakdown, check the condition of the coal. Check the integrity of the runner. If cracks or increased wear of contacts are detected, replace the distributor cap. Wipe the surface of the distributor cap with a special contact cleaning compound. The use of solvents is prohibited.

Check the lid for cracks, corrosion and signs of…

Check the lid for cracks, corrosion and signs of…


[Full version on the source website: hondabook.ru]
This article is available at: russian, bulgarian, belarusian, ukrainian, serbian, croatian, romanian, polish, slovak, hungarian
This information has been verified: Emil Safonov
Share with friends:
◀ Previous
CR-V 1: Maintenance
Next ▶

High Voltage Wires — Checking and Replacing
Spark plugs — checking and replacing
CV joint covers for half-axles and drive shafts — check
Heating and Cooling Hoses — Checking
Timing Belt — Replacement Frequency and Maintenance
Setting the ignition timing
Valve clearances — adjustment
Adjusting idle speed and mixture quality
Air Conditioner — Maintenance
Windscreen wiper blades — replacement
See also other articles from Honda manuals:
Checking the condition and replacing the spark plug wires, cover and… Honda Accord 6 (1997-2002)
Checking the condition and replacing the spark plug wires, cover and… Honda Civic 6 (1995-2000)
Checking tire pressure and condition Honda Fit 1 (2001-2008)
Checking and testing the starter rotor Honda HR-V 1 (1998-2006, petrol)
Checking the generator rotor Honda Avancier 1 (1999-2003, petrol)
Link in different formats to this article
Comments and feedback from visitors
No comments yet


How much will 43 + 33 ?


CR-V 2 (2002-2006, petrol) 
  • General information
  • User manual
  • Technical data
  • Maintenance
  • Power unit
  • Engine repair
  • Lubrication system
  • Cooling system
  • Exhaust system
  • Fuel system
  • Engine management
  • Engine electrical equipment
  • Transmission
  • Clutch
  • Manual gearbox
  • Automatic gearbox
  • Rear differential
  • Drive shafts
  • Chassis and running gear
  • Steering
  • Front suspension
  • Rear suspension
  • Brake system
  • Body and interior
  • Exterior (external elements)
  • Interior (internal elements)
  • Doors, locks and windows
CR-V 1 (1995-2001, petrol) 
  • General information
  • Maintenance
  • Tips for car owner
  • Power unit
  • Engine repair
  • Engine overhaul
  • Cooling and lubrication system
  • Engine electrical equipment
  • Control system
  • Fuel system
  • Transmission
  • Clutch and drive shafts
  • Car gearbox
  • Chassis and running gear
  • Front suspension
  • Rear suspension
  • Steering
  • Brake system
  • Body and interior
  • Body service
  • Exterior (external elements)
  • Interior (internal elements)
  • Electrical equipment
  • Equipment and devices
  • Electrical circuits
HondaBook.ru © 2018–2026 • Mobile version • Sitemap: EN BG BY UA RS HR RO PL SK HU • Feedback • Driver Information • Search system • Bookmark
Accord 3 (1985-1989) • Accord 6 (1997-2002) • Civic 3 and 4 (1983-1991) • Civic 5 and 6 (1991-2000) • Civic 6 (1995-2000) • Civic 7 (2000-2005) • Civic 8 (2005-2011) • Fit 1 (2001-2008) • CR-V 1 (1995-2001) • CR-V 2 (2002-2006) • HR-V 1 (1998-2006) • Avancier 1 (1999-2003) •
 
This website uses cookies to ensure proper functioning. By clicking "OK," you agree.