
Note: Place the clutch housing on two pieces of wood of sufficient thickness so that the secondary shaft does not touch the workbench.
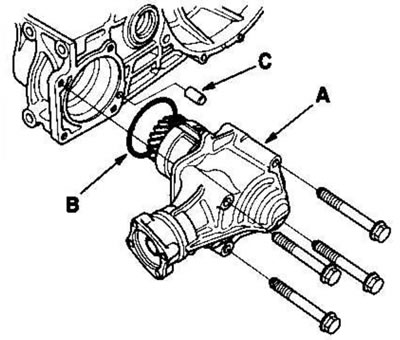
1. Remove the transfer case assembly (A), O-ring (B) and Dowel pin (C) 10x20mm. (4WD model)
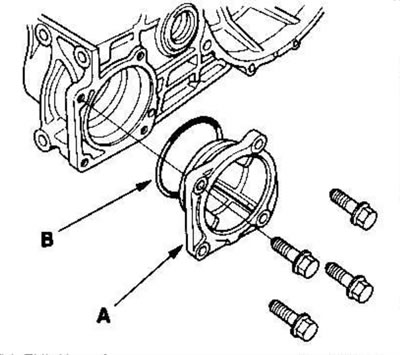
2. Remove the left cover (A) and O-ring (B). (2WD model)
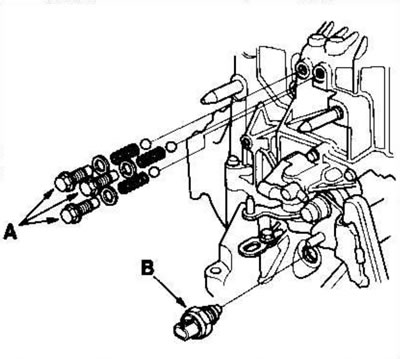
3. Loosen the lock bolts (A), remove the springs, steel balls and reversing light switch (B).
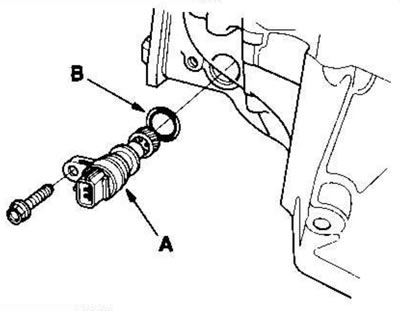
4. Remove the vehicle speed sensor (VSS) (A) and remove the O-ring (B).
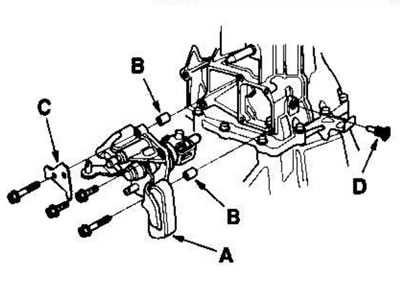
5. Remove the shift lever assembly (A), 8x14mm dowel pins (B), clutch pipe clamp bracket (C) and lock bolt (D).
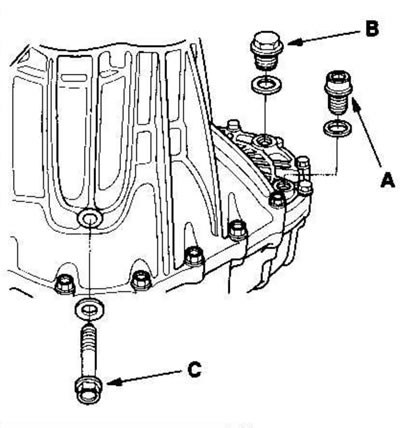
6. Remove the plug (A) from the drain hole, the plug (B) from the filler hole, and the flange bolt (C) 10 mm.
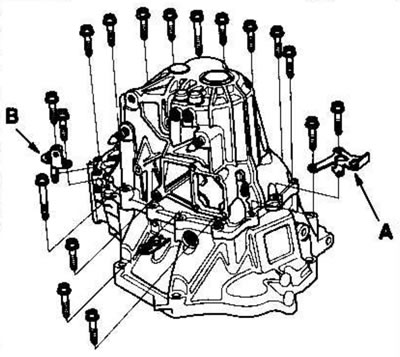
7. Loosen the 8mm flange bolts crosswise in several passes.
8. Remove the hanger brackets A and B from the gearbox.
9. Unscrew the 32 mm plug (A).
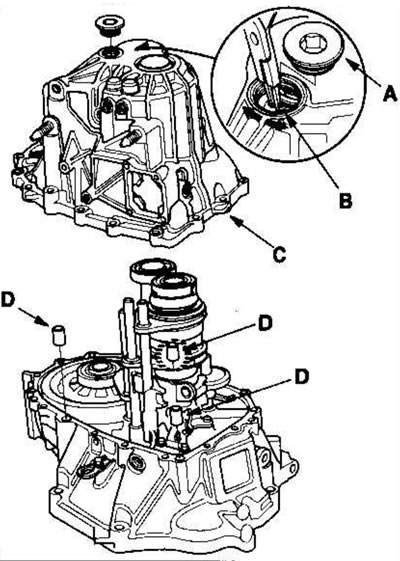
10. Spread the ends of the 72mm snap ring (B) on the intermediate shaft ball bearing and remove it from the groove using snap ring pliers.
11. Remove the crankcase (C) and 14x20mm dowel pins (D).
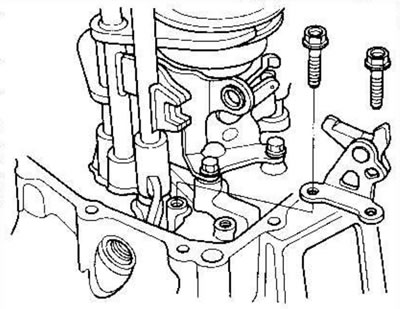
12. Remove the reverse locking cam.
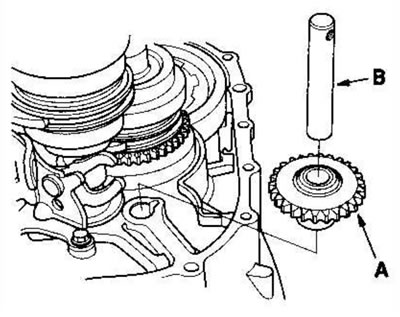
13. Remove the reverse idler gear (A) and reverse gear shaft (B).
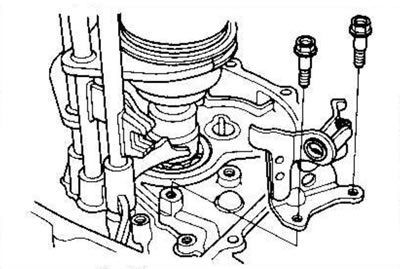
14. Remove the reverse gear shift fork.
15. Wrap the splined portion of the secondary shaft with electrical tape to protect the oil seal, then remove the secondary (A) and intermediate (B) shafts together with the shift forks (C) from the clutch housing (D).
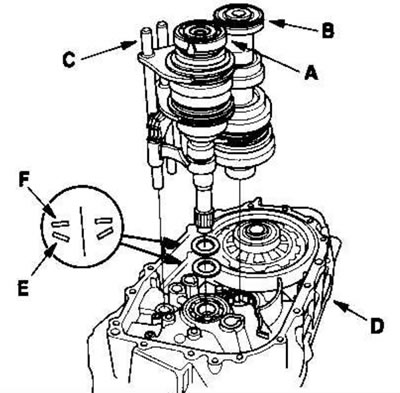
16. Remove the 28mm spring washer (E) and 28mm washer (F).
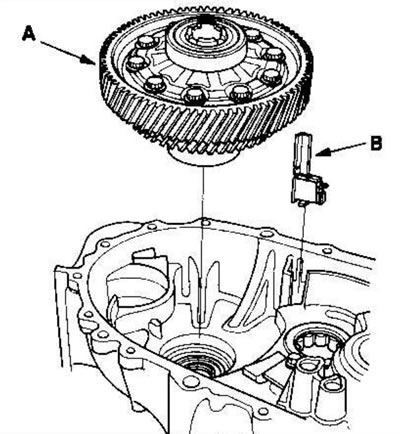
17. Remove the differential assembly (A) and magnet (B).
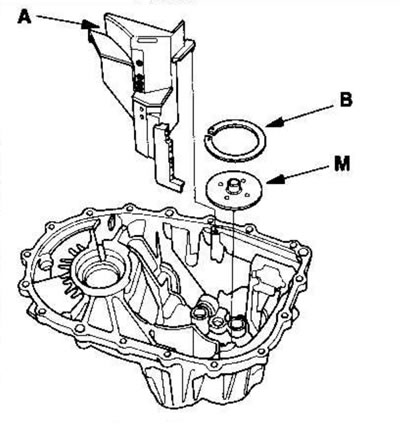
18. Remove the oil trough (A), 72 mm adjusting washer (B) and oil transfer plate M.
Material obtained from the website HondaBook