
Contents: Generator replacement ⇊ Generator repair ⇊
Generator replacement
1. Disconnect the cable from the negative battery terminal, then from the positive one.
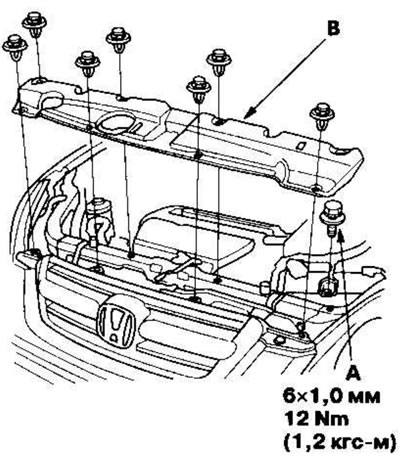
2. Remove the bolt (A) securing the battery retainer, then remove the partition cover (B).
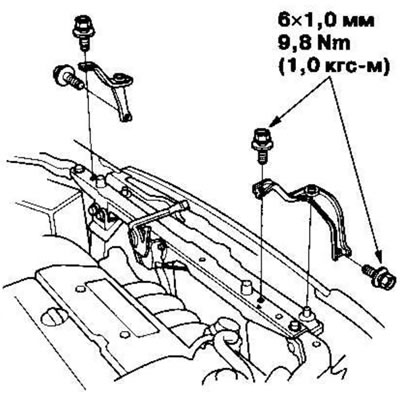
3. Remove the upper bracket and cushion.
4. Remove the drive belt.
5. Remove the automatic tensioner.
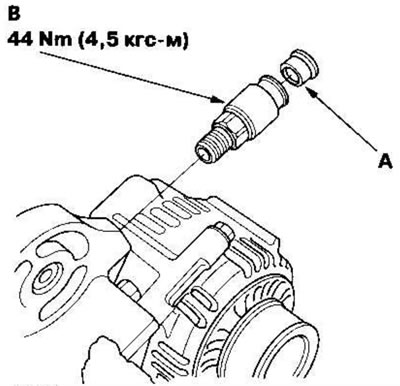
6. Remove the gasket (A), then use an Allen key to loosen the holder (B) of the positive crankcase ventilation (PCV) valve.
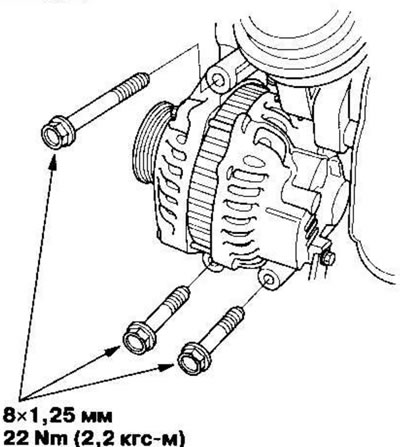
7. Remove the three bolts securing the generator.
8. Disconnect the connector (A), BLACK wire (B) and harness clamp (C) from the generator.
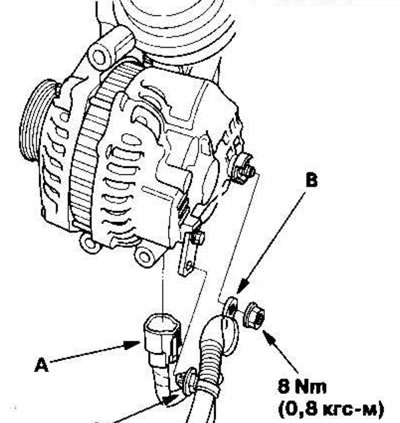
9. Remove the generator.
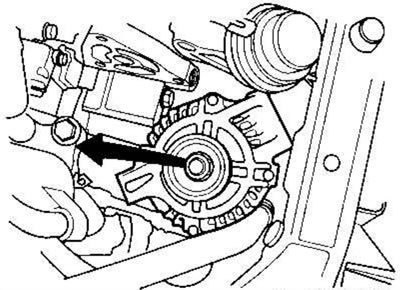
10. Installation of the generator and drive belt is performed in the reverse order of removal.
11. Apply sealant to the threads of the PCV valve holder, then screw the holder in.
12. Install the top bracket and cushion. Make sure they are securely fastened.
13. Connect the cable to the positive and negative terminals of the battery.
Generator repair
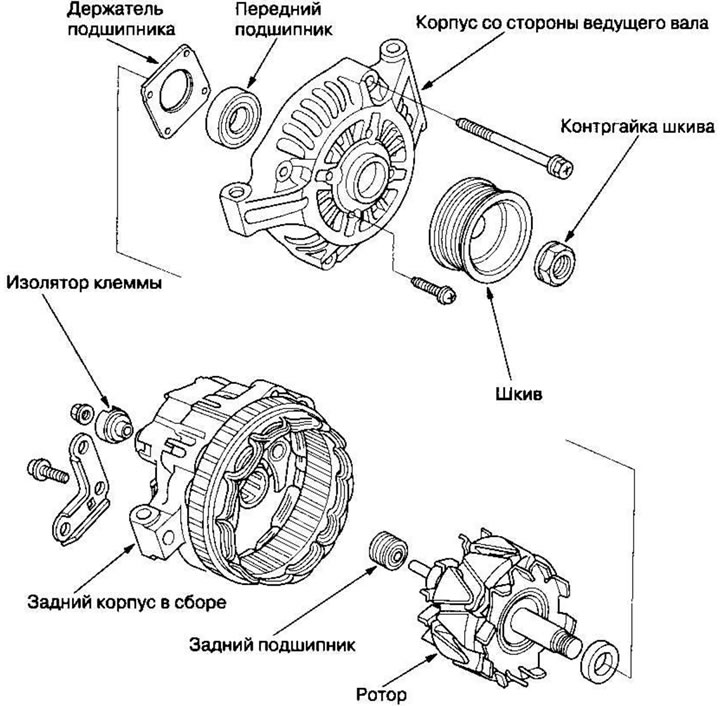
Note: Use the exploded view of the generator as a reference when performing this procedure.
1. Before removing the generator and regulator, test them.
2. Remove the generator.
3. Remove the four through bolts.
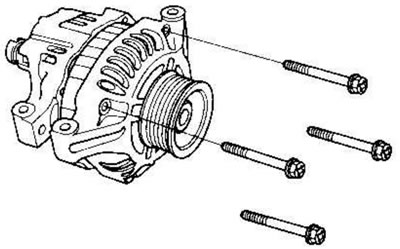
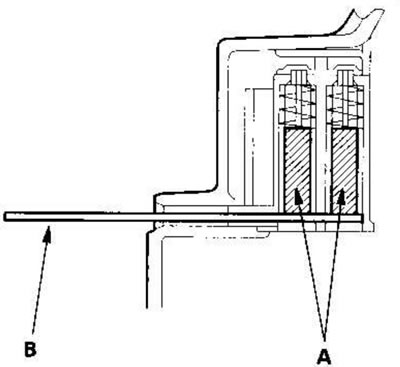
4. Heat the rear bearing seat with a 1000W hair dryer for approximately 5 minutes (50-60°C).
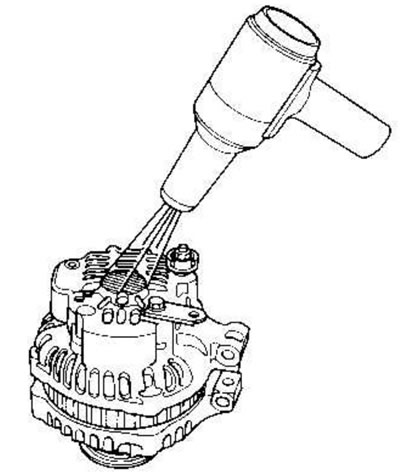
5. Separate the rear housing from the drive shaft side housing by inserting flat-head screwdrivers into the holes and pressing them down.
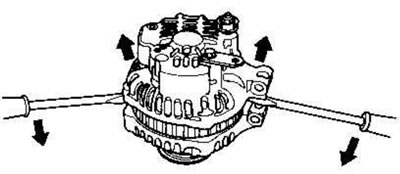
Note: Do not damage the stator with the tip of the screwdriver.
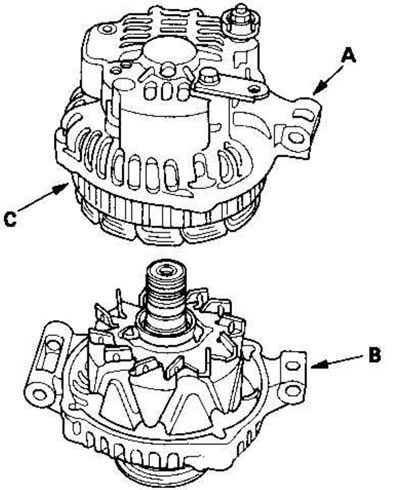
6. Separate the rear housing (A) with the stator (C) from the housing (B) on the drive shaft side.
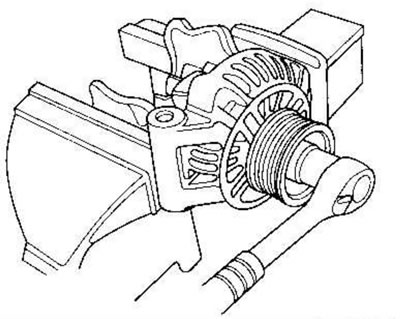
7. If you are not changing the front bearing and/or rear bearing, proceed to step. 15. Secure the rotor in a vice with soft jaws, then loosen the pulley lock nut.
8. Remove the rotor using a puller as shown in the figure.
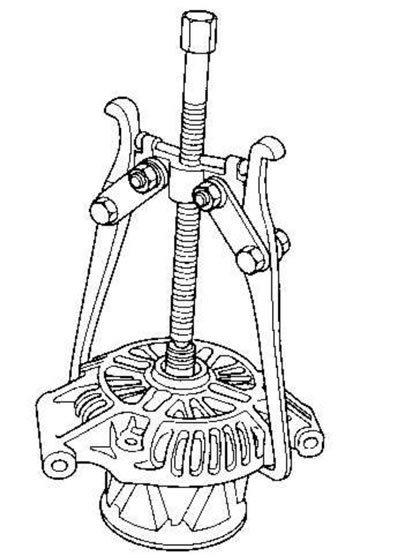
9. Check for scratches on the rotor shaft and for burrs on the surface of the bearing journal in the housing on the drive shaft side.
- If there is damage to either the rotor or the housing on the drive shaft side, replace the generator.
- If both the rotor and the housing on the drive shaft side are in good condition, proceed to step. 10.
10. Remove the rear bearing using a puller as shown.
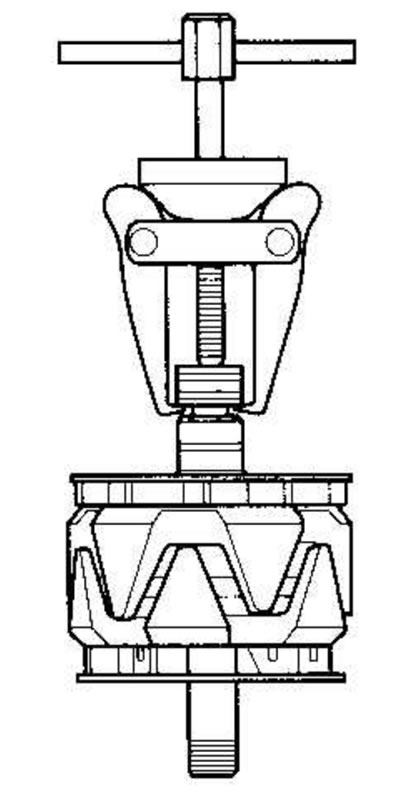
11. Press in the new rear bearing using a hand press. To avoid bearing damage, apply pressure only to the inner ring.
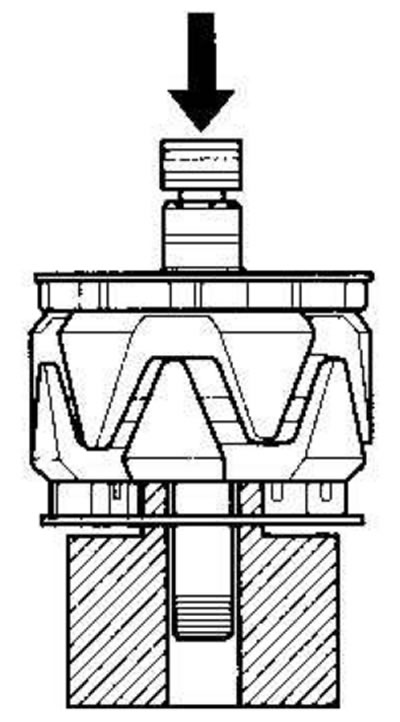
12. Remove the front bearing insulator.
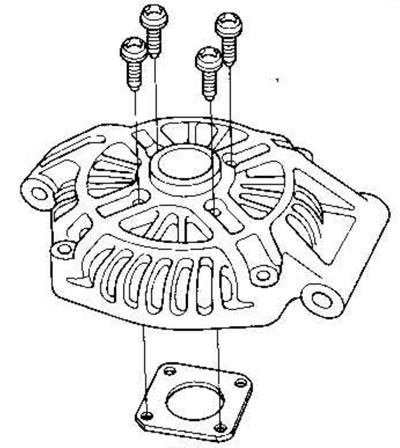
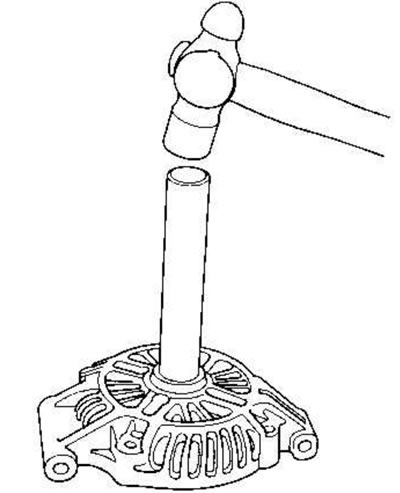
13. Place the drive shaft side of the housing in a vice and press out the front bearing using a brass drift and a hammer.
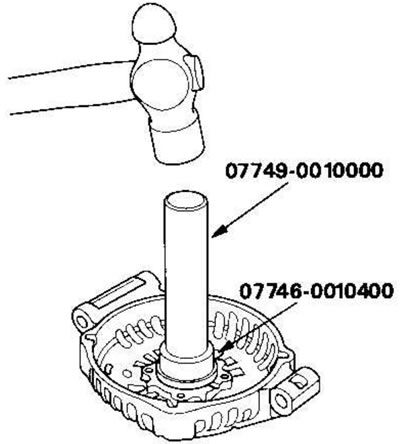
14. Press the new front bearing into the housing from the drive shaft side using a special tool and a hammer.
Checking the generator brushes
15. Measure the length of both brushes with a caliper.
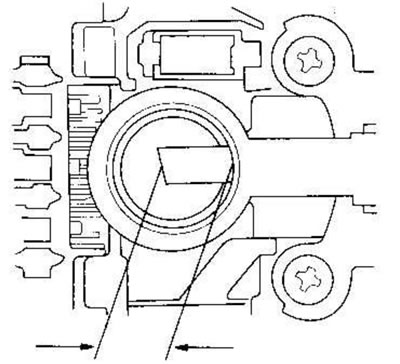
- If any of the brushes are shorter than the maximum length, replace the rear housing assembly.
- If the length of the brushes is normal, proceed to step. 16.
| Length of generator brushes | |
| Standard (new) | 19.0 mm |
| Wear limit | 5.0 mm |
Testing of rotor slip rings
16. Check if there is conductivity between the slip rings (A).
- If there is conductivity, proceed to step. 17.
- If there is no conductivity, replace the rotor assembly.
17. Make sure that there is no conductivity between the slip rings (A), rotor (B) and rotor shaft (C).
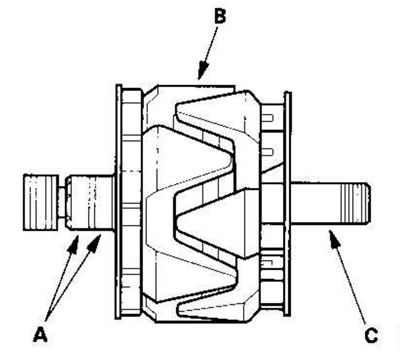
- If there is no conductivity, replace the rear housing assembly, go to step. 18.
- If there is continuity, replace the rotor assembly.
Generator assembly
18. If you have removed the pulley, place the rotor into the housing from the drive shaft side, then tighten its lock nut to a torque of 111 Nm (11.3 kgf·m).
19. Remove any grease or oil from the slip rings.
20. Press in the brushes (A), then insert the pin or drill (B) (diameter about 1.8 mm) and fix them in this position (picture in the right column at the top).
21. Heat the rear bearing seat with a 1000W hair dryer for approximately 5 minutes (50-60°C).
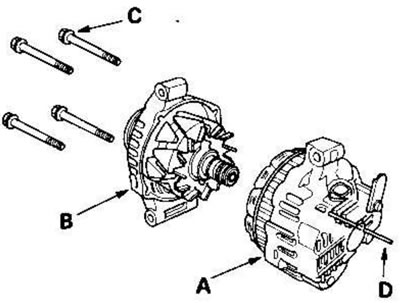
22. Connect the rear housing (A) and the drive shaft side housing/rotor assembly (B), tighten the four through bolts (C) and remove the pin (D).
23. After assembling the generator, turn the pulley by hand and make sure that the rotor rotates smoothly and quietly.
24. Install the generator and put on the drive belt.