
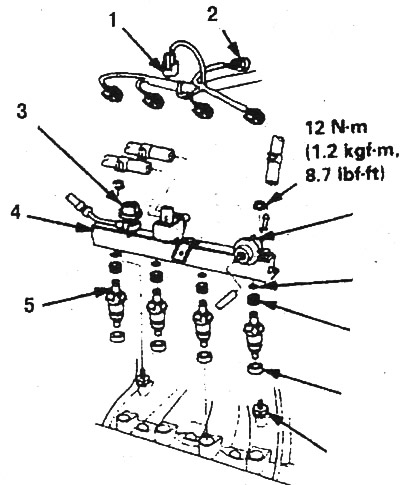
Injectors and fuel distributor (CR-V 1997-98): 1, 2. Connectors; 3. Pulsation damper; 4. Fuel distributor; 5. Nozzle | 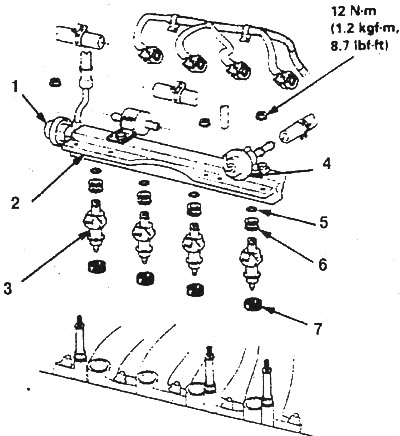
Injectors and fuel distributor (CR-V 1999): 1. Pulsation damper; 2. Fuel distributor; 3. Nozzle; 4. Fuel pressure regulator; 5. Ring; 6. Shock-absorbing sleeve; 7. Seal |
1. Disconnect the battery from the ground.
2. Decompress.
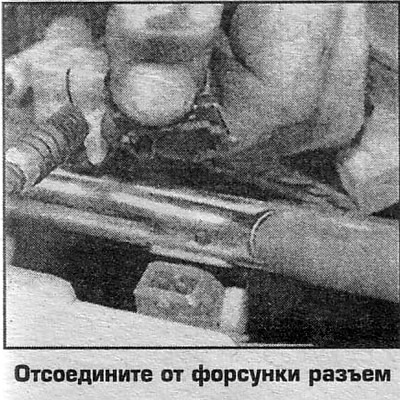
3. Disconnect the connectors from the fuel distributor
4. Disconnect the vacuum hose and the fuel line from the pressure regulator.
5. Turn away bolts and remove the fuel distributor.
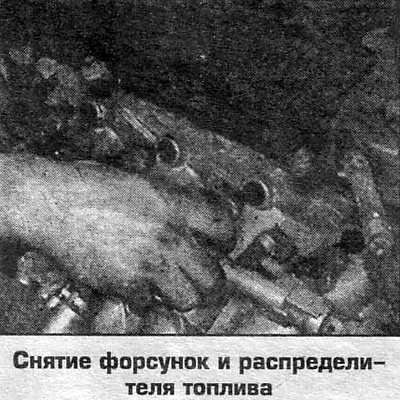
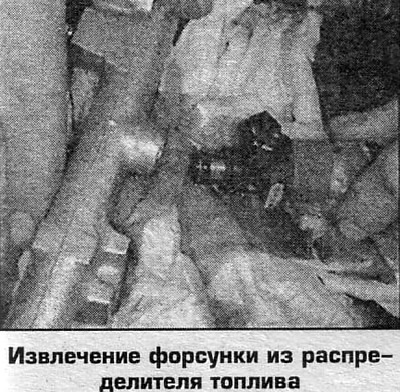
6. Remove the nozzles by rocking them from side to side and pushing them up.
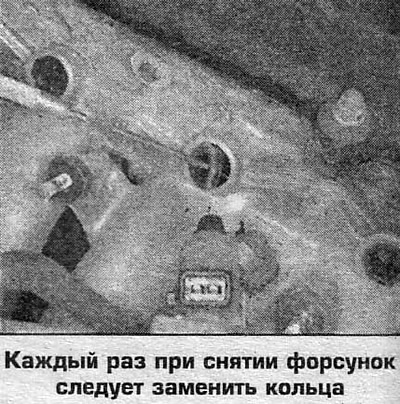
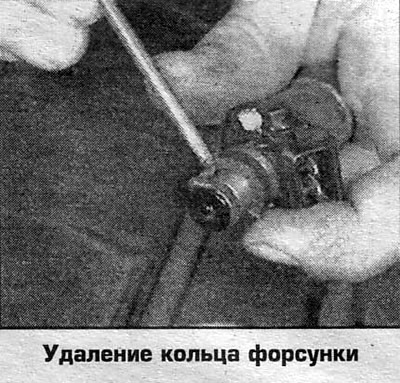
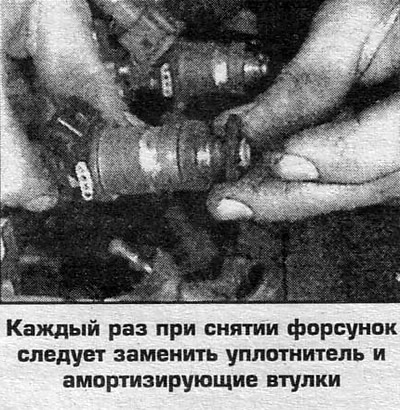
7. Installation is carried out in the reverse order. Replace all seals, lubricate nozzle rings with engine oil. Secure the nozzles with brackets. When finished, turn on the ignition for 5 seconds and check that there are no gasoline leaks. Then fill the system with gasoline by turning the ignition on and off several times.
Examination
1. The operation of the nozzle is audible with a stethoscope at idle (the head of the stethoscope must be attached to the nozzle body). Regular clicks should be clearly audible in time with the operation of the nozzle valve. The manufacturer recommends that the injector test be combined with the spark plug insulator test, which can be used to evaluate the composition of the mixture and determine the cause of unstable engine operation.
2. The reason for enriching the mixture with nozzles can be:
- pressure regulator failure
- increased fuel pressure, leaking injectors,
- clogged pressure regulator vacuum hose.
Reasons for lean mixture:
- pressure regulator failure
- lowering the fuel pressure
- nozzle clogging,
- stuck injector valves
- injector coil failure
- unreliable ground connection,
- or the absence of voltage pulses on the injector winding.
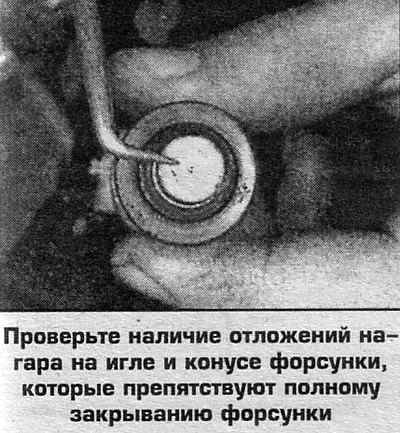
3. If clicks are heard on all injectors (and it is known that the ignition system is working), then you should check the cone of the atomized fuel of the nozzle on the stand. To do this, remove the injector, connect it to a pressurized fuel line, connect 12 V to the injector and turn it off immediately. If the cone is missing, replace the nozzle. Also replace the leaking injector.
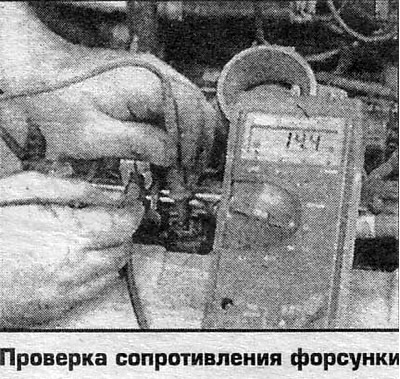
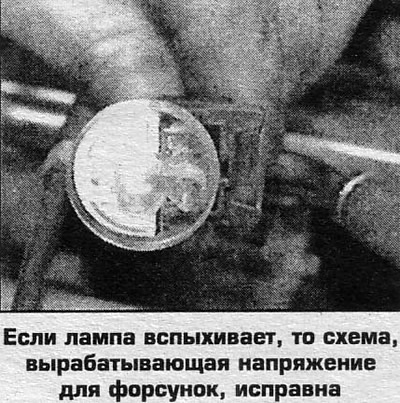
4. If clicks are heard on parts of the injectors, then check for the presence of voltage pulses on the injector by flashing a control lamp, which is connected to the injector wire connector. If the lamp flashes, then check the resistance of the inoperative nozzle, which should be 1.5-2.5 ohms. If the lamp does not flash, then check the circuit between the wire connector pin and the corresponding pin of the connector disconnected from the processor PCM unit. Resistance should be no more than 5 ohms. If the resistance is OK, then replace the PCM.
 |  |
 |  |
 |  |
 |  |
 |  |