HondaBook.ru
Auto companies Volkswagen Auto companies Ford Auto companies Lada Auto companies Skoda Auto companies BMW Auto companies Mazda Auto companies Peugeot
English Русский
Български
Беларускі
Український
Српски
Hrvatski
Română
Polski
Slovenský
Magyar
Bookmark Contacts Sitemap   


Accord Civic Fit / Jazz CR-V HR-V Others Articles
CR-V 1 (1995-2001, petrol) CR-V 2 (2002-2006, petrol)

Wheel cylinders of drum brakes — removal and installation (Honda CR-V 1)

  • Main
  • Honda CR-V
  • 1 (1995-2001, petrol)
  • Chassis and running gear
  • Brake system
  • Wheel cylinders of drum brakes — removal and installation
0
Contents: Examination ⇊ Removal and installation ⇊ Disassembly ⇊

Examination


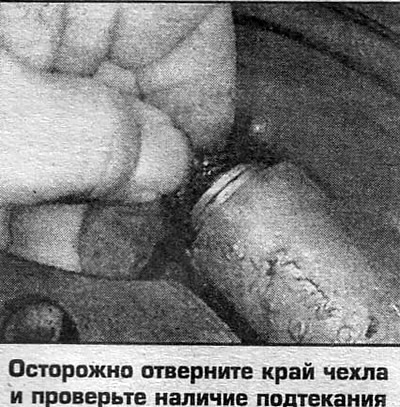
The cylinder is replaced if a leak is detected under the dust seals.

Removal and installation


1. Remove the brake drums and shoes.

2. Clamp the brake hose and disconnect the hose. If there is no special clamp, pump out the liquid and plug the hose.

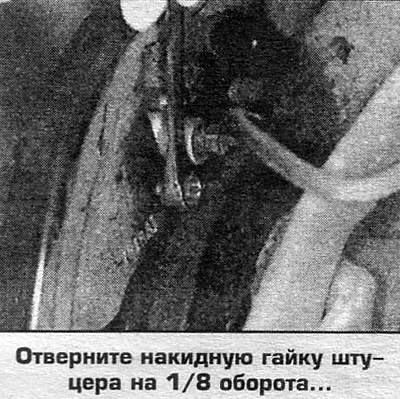
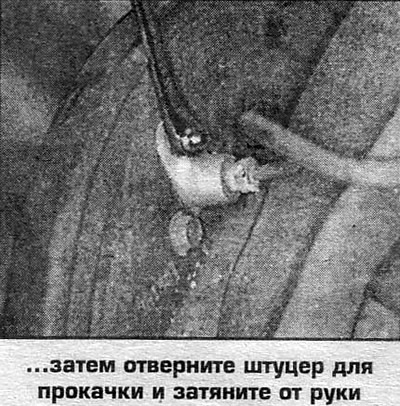
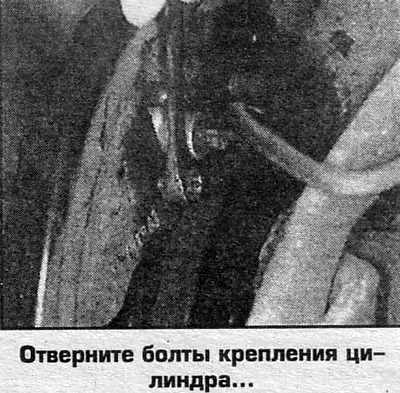
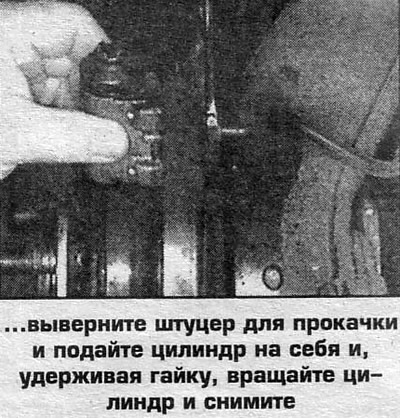
3. Loosen the union nut 1/8-1/4 turn, keeping an eye on the tube. If the nut starts to unscrew freely, then unscrew the nut completely and disconnect the tube. Loosen the bolts and remove the cylinder. If the nut of the nipple is stuck to the tube and the tube starts to turn with the nut, then unscrew the cylinder mounting bolts, unscrew the nipple for bleeding and carefully move the cylinder outward like this. so that it could be turned. While holding the nut, rotate the cylinder and remove.

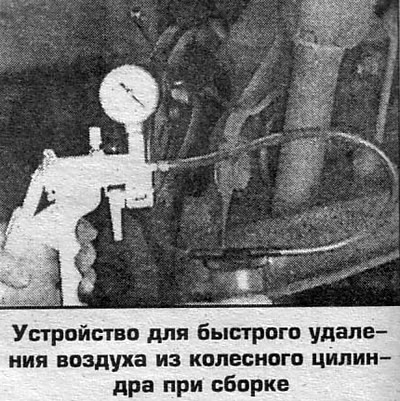
4. Install the cylinder in reverse order. Install the removed parts and bleed the brake hydraulic system.

Disassembly


The procedure below is only performed if you can purchase a wheel cylinder repair kit (limited availability for spare parts). It is advisable to replace the faulty cylinder.

1. Remove the wheel cylinder.

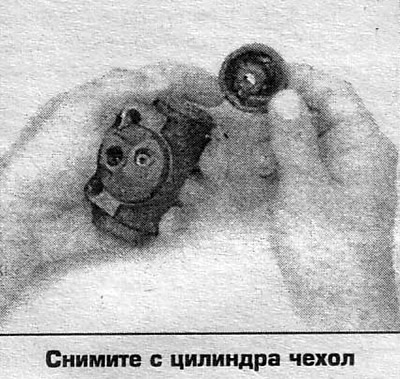
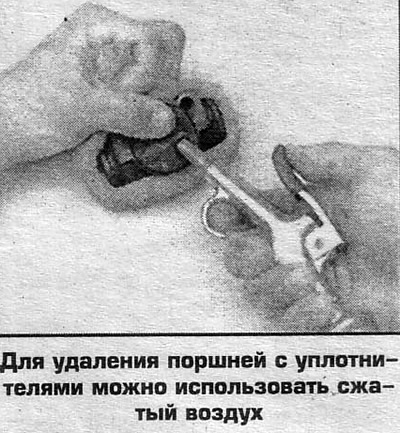
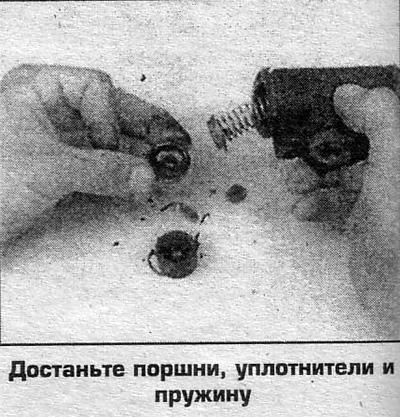
2. Remove the covers, take out the pistons, seals and spring.

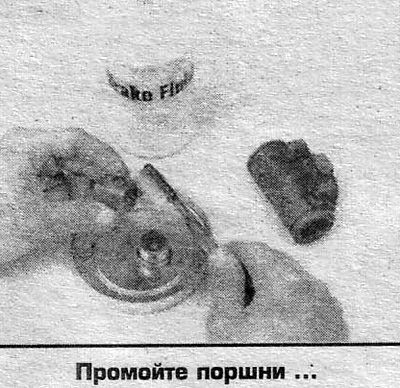
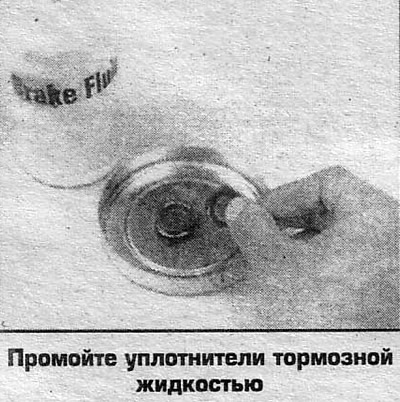
3. Wash the parts with clean brake fluid or rectified alcohol.

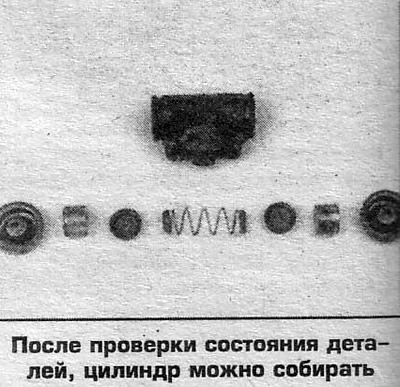
4. Check the condition of the piston and cylinder; if there are scratches, replace the cylinder.

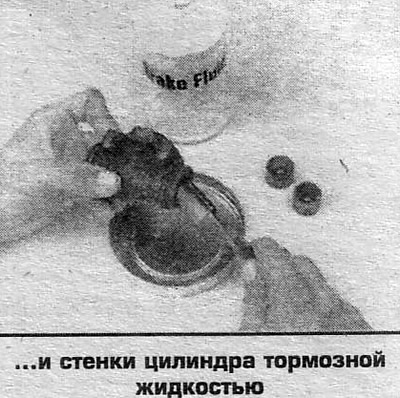
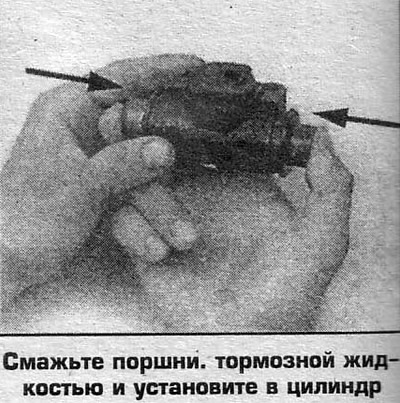
5. Lubricate the cylinder walls and seals with clean brake fluid.

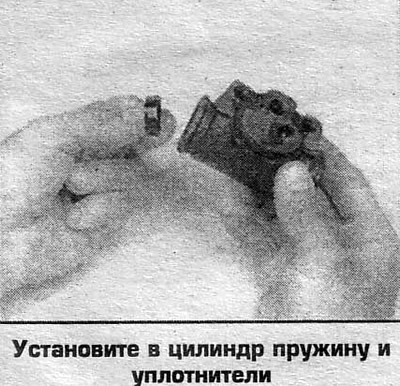
6. Install the spring, seals and pistons.

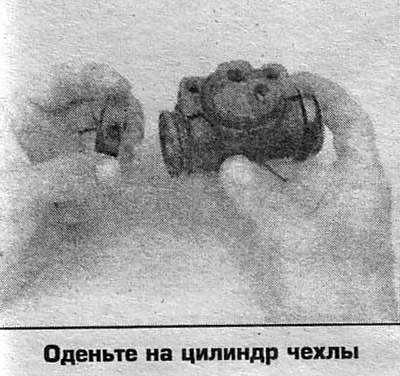
7. Put on new dust covers.


8. Install the cylinder on the vehicle.
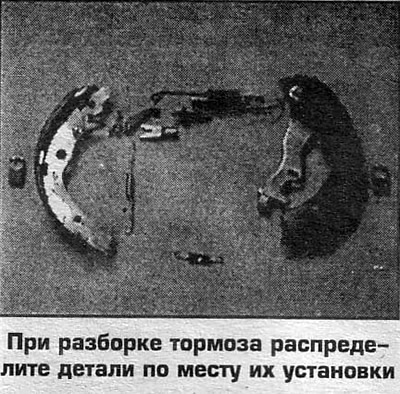
8. Install the cylinder on the vehicle.

8. Install the cylinder on the vehicle.

8. Install the cylinder on the vehicle.

8. Install the cylinder on the vehicle.

8. Install the cylinder on the vehicle.

8. Install the cylinder on the vehicle.

8. Install the cylinder on the vehicle.

8. Install the cylinder on the vehicle.

8. Install the cylinder on the vehicle.
This article is available at: russian, bulgarian, belarusian, ukrainian, serbian, croatian, romanian, polish, slovak, hungarian
This information has been verified: Emil Safonov
Share with friends:
◀ Previous
CR-V 1: Brake system
Next ▶

Drum brake shoes — removal and installation
Drum brakes — removal and installation
Brake disc — removal and installation
Support — removal and installation
Rear disc brake pads
Parking brake parts
Parking brake cables — removal and installation
Parking brake — adjustment
Disc Brake Pads — Replacement (4-Cylinder Odyssey)
Anti-lock braking system (ABS) — general information
See also other articles from Honda manuals:
Rear drum brakes Honda Accord 3 (1985-1989)
Rear Wheel Hub (2WD models with rear drum brakes) Honda Civic 7 (2000-2005)
Rear Wheel Hub (2WD models with rear drum brakes) Honda Fit 1 (2001-2008)
Rear wheel drum brakes Honda HR-V 1 (1998-2006, petrol)
Steering wheel audio controls Honda Avancier 1 (1999-2003, petrol)
Link in different formats to this article
Comments and feedback from visitors
No comments yet


How much will 16 + 23 ?


CR-V 2 (2002-2006, petrol) 
  • General information
  • User manual
  • Technical data
  • Maintenance
  • Power unit
  • Engine repair
  • Lubrication system
  • Cooling system
  • Exhaust system
  • Fuel system
  • Engine management
  • Engine electrical equipment
  • Transmission
  • Clutch
  • Manual gearbox
  • Automatic gearbox
  • Rear differential
  • Drive shafts
  • Chassis and running gear
  • Steering
  • Front suspension
  • Rear suspension
  • Brake system
  • Body and interior
  • Exterior (external elements)
  • Interior (internal elements)
  • Doors, locks and windows
CR-V 1 (1995-2001, petrol) 
  • General information
  • Maintenance
  • Tips for car owner
  • Power unit
  • Engine repair
  • Engine overhaul
  • Cooling and lubrication system
  • Engine electrical equipment
  • Control system
  • Fuel system
  • Transmission
  • Clutch and drive shafts
  • Car gearbox
  • Chassis and running gear
  • Front suspension
  • Rear suspension
  • Steering
  • Brake system
  • Body and interior
  • Body service
  • Exterior (external elements)
  • Interior (internal elements)
  • Electrical equipment
  • Equipment and devices
  • Electrical circuits
HondaBook.ru © 2018–2026 • Mobile version • Sitemap: EN BG BY UA RS HR RO PL SK HU • Feedback • Driver Information • Search system • Bookmark
Accord 3 (1985-1989) • Accord 6 (1997-2002) • Civic 3 and 4 (1983-1991) • Civic 5 and 6 (1991-2000) • Civic 6 (1995-2000) • Civic 7 (2000-2005) • Civic 8 (2005-2011) • Fit 1 (2001-2008) • CR-V 1 (1995-2001) • CR-V 2 (2002-2006) • HR-V 1 (1998-2006) • Avancier 1 (1999-2003) •
 
This website uses cookies to ensure proper functioning. By clicking "OK," you agree.