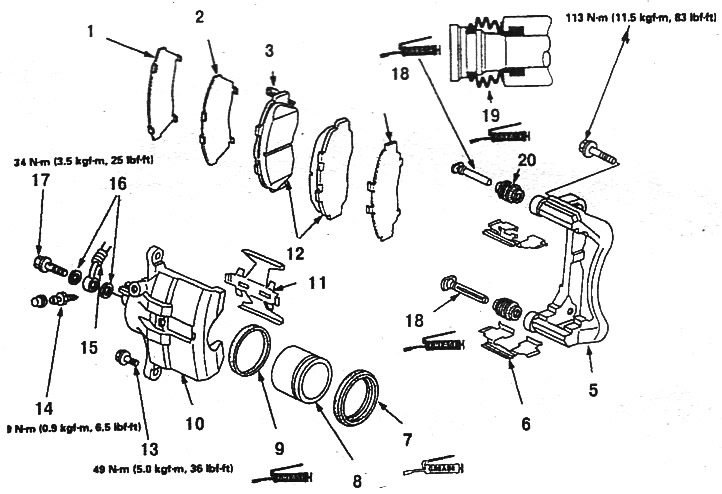
brake caliper (CR-V): 1. Inner lining B; 2. Inner lining A; 3. Wear indicator; 4, 13. Bolts; 5. Bracket; 6. Staples; 7, 19. Case; 8. Piston; 9. Piston seal; 10. Caliper; 11. Spring; 12. Pads; 14. Connection for pumping; 15. Hose; 16. Gaskets; 17. Bolt; 18. Finger
1. Drain some of the fluid from the reservoir.
2. Raise the car and remove the wheel.
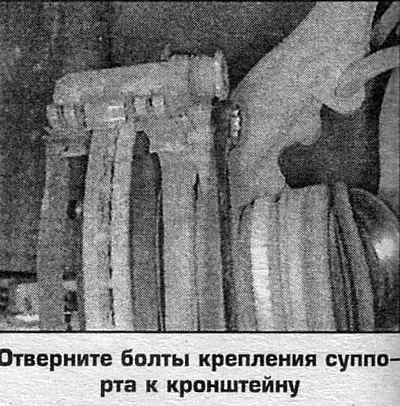
3. Turn away bolts and take away a support from a disk.
4. Remove the brake pads and pads.
5. If the support acts in film for replacement or repair disconnect a brake hose and muffle.
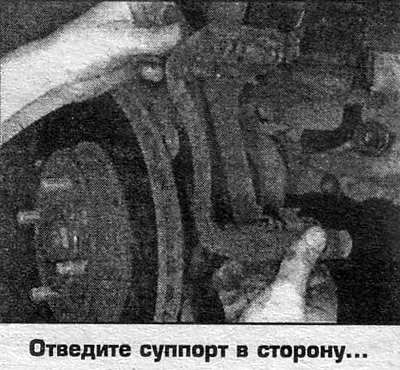
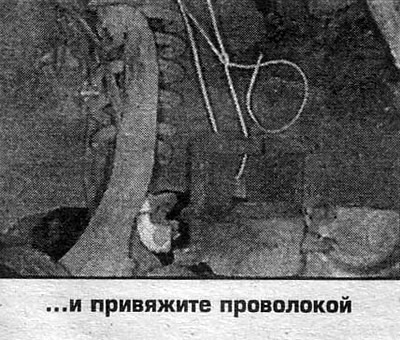
6. Remove a support with an arm. If the caliper is removed for access to other parts, or to replace pads, then tie the caliper with wire, not allowing the caliper to sag on the hose.
7. Remove a support from an arm, having turned away bolts.
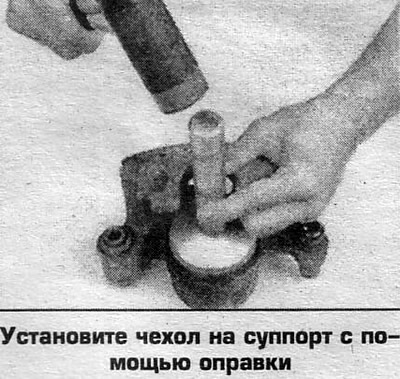
8. Install the caliper in reverse order. Pre-drown the pistons into the caliper cylinders. When installing the caliper, make sure that the caliper pin bolts, rubber parts do not touch the bosses on the steering knuckle. At the end, press the brake pedal 3-4 times so that the pedal travel does not exceed 50 mm.
Disassembly
2-cylinder calipers are installed on some cars, the disassembly procedure of which is no different from that discussed below for a 1-cylinder caliper.
1. Remove the caliper.
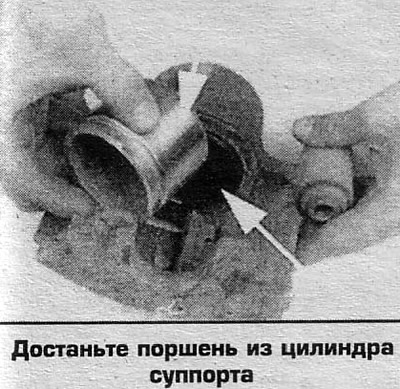
2. Remove the piston either with compressed air or by turning it out of the caliper cylinder (photo).
3. Inspect the piston. Replace piston if damaged, corroded or worn.
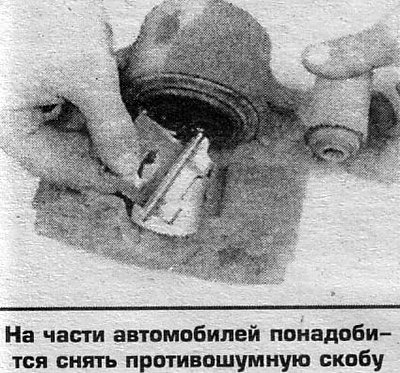
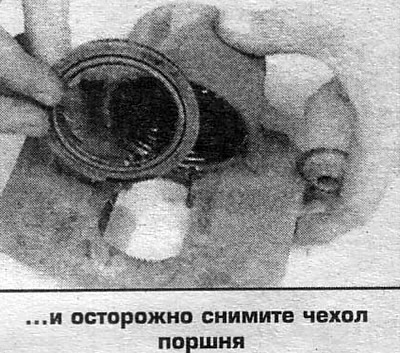
4. Remove anti-noise springs (if provided).
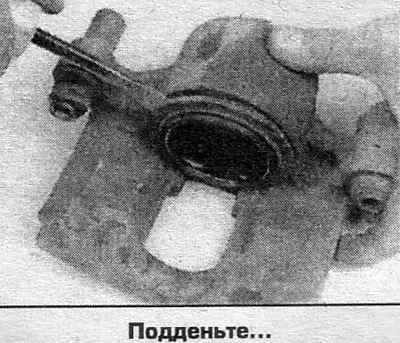
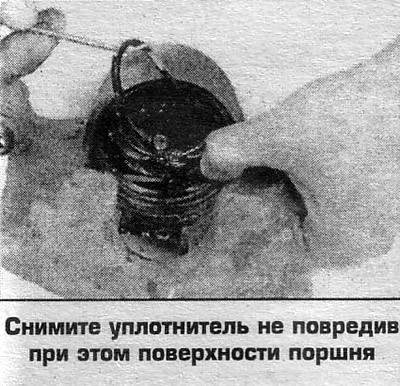
5. Remove the seals from the grooves in the caliper, remove the covers.
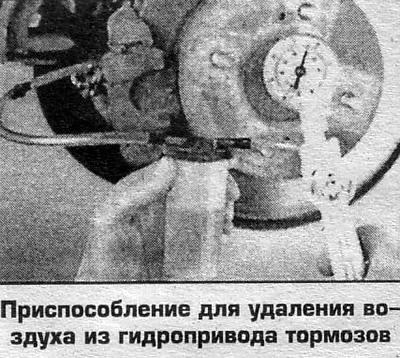
6. Turn out the union for prorolling.
7. Check the condition of the cylinder surface and caliper threads for wear and damage. Traces of slight corrosion of the piston and cylinder are removed by grinding with a soft cloth and polishing paste. Replace damaged seals and covers.
8. Rinse all parts with rectified alcohol and dry with compressed air.
 |  |
 |  |
 |  |
 |  |
 |  |