
Disassembly
1. Remove the piston from the cylinder block.
2. Apply engine oil to the piston pin retaining rings (A) and rotate them in the grooves until the gaps in the lock align with the slots in the piston pin bore (B).
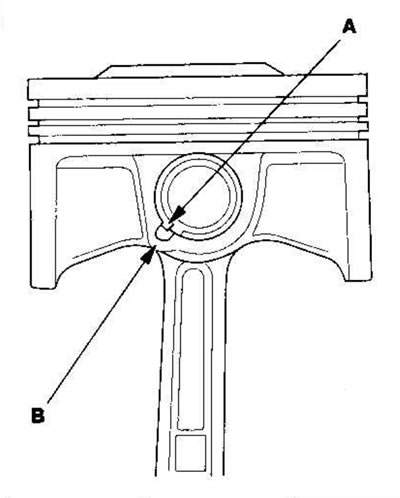
Note: Do not damage the ring grooves.
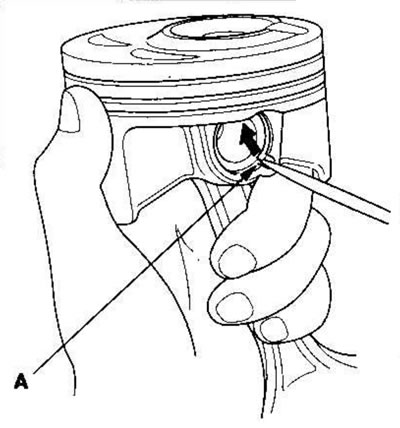
3. Remove both snap rings (A). Start with the cutout in the piston pin bore. Remove the retaining rings carefully so that they do not fly out and get lost. Wear safety glasses.
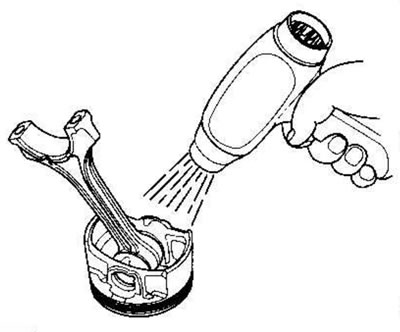
4. Heat the piston and connecting rod assembly to about 70°C, then remove the piston pin.
Examination
Note: Check pistons, piston pins and connecting rods when they are at room temperature.
1. Measure the piston pin diameter.
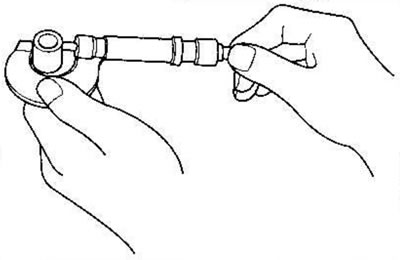
Piston pin diameter:
| Standard (new) | 21,961-21,965 mm |
| Limit | 21,953 mm |
2. Set the indicator to zero according to the piston pin diameter.
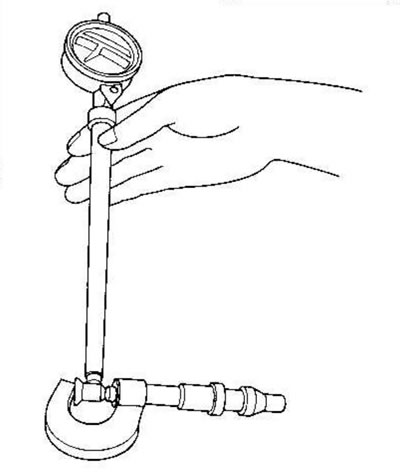
3. Check the difference between the piston pin diameter and the piston pin hole diameter.
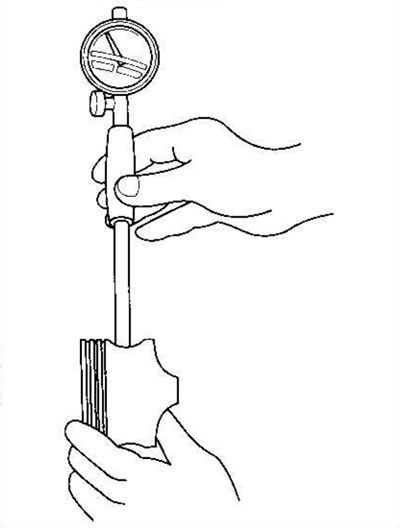
Clearance between piston pin and piston
| Standard (new) | -0.005 - +0.002 mm |
| Limit | 0.005 mm |
4. Measure the clearance between the piston pin and the connecting rod.
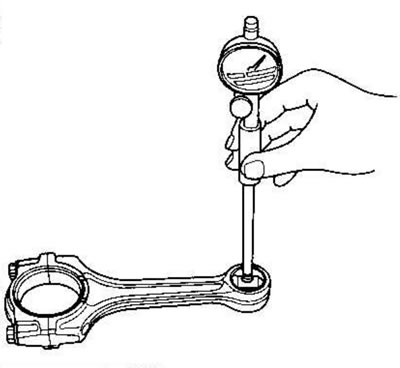
Clearance between piston pin and connecting rod:
| Standard (new) | 0.005-0.015 mm |
| Limit | 0.02 mm |
Assembly
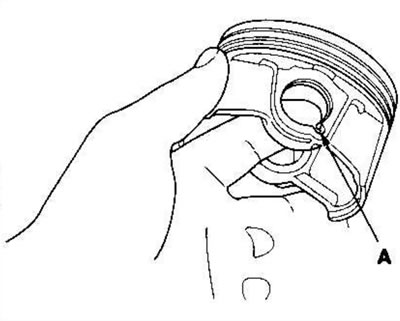
1. Insert the piston pin retaining ring (A).
2. Apply engine oil to the walls of the piston pin hole, to the walls of the connecting rod hole and to the piston pin.
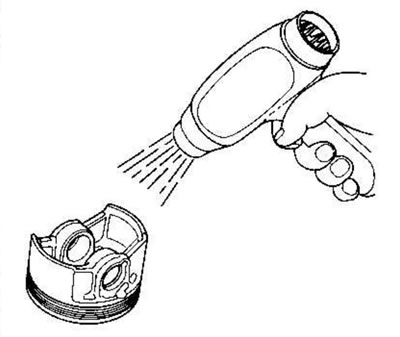
3. Heat the piston to a temperature of about 70°C.
4. Insert the piston pin (A). Assemble the piston (B) and connecting rod (C) so that the arrow (D) and the raised mark (E) are on the same side.
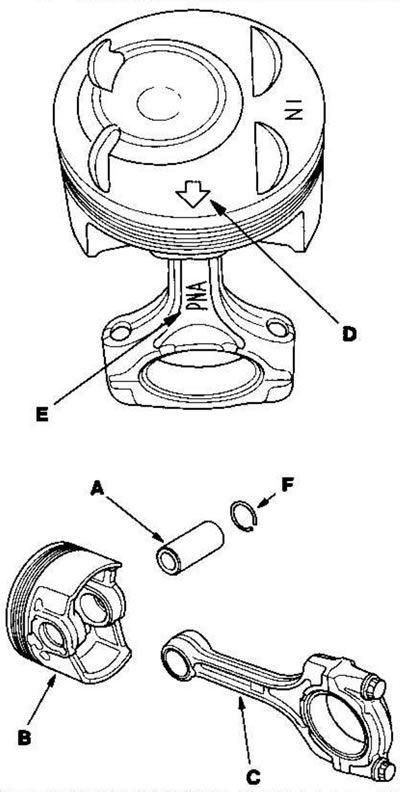
5. Install the second retaining ring (F).
6. Rotate the retaining rings in the grooves until the gaps in the lock are at the bottom of the piston.
(Original published on this resource hondabook)