
Dismantling
Models CR-V
1. Disconnect the battery from the ground.
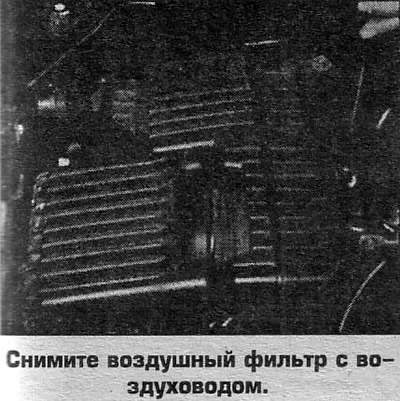
2. Remove the air filter with air duct.
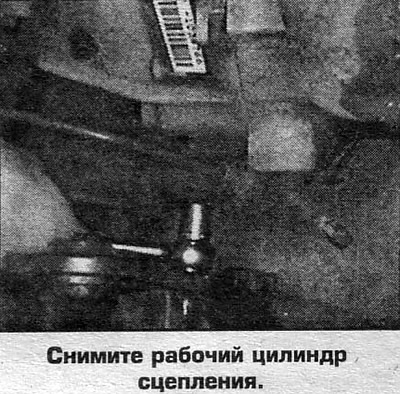
3. Disconnect the clutch hydraulic pipe and remove the clutch slave cylinder.
4. Disconnect the wires from the starter, disconnect the tire to ground from the gearbox and the connector from the speed sensor.
5. Disconnect a socket from the switch of a signal of a backing, remove a collar of fastening of conducting.
6. Disconnect the drive cable from the shift rods. Pay attention to the location of the plastic washer, which should be between the end of the cable and the steel washer.
7. Remove the cable bracket from the clutch housing.
8. Turn away 4 top bolts of fastening of a check point to the engine and the bottom bolt of a starter.
9. Raise the car and remove the front wheels.
10. Drain the gearbox oil.
11. Remove the lower dirt deflector of the protective panel of a wheel arch and a protective level. The panel is fastened with screws and latches, to remove which you must first pry and remove the piston, then the piston holder. The bar is fastened with a MB bolt.
12. Disconnect the front exhaust pipe by disconnecting the connector from the oxygen sensor and unscrewing the nuts securing the pipe to the bracket, to the manifold and to the converter.
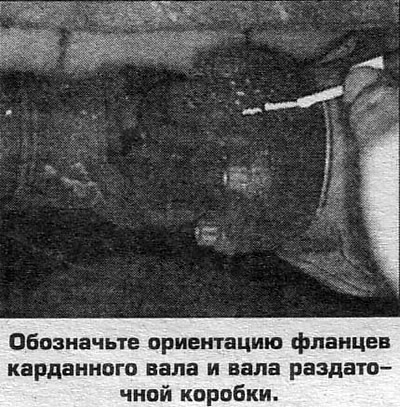
13. On all-wheel drive models, disconnect the cardan shaft from the transfer case, marking the orientation of the flanges and unscrewing 4 bolts.
14. Unpin and unscrew the nuts of the ball bearings, press the ball bearings out of the suspension arms.
15. On the right rack, unscrew the coupling bolt and nut of the second bolt and remove the rack fork from the lower suspension arm. Replace the semi-axle snap ring during assembly.
16. Disconnect the right axle shaft from the gearbox by prying it with a mount, disconnect the left axle shaft from the intermediate shaft.
17. Turn away bolts and remove an intermediate shaft of a semiaxis.
18. Replace spring \\ ring of an intermediate shaft.
19. Remove the rear stiffener.
20. Turn away bolts and remove the bottom cover of a case of coupling.
21. Hang the engine and remove the right front engine mount bracket.
22. Install a trolley-jack under the gearbox and remove the bracket and gearbox support.
23. Turn away bolts of a back support of the engine lower bolts of fastening of a check point.
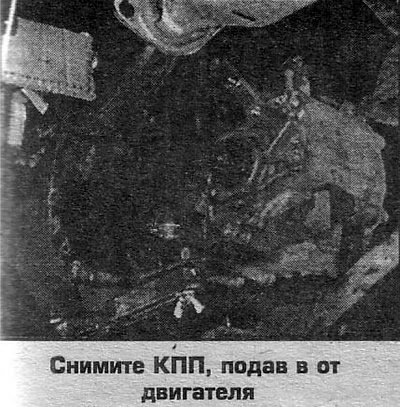
24. Remove the gearbox by pushing in from the engine and lowering it.
25. Remove the starter, release bearing, clutch release fork and boot.
Installation
26. Install the pins on the clutch housing.
27. Lubricate the splines of the input shaft of the gearbox, the friction surfaces of the release bearing and the clutch release fork with super-refractory grease.
28. Assemble the clutch drive.
29. Install the gearbox in place, tighten the lower gearbox mounting bolts and new bolts of the rear support bracket. Tighten gearbox bolts to 64 Nm, bracket bolts to 47 Nm.
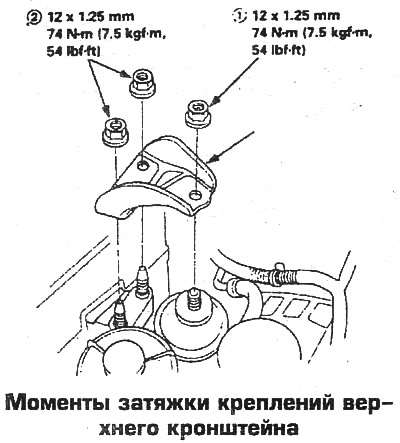
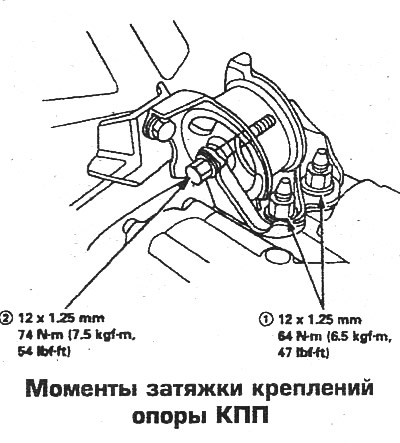
30. Raise the gearbox and install the gearbox support. Tighten the nuts first (64 Nm.), then through bolt (74 Nm).
31. Wrap the top bolts of fastening of a check point and a starter bolt. Tighten gearbox bolts to 54 Nm, starter bolt to 44 Nm.
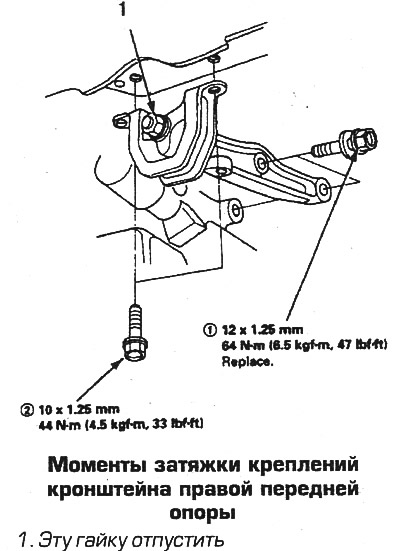
32. Establish an arm of the right forward support, tighten 3 bolts on the engine with the moment of 64 Nm and 2 bolts of fastening to a body with the moment of 44 Nm.
33. Install the clutch housing cover and stiffener..
34. Pour about 1 liter of oil into the gearbox through the opening for the intermediate shaft. Establish an intermediate shaft of a semiaxis.
35. Remove the jacks from under the engine and gearbox.
36. Next, the assembly is performed in the reverse order. Tighten all connections to the torques given in the technical data at the end of the chapter. Replace the nuts of the front exhaust pipe, as well as all the gaskets and seals of the disassembled joints, replace the cotter pins of the ball joint nuts. Tighten the coupling bolt of the lower fork of the rack with a torque of 43 Nm, the through bolt with a torque of 64 Nm. Add oil to the gearbox.
 |  |
 |  |
 |  |
 |  |